Permissions
You will require an Access Role with the following permissions:
- Base Information
- Expense Items
Step 1 - Configure the Expense Item
Note: Adding or amending expense items may cause payment issues if you do not make the appropriate changes to your financial export reports to reflect the expense item changes. This occurs as the payment report will reference certain information from an expense item, which if it has been changed, may cause the connection between the two to fail. This can lead to incorrect payments for claimants; therefore if you are unsure please raise a ticket with our Service Desk to discuss further.
To setup an expense item for excess mileage please follow these steps:
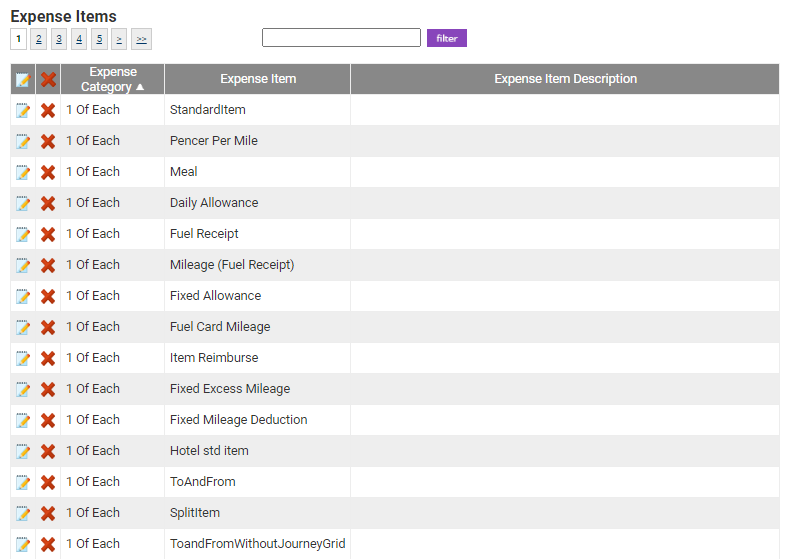
- Navigate from the Home page to Administrative Settings | Base Information | Expense Items.

- Create or edit an expense item that you want to use for excess mileage. For more information on creating an expense item, view Create an Expense Item.
- Ensure that the expense item Item Type field is set to Mileage (Pence Per Mile).
- Select the Enable Relocation Mileage check box within the 'Calculation' section.

- Click the Additional Fields tab. Within the General Details Fields section, ensure that the From and To check boxes are cleared.

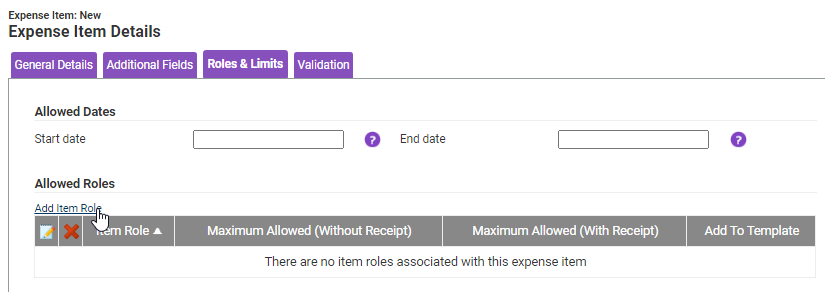
- Navigate to the Roles & Limits tab. Here you will be able to ensure which Item Roles will be able to claim for this expense item.
- Click Add Item Role and select an item role from the Item Role drop-down list. For more information on creating an item role and assigning it to a claimant, view Manage Item Roles.

- Click Save to store the changes and return to the Expense Items menu.
Step 2 - Configure the Employee
To ensure that a user can claim the excess mileage expense item, follow the steps below:
- Navigate from the Home page to Administrative Settings | User Management | Employees.

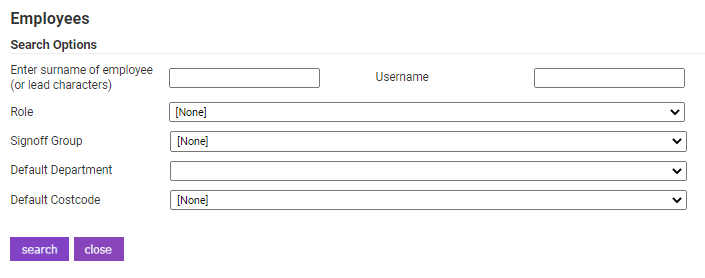
- Search for the user you want to be able to claim excess mileage using the Search Options on the Employees page.
- Ensure that the user has a Work Address configured. This Work Address must meet the following criteria:
- A Start and End Date configured
To add an address, click New Work Address then enter the correct details in the pop-up window.
- A Start and End Date configured
- Ensure that the user has a second Work Address. This Work Address must meet the following criteria:
- The Temporary Address check box selected
- To be further away from the Home Address than the address in step 3 of this guide
- To have a Start Date the same as the End Date of the address in step 3 of this guide.
- Click Save to store changes to the user’s Work Addresses.


