Permissions
You will require the following permissions:
- No permissions required
You need to submit your claim in order to receive the money you're owed. This guide will show you how to submit your claim.
- Tap the Navigation Menu
 and then tap Current Claims. Your latest current claim will be displayed. If you want to swap between your claims, tap the claim name and then select a different current claim.
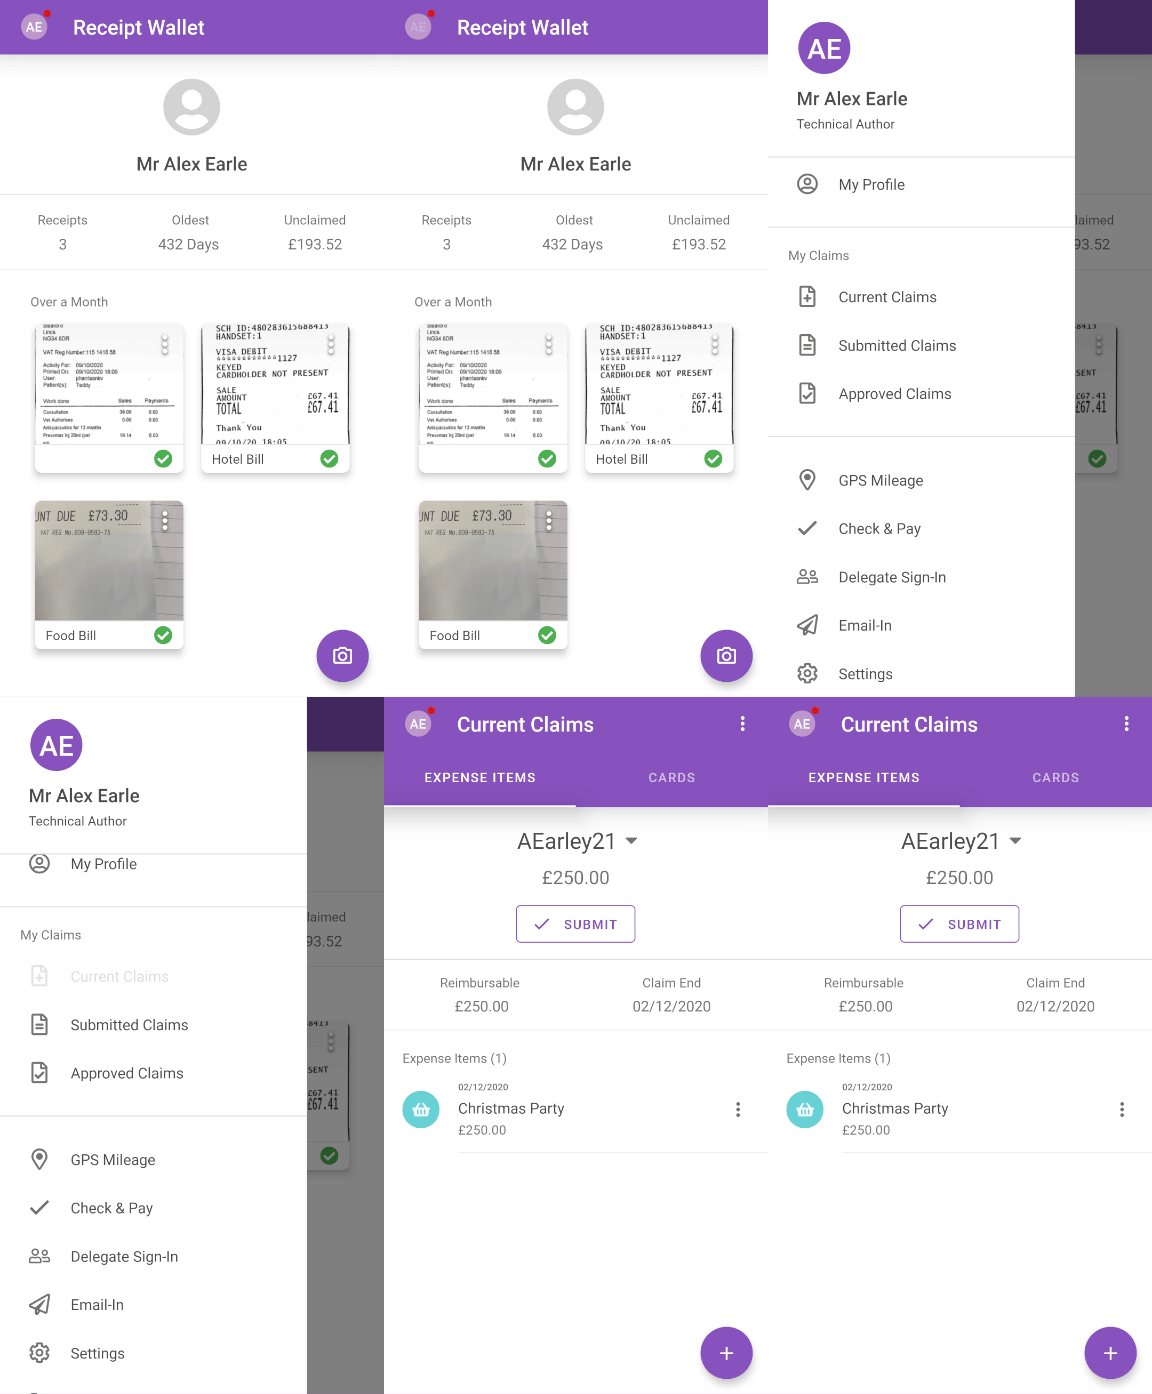
- Tap Submit.
Your system configuration will determine whether you are required to complete any further steps before submitting your claim. More information on the steps that you may need to complete can be found in the links below. - You may also be required to agree to a declaration in order to submit the claim. If a declaration appears:
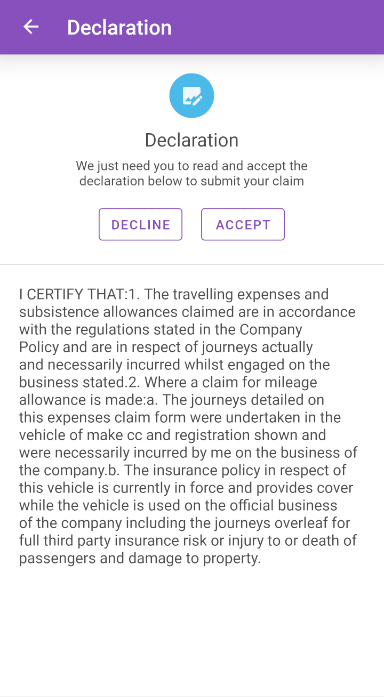
- Tap I Agree to submit the claim.
- Tap I Disagree to return to the Claim Summary page.
Flags to Action
If you have any blocked expense items or flags which still require justification, you will need to action these before you are able to continue submitting your claim.
- After tapping Submit, the 'Flags to Action' page will be displayed. This will list each of the expense items which have been flagged/blocked and that require action.
Field Description Flagged Items This will indicate that your expense has not adhered to your company's expense policy. You must provide a justification in order to submit the claim that this expense is attached to. Tap the flag, enter your justification, and then tap SAVE.
Blocked Items The only way that you will have a blocked expense on the 'Flags to Action' page is if your expenses policy has been changed by your organisation and a previously saved expense is now blocked.
You will be required to either edit the expense so that it does not breach your expense policy or tap the blocking flag and then tap DELETE.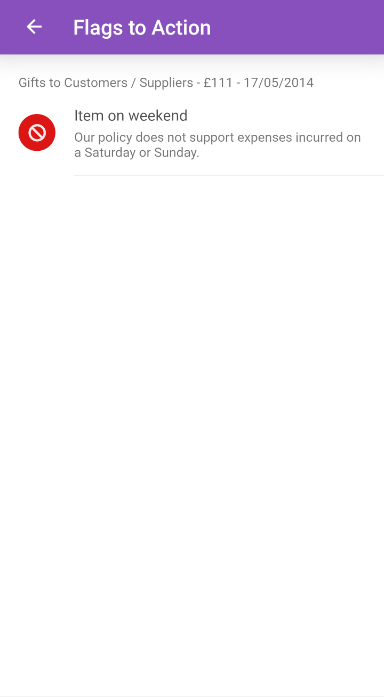
- Once you have dealt with each of the flags, you will be returned to the current claim where you will be required to tap Submit again.
Split a Claim
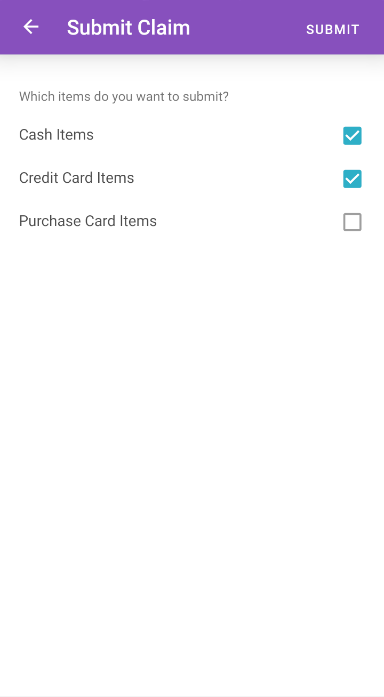
This will allow you to select which item types (Cash Items/Credit Card Items/Purchase Card Items) you want to submit with your claim. This will be available if your organisation permits that you can part submit claims and if you have the relevant credit card/purchase card items to reconcile.
Note: If you choose to part submit your claim, the items that are being submitted will automatically be added to a new claim before being submitted. All other items will stay on the original current claim.
Your organisation may force you to submit only cash, credit card, or purchase card items. Alternatively you may be able to select a combination of cash, credit card and purchase card items.
- Select the checkbox for each item type that you want to submit.
- If you are only permitted to select one, tap to select your chosen item type.
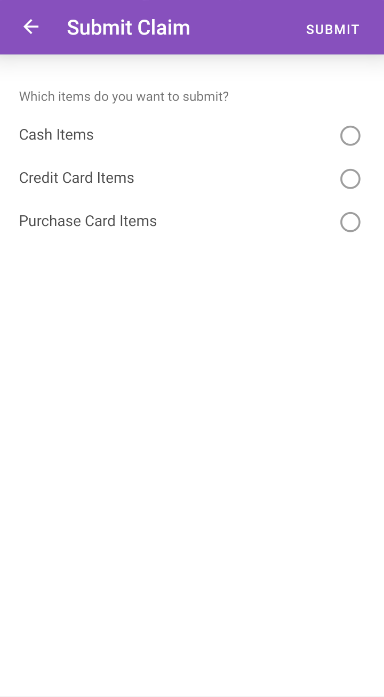
- If you are only permitted to select one, tap to select your chosen item type.
Enter Odometer Readings
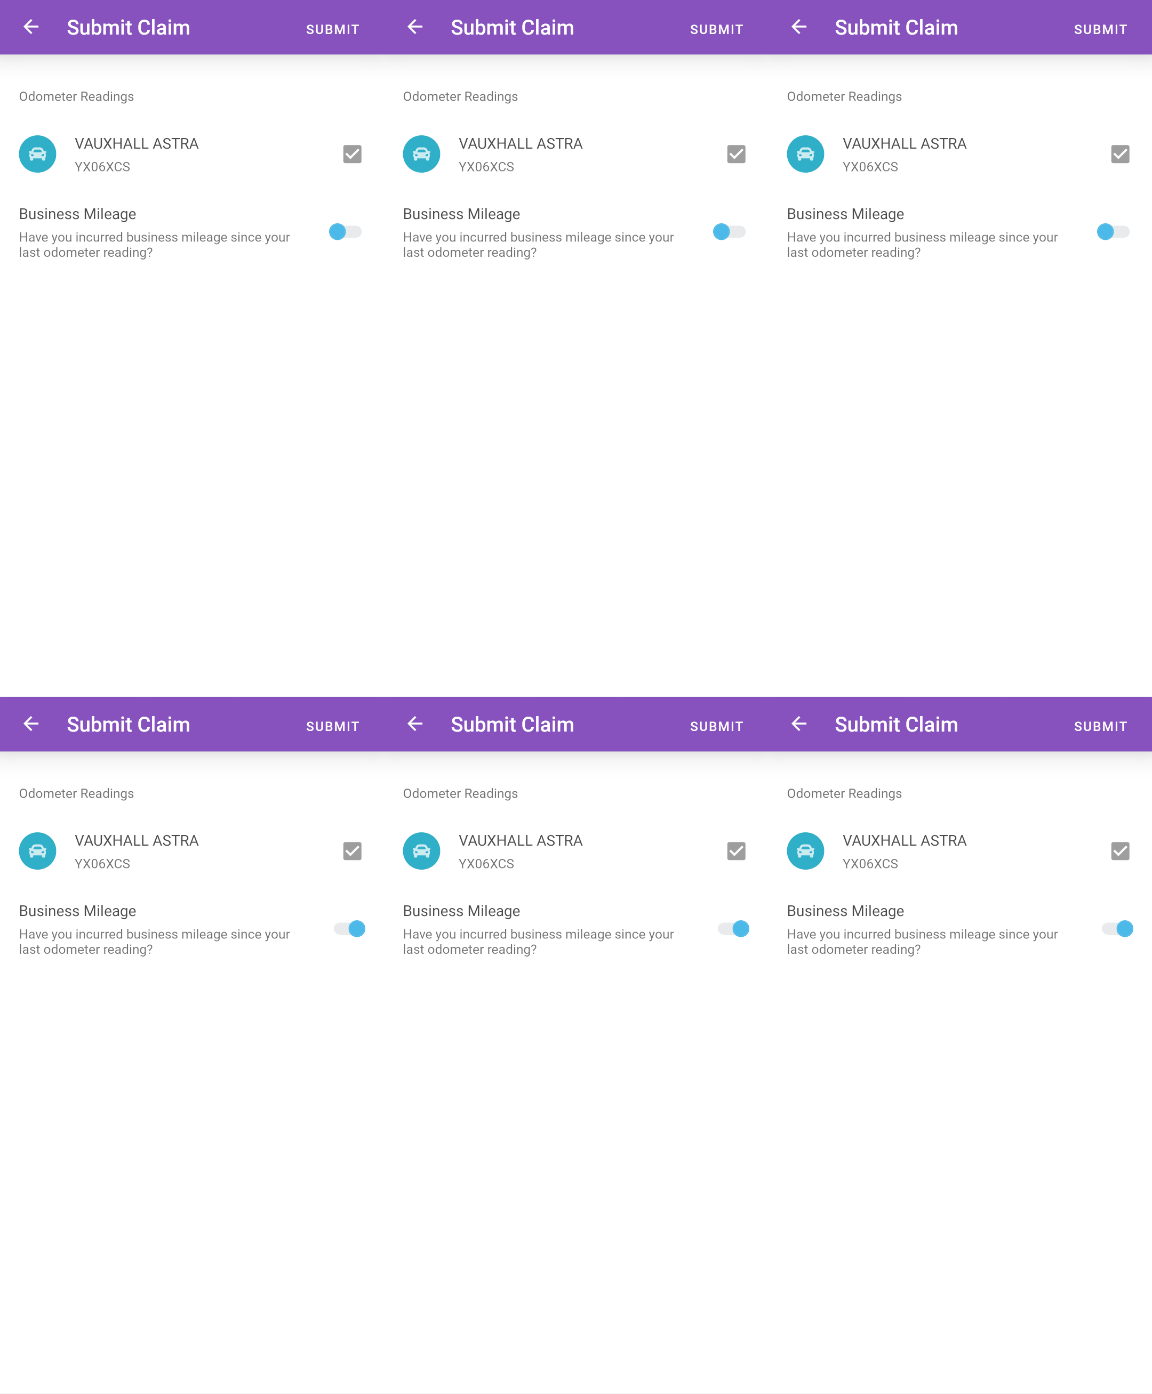
If you are required to enter odometer readings for your vehicles, you will see the 'Odometer Readings' section. This lists each of your active vehicles that require a new odometer reading.
- Tap on a vehicle. This will show you details of the vehicle and the last odometer reading.
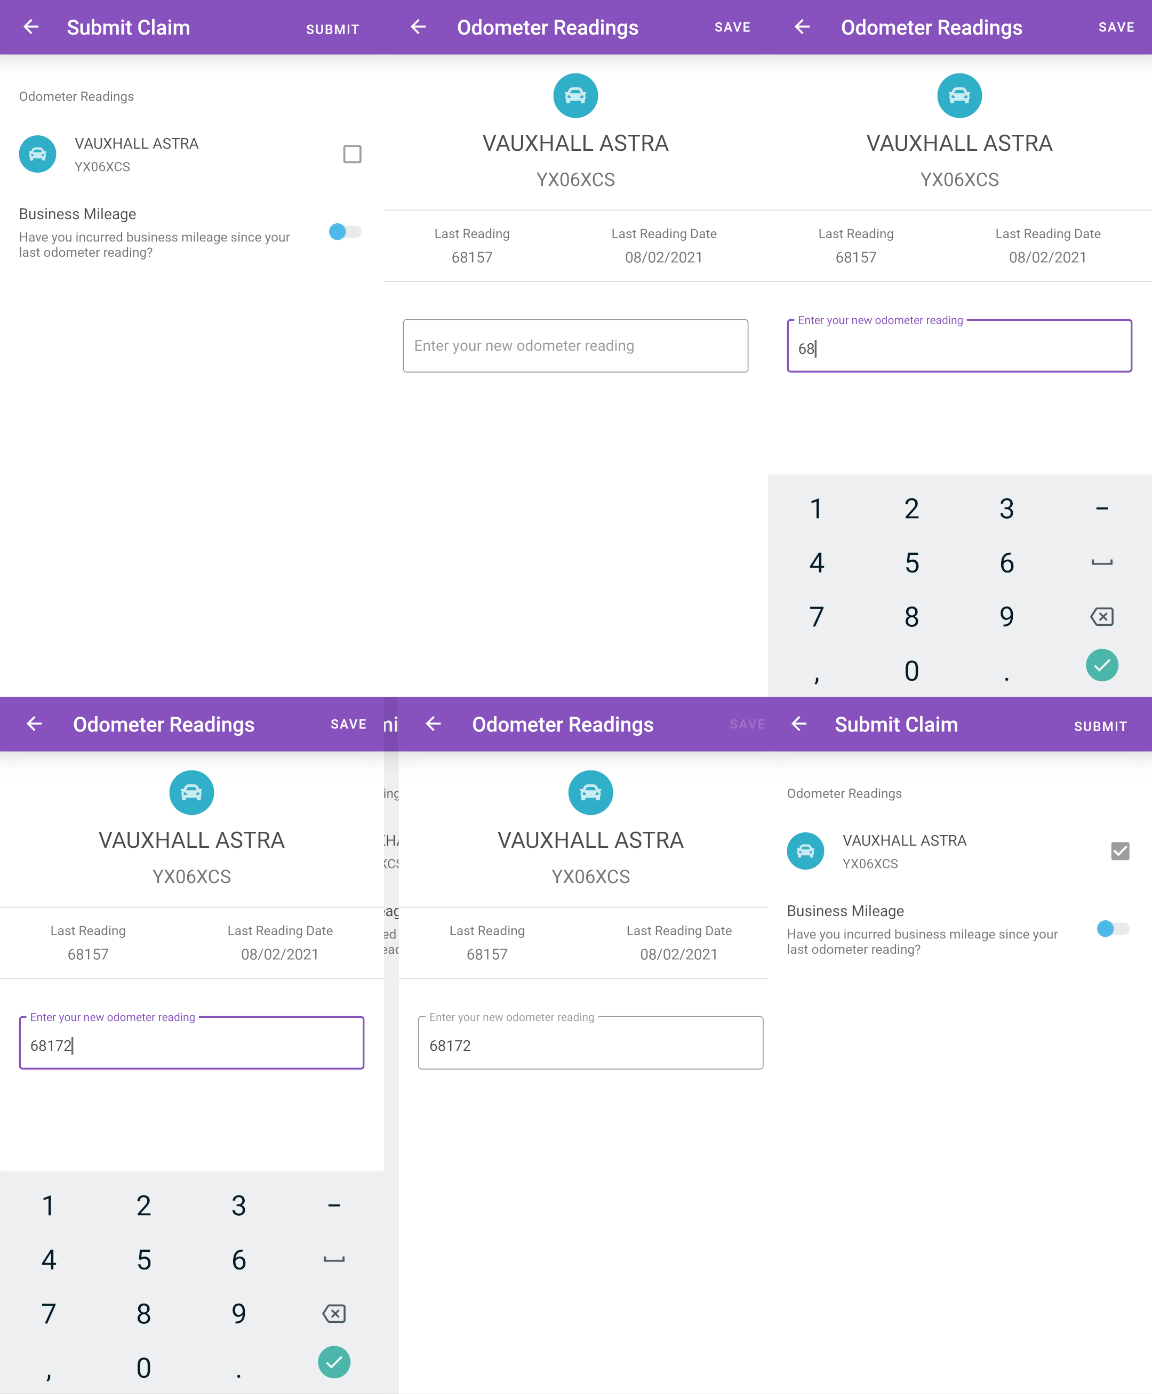
- Enter the vehicle's current odometer reading.
- Tap SAVE to return to the 'Submit Claim' screen. A tick will be displayed next to the vehicle you entered odometer readings for.
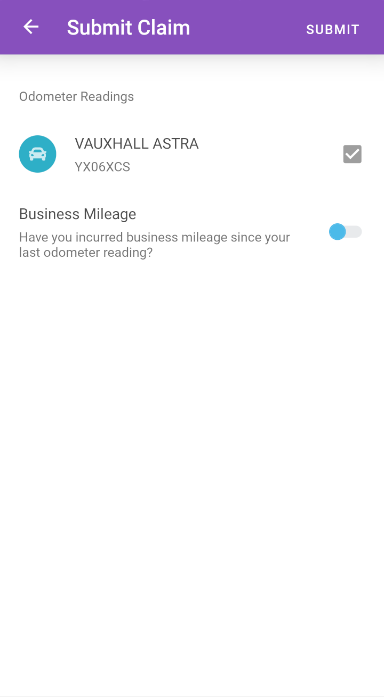
- Repeat this process for all other vehicles.
- (Optional) Select whether you have incurred business mileage since your last odometer reading. This applies to all vehicles.
Select an Approver
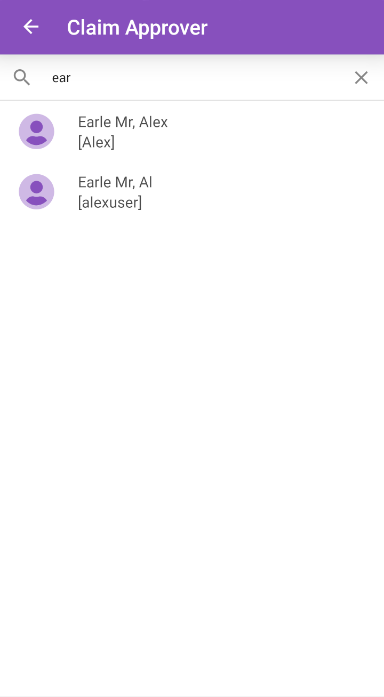
If the first stage of your Signoff Group is either 'Determined by Claimant' or 'Determined by Claimant from Approval Matrix', you will be prompted to select your claim approver from a predefined list.
- Tap the 'Claim Approver' field.
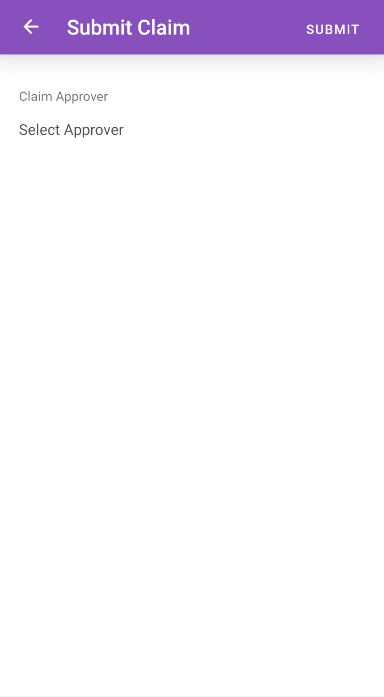
- Select your approver from the list. You are also able to search for an approver using the search bar.
