Permissions
You will require an Access Role with the following permissions:
- Base Information (Expense Items)
This article explains how to configure an expense item to be a fixed mileage deduction that will occur daily. Claimants will only be eligible for reimbursement when they exceed the mileage amount that you have configured.
For example: If you set the fixed mileage deduction amount to be 20 miles and a claimant claims 15 miles on day one, they will not be entitled to a payment for that day. If the claimant then claims 22 miles on day two, then they will be entitled to 2 miles payment for that day.
Two expense items must be created in order to apply a fixed mileage deduction. The first expense item created is only used as a placeholder calculation for the second item and therefore should not be available to select. The second item is what you want the claimant to claim for, so it must be assigned to the correct Item Roles.
Expense Item 1
- Navigate from the Homepage to Administrative Settings | Base Information | Expense Items.
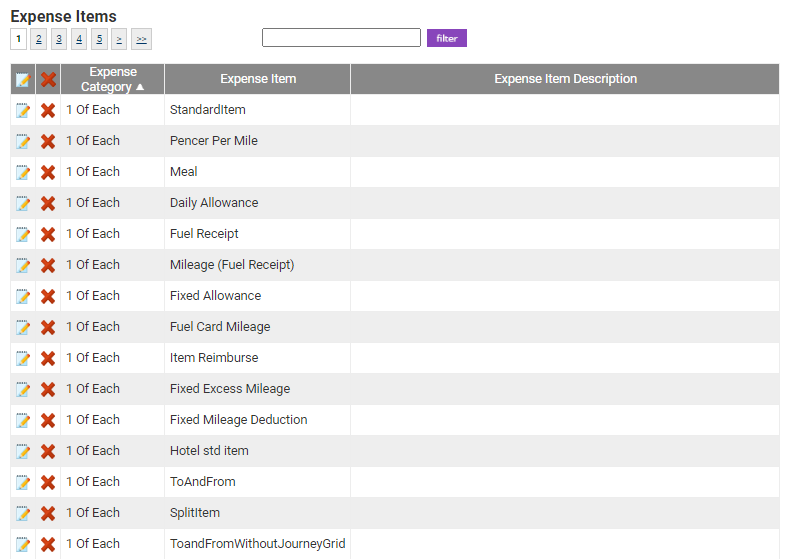
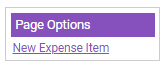
- Within the 'Page Options' menu, Click New Expense Item. This will be the first of two expense items that will need to be created and will be the item that is performing the calculation. It should not be assigned to an Item Role and therefore it will not be selectable by claimants.
- Name the expense item and select an expense category, making sure that the Reimbursable checkbox is selected.
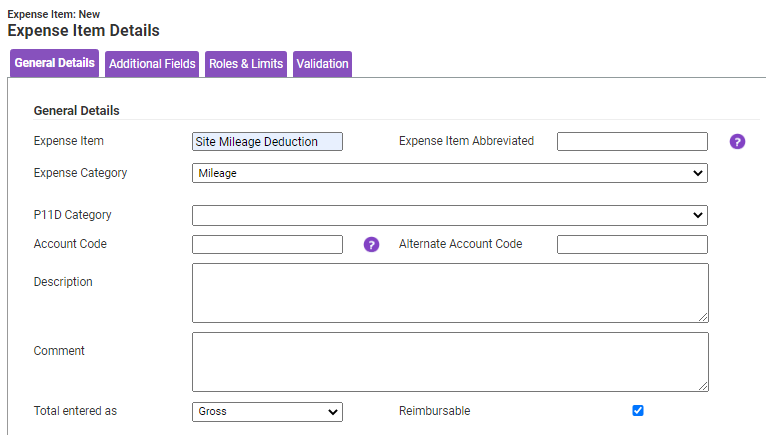
- Within the 'Calculation' section, ensure that the 'Item Type' field is set to Fixed Mileage Deduction.

- Click Save.
The next stage in this setup will be to create the second expense item that claimants will claim their mileage on.


Expense Item 2
- This is the expense item that the claimant will need to select when claiming their mileage. Within the 'Page Options' menu, click New Expense Item.
- Name the expense item and select an expense category.
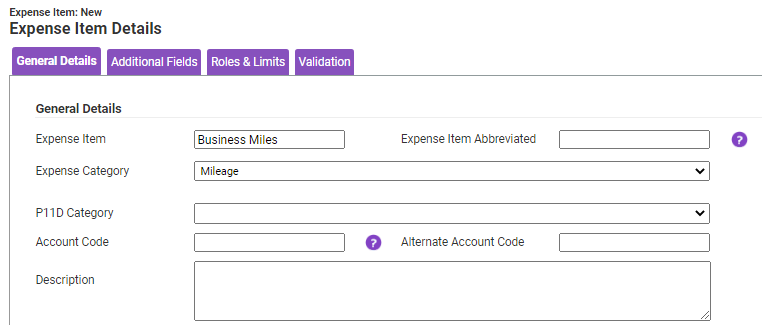
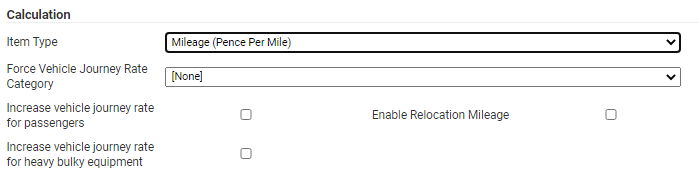
- Within the 'Calculation' section, change the 'Item Type' field to Mileage (Pence Per Mile). Once selected, the 'Fixed Mileage Deduction' section will appear.
- Within the 'Fixed Mileage Deduction' section, select Force Fixed Mileage Deduction. Once selected, the 'Number of Miles' and 'Daily Deduction Item' fields will appear.

- Enter the number of miles to deduct and then select the first expense item that you created from the 'Daily Deduction Item' field.
Note: The number of miles is the amount a claimant must exceed before they are eligible to be reimbursed.
- Continue to configure the expense item as appropriate using the tabs at the top of the 'New Expense Item' page. For a high-level overview, visit Create an Expense Item.
Note: You will need to assign the second expense item you have created to the correct Item Roles so that claimants will be able to select it.
- Click Save to store the changes and return to the Expense Items menu.


The Claimant's View
We have added this section in to ensure that what you have configured is correct from the claimant's perspective.

Note: This will appear after the claim has been submitted.
In this example, the fixed mileage deduction amount is set to 25 miles. The claimant has selected the 'Business Miles' expense item (Expense Item 2 within configuration) and claimed 50 miles. The 'Site Mileage Deduction' item (Expense Item 1 within configuration) will show the amount of miles that are to be deducted, updating the 'Total' and 'Amount Payable' columns.
If claimants are not seeing this configuration, we recommend you follow the configuration steps above one more time to ensure that the expense items are working as intended.
