Permissions
You will require an Access Role with the following permissions:
- GreenLight Management (Menu Management)
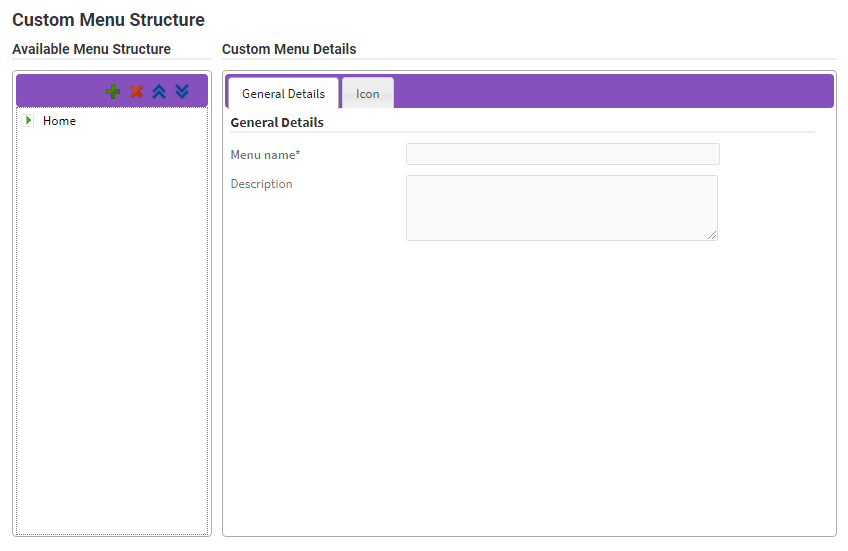
- Navigate from the Home page to Administrative Settings | GreenLight Management | Custom Menu Management. This will display the Available Menu Structure tree and the Custom Menu Details.
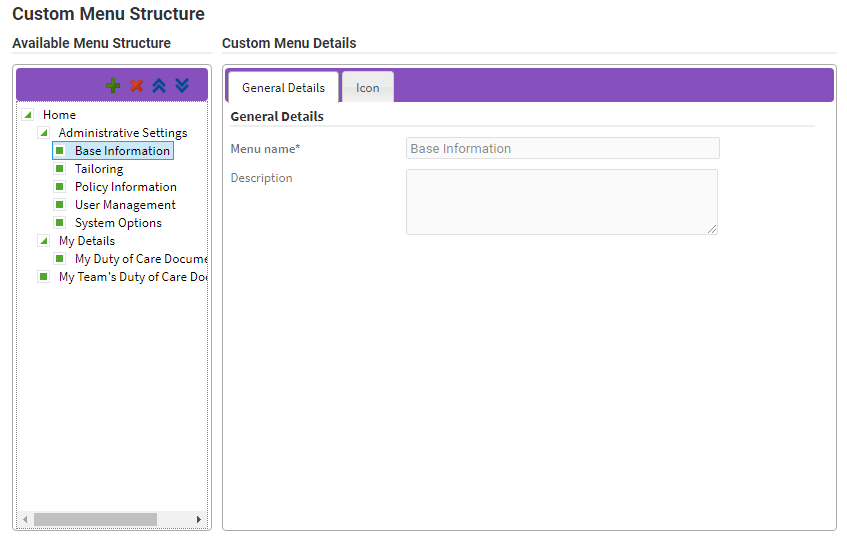
- The Available Menu Structure lists each of the product menus within a tree format, including the Home page, system menus and any custom menus which have been created.
- The Custom Menu Details section displays the General Details of a menu selected from the tree. This also includes the Icon tab which allows you to select an icon to display on the menu.

- The Available Menu Structure lists each of the product menus within a tree format, including the Home page, system menus and any custom menus which have been created.
- From the Available Menu Structure, select the existing menu under which you want the custom menu to appear. In this example, selecting "Base Information" will allow you to create a sub-menu underneath "Base Information". From the Available Menu Structure header you have access to Add New Menu, Delete Menu, Move Menu Up and Move Menu Down.

Tip: Custom menus can be dragged and dropped to different locations within the Available Menu Structure.
- Click the
 icon to create a new custom menu which will be given a default name of "Custom Menu". Enter a new Menu Name and Description within the Custom Menu Details section.
- You can use the
 and
and  icons to change the order of a selected sub-menu.
- You can use the
- Click the Icon tab and select, or search for, a suitable icon to be displayed on the menu.
- Click Save to store the new custom menu.
Note: In order for users without administrative permissions to access a custom menu, it will need to be placed on the Home page.
Note: Empty sub-menus (with no GreenLight views assigned) will not display to users.


 icon to create a new custom menu which will be given a default name of "Custom Menu". Enter a new Menu Name and Description within the Custom Menu Details section.
 and
and  icons to change the order of a selected sub-menu.