Permissions
You will require the following permissions:
- No permissions required
Email-in is the easy way to add expenses from receipts in your email inbox. This guide will show you how to enable Email-in.
- Tap the Navigation Menu
 and then tap Email-In.
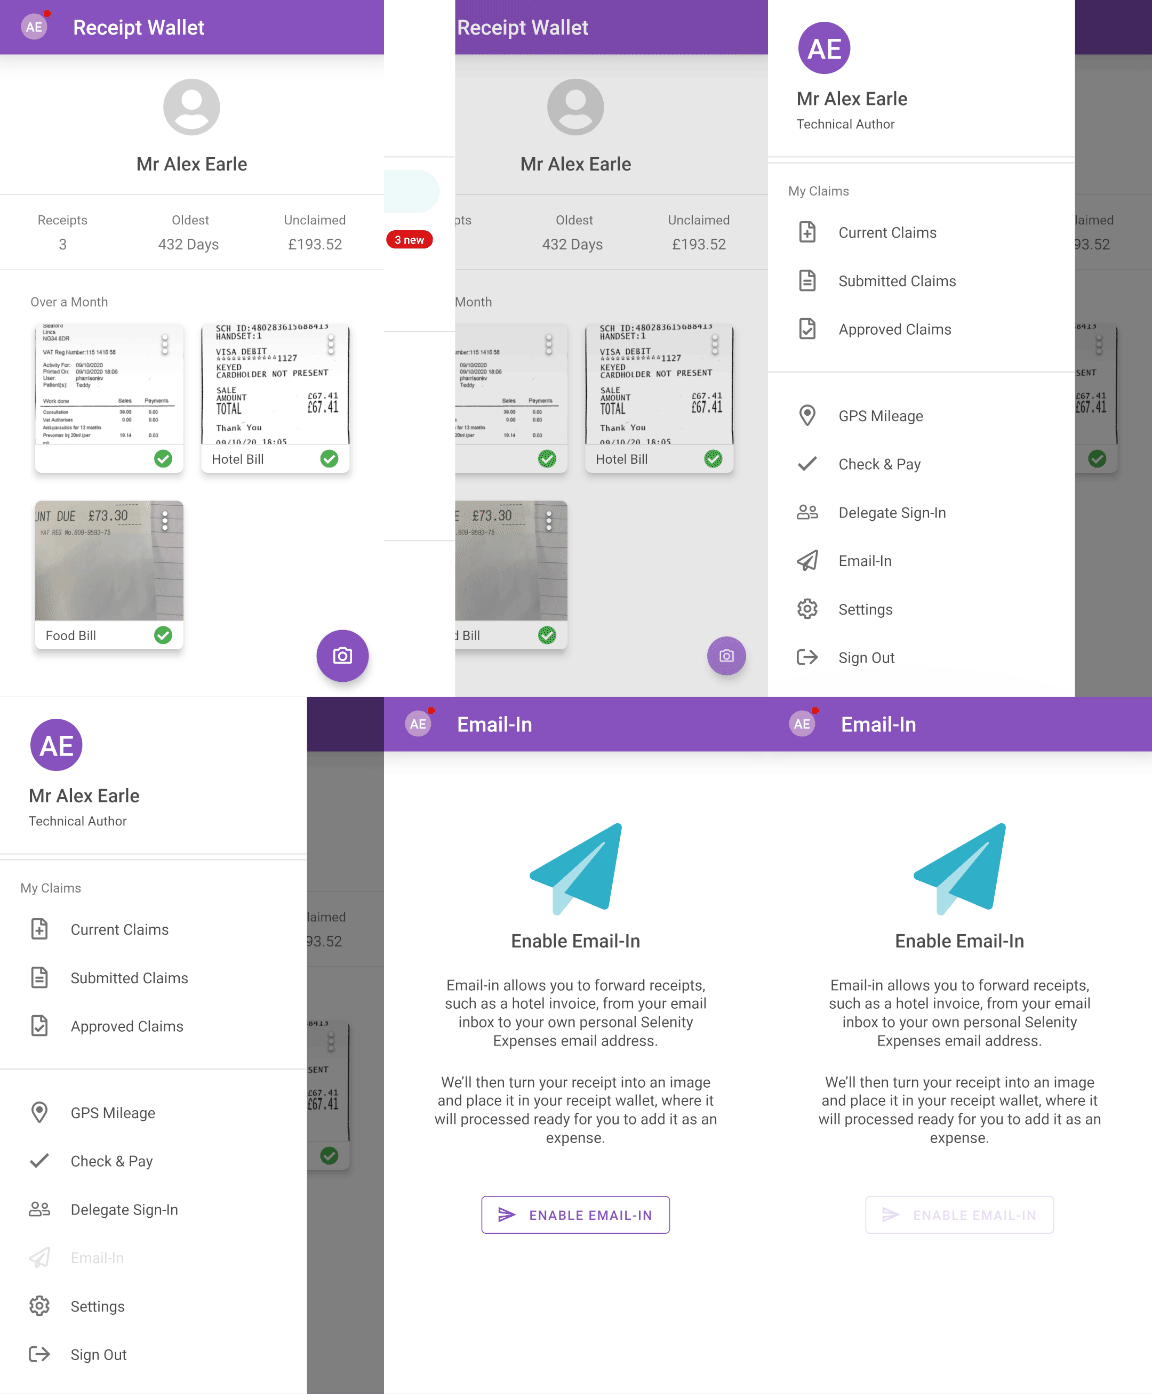
- Tap Enable Email-In to generate a unique email address, which will be used for sending receipts from your email inbox to your Receipt Wallet.
- At this point, you can either tap Add Contact to let us automatically save this email address to your contacts or tap Copy Email to copy the email address. You will then have to manually paste it into an existing contact.
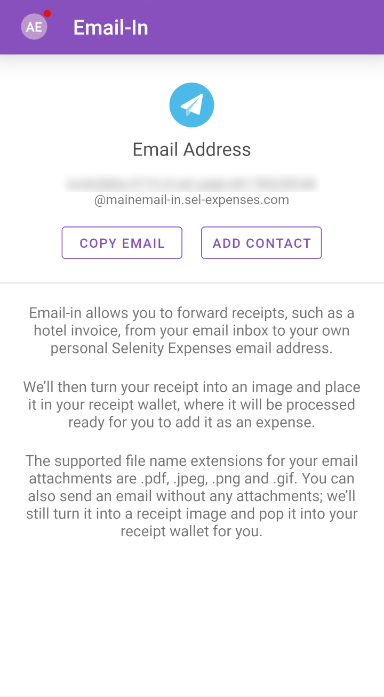
If you tapped 'Add Contact'
- You will need to tap Allow on the contacts permission menu to allow us to save a contact automatically. This permission also prevents you from saving this email address more than once.
- Your contact will be saved as 'Assure Expenses Email-In'. It will be also be saved as a 'Work' email address.
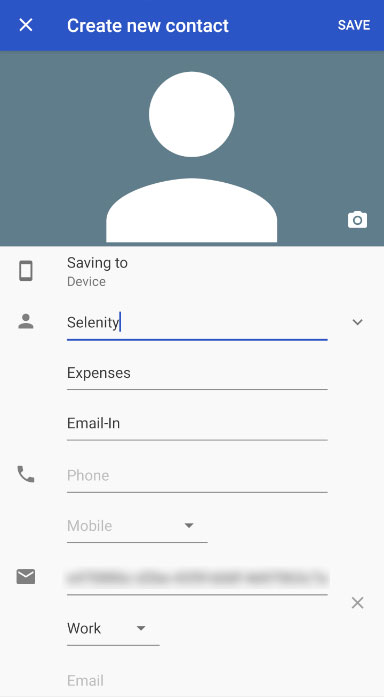
Note: If you can't see the contact, you may have a setting turned on within your Contacts app, such as 'Show Frequently Contacted' or 'Hide Contacts Without a Phone Number' which is preventing you from seeing it. You will need to go into your Contacts app settings and turn this off.
If you tapped 'Copy Email'
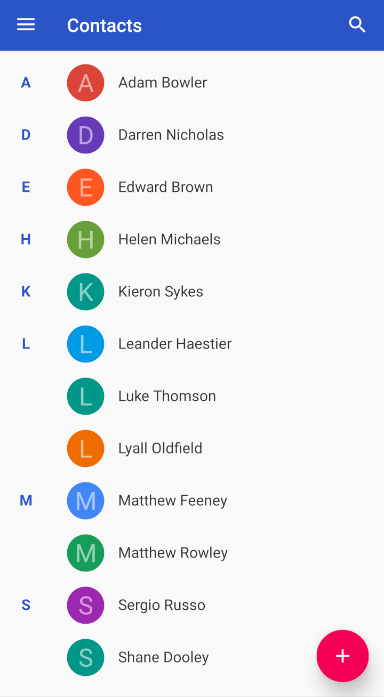
- Navigate to the contacts on your device, and then tap Add New Contact (the wording may appear slightly differently depending on your device. It may also appear as an icon e.g.
 ).
).
- Tap in the 'Email Address' field, and then paste your unique email address.
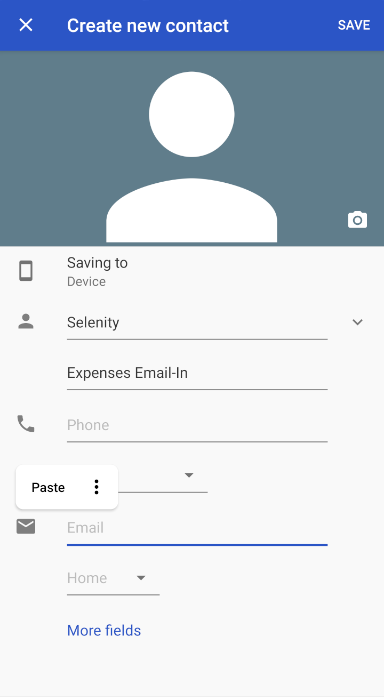
Tip: At this point, we suggest you give the contact a suitable name that you will remember.
- Tap Save.
This will serve as a reminder if you need to know what your unique email address is. You are also able to paste the address directly into the 'To' field of the email you want to send. To learn more about adding receipts from your email, visit Assure Expenses Mobile - Use Email-in to Add a Receipt to Receipt Wallet.


 ).
).

