Self Registration allows you to register your own details with Assure Expenses. This feature will only be available if it is enabled by your system administrator.
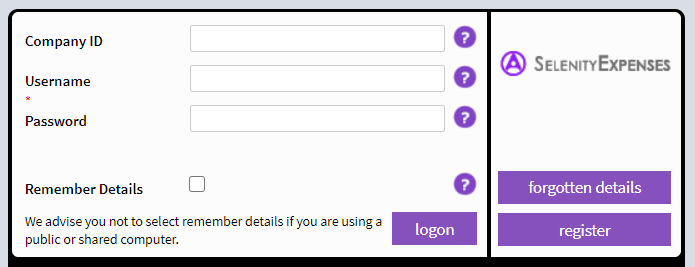
- Navigate to the Assure Expenses logon page.
- Click Register.
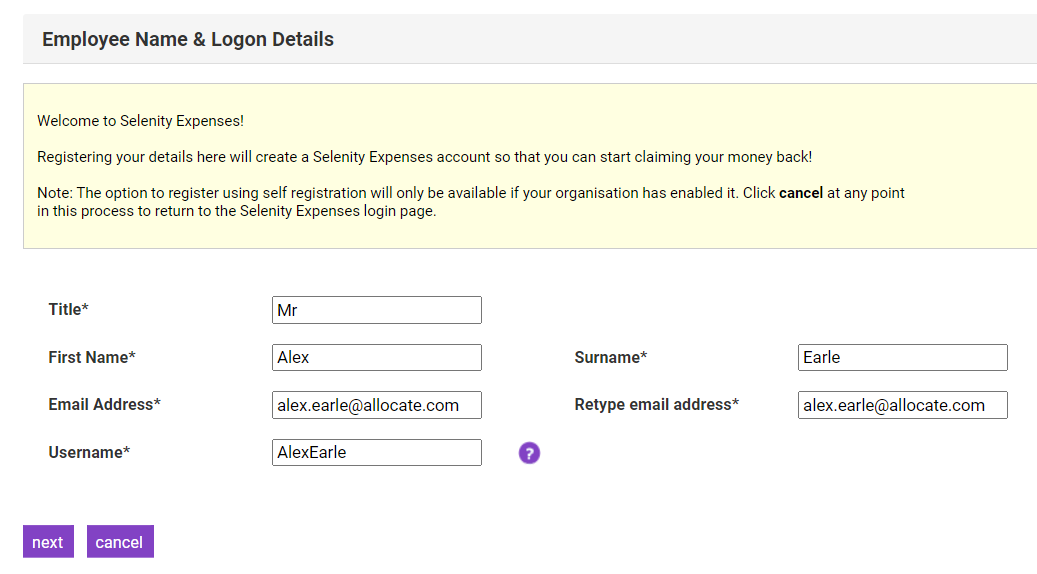
- You will be sent to the 'Employee Name & Logon Details' page. Enter your details and then click Next.
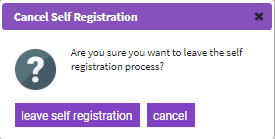
Note: If you would like to leave the self registration process, click Cancel and then click Leave Self Registration. You will be taken back to the Assure Expenses logon page.
- You will need to enter a password and then click Next. Your password will need to comply with your organisation's password policy which is displayed under the 'Password Policy' section.
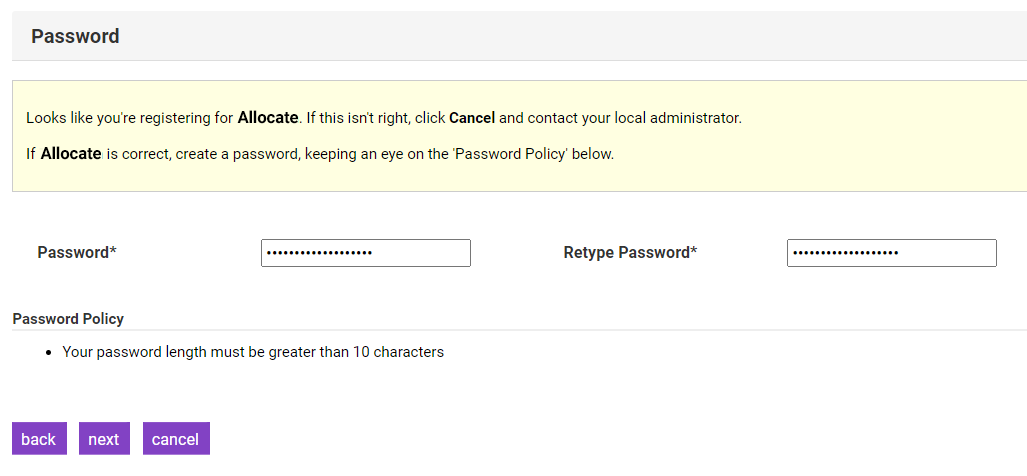
Warning: It is important to note that steps 5 to 13 are fully configurable, and therefore you may not see some of the information detailed below. If this is the case, move on to the next relevant step.
A progress bar will be present at the top of your page during self registration.
- From the 'Employee Home Details' page, enter your home address details and then click Next.
Note: You will not be able to register without your home address as it is a mandatory field.
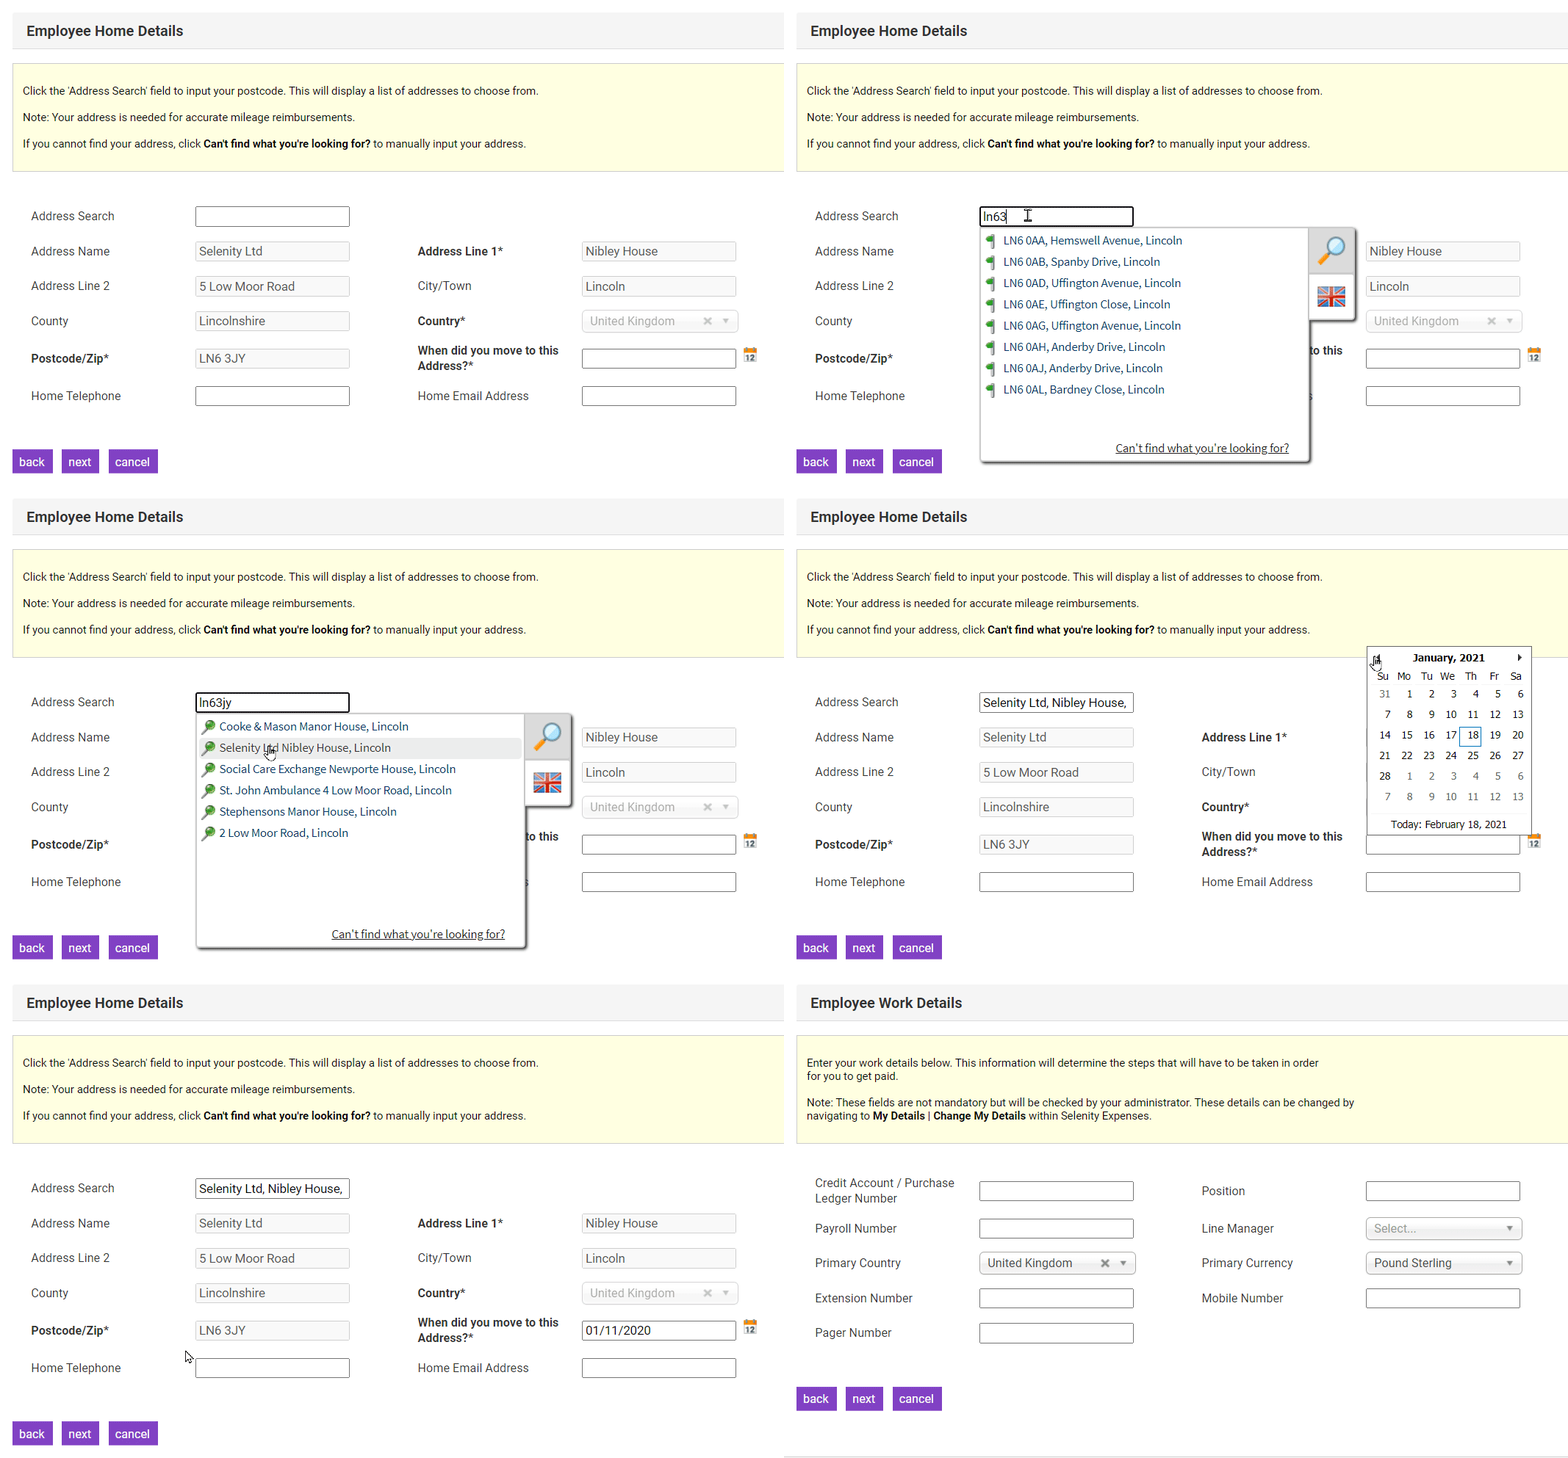
Tip: Click on the 'Address' field to use the address widget for an easy way to find your address automatically.
- From the 'Employee Work Details' page, enter your employment details and then click Next.
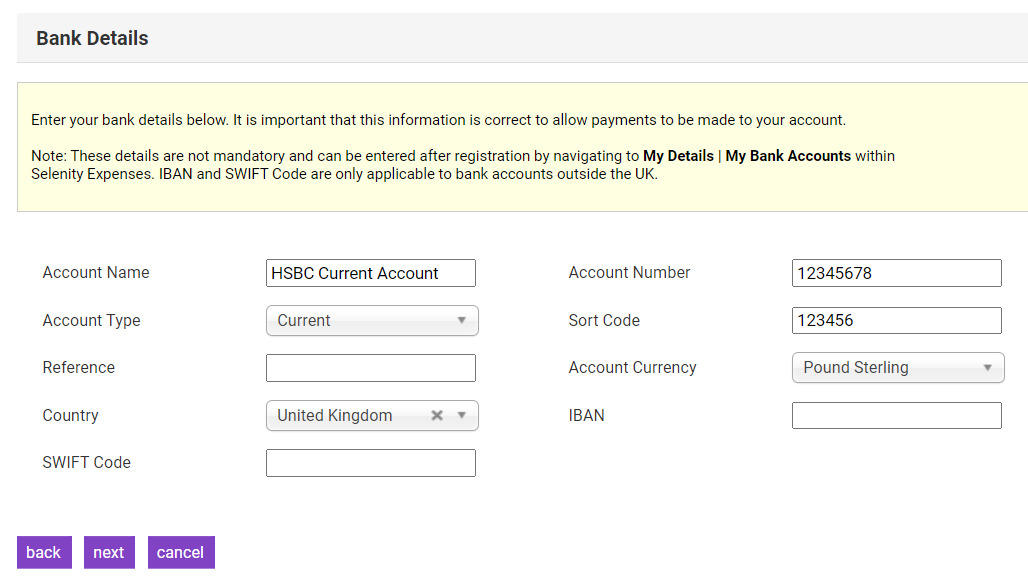
- From the 'Bank Details' page, enter your bank details and then click Next.
- From the 'Access Roles' page, select the appropriate Access Role and then click Next. This will determine your permissions and the areas of Assure Expenses that you have access to.
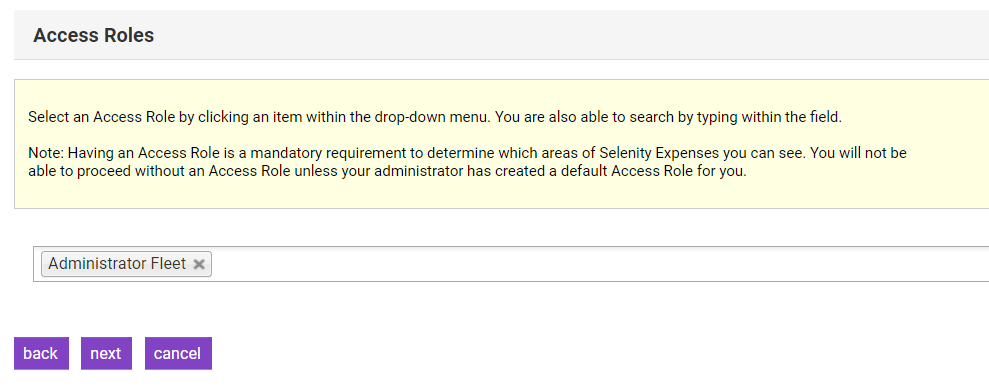
Note: You will not be able to proceed without an Access Role unless your administrator has created a default Access Role for you.
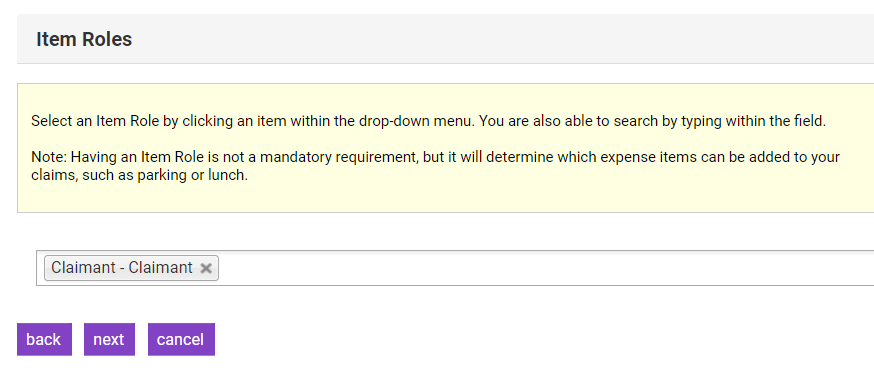
- From the 'Item Roles' page, select the appropriate Item Roles and then click Next. This determines which expense items you are allowed to claim.
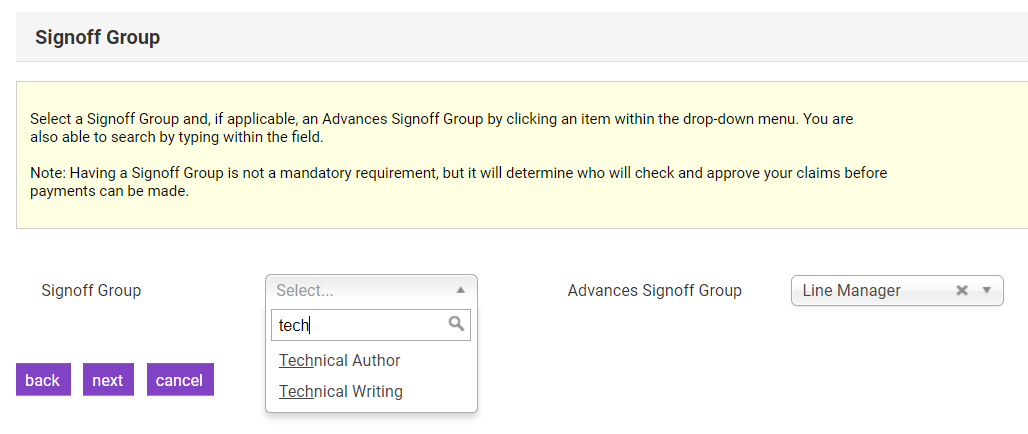
- From the 'Signoff Group' page, select a Signoff Group. If applicable, select a Signoff Group for advances and then click Next. This will determine the approval stages that your claims will have to go through before any reimbursements are made.
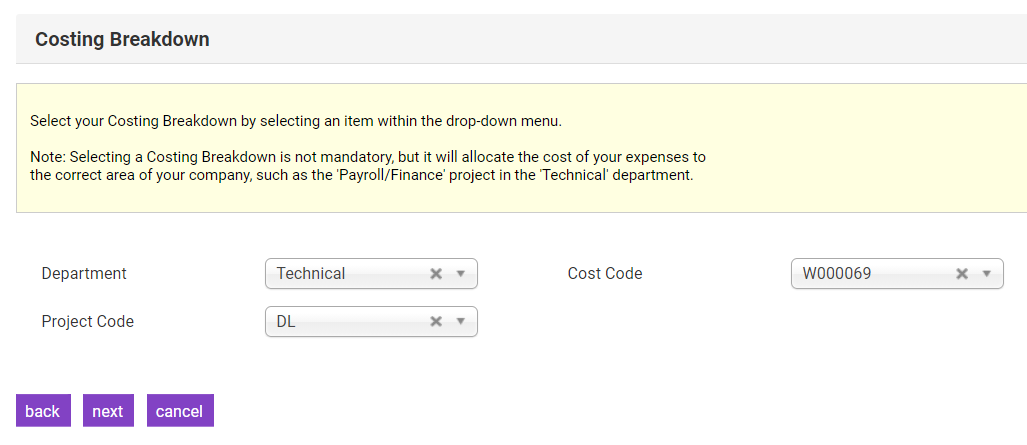
- From the 'Costing Breakdown' page, select the appropriate Costing Breakdown and then click Next. These are used to correctly allocate the cost of your expenses to the correct area of your company.
- From the 'Vehicle & Mileage Details' page, start by entering your vehicle's registration number, at which point, Assure Expenses will perform a lookup to automatically populate your vehicle details. You can then complete the rest of the fields and click Next.
Note: The Vehicle Journey Rate will determine the thresholds and mileage rate that you are allowed to claim for. This is a mandatory field if you selected 'Do you use a vehicle in the course of your work?'
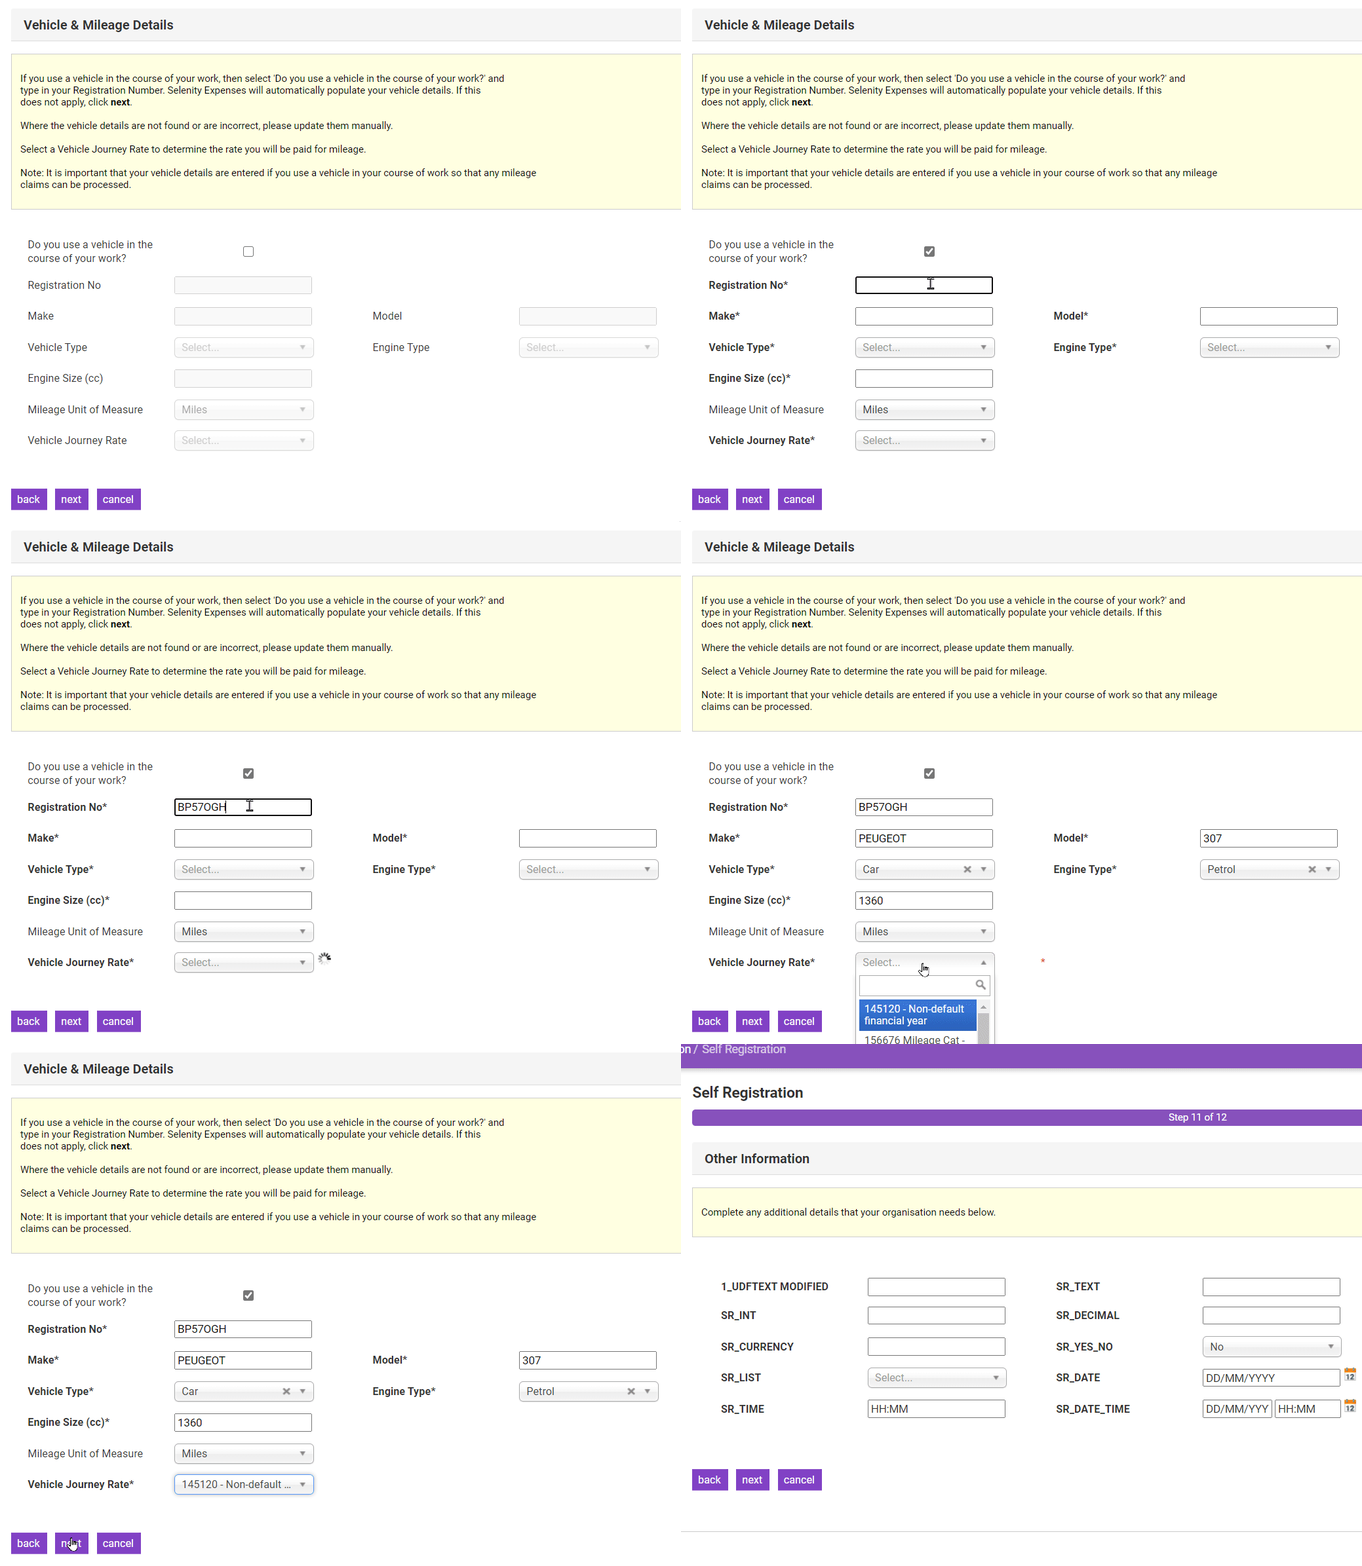
- If applicable, complete any additional user defined fields added by your organisation and click Next.
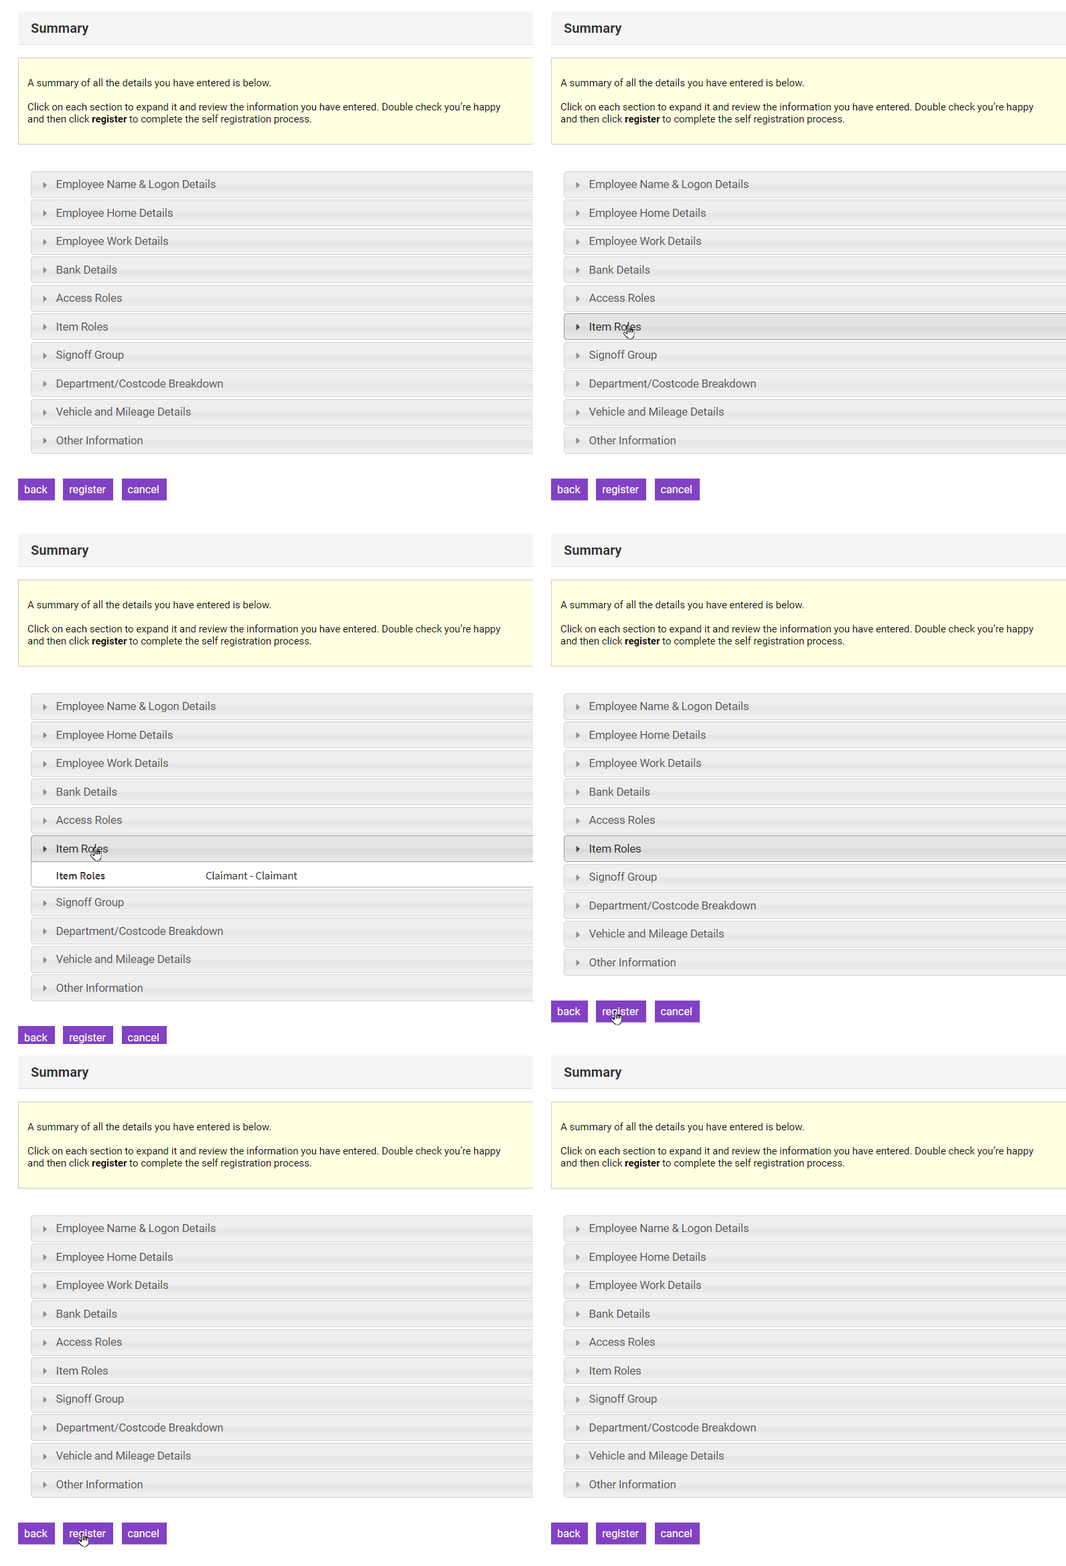
- You will be directed to the summary screen. Check that the information you have entered is correct and then click Register. We'll send your details over to your administrator for activation and let you know when you can start using Assure Expenses.
