Permissions
You will require an Access Role with the following permissions:
- Administrative Settings
- Tailoring
Important: Creating a Custom Email Template will only work in conjunction with a correctly configured GreenLight workflow. If you want to find out more about how you can utilise the Custom Email Templates feature, contact your Account Manager.
- Navigate from the Home Page to Administrative Settings | Tailoring | Email Templates.
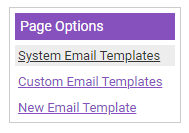
- Click New Email Template within the Page Options menu.

- The Email Template Details screen allows you to define the Email Template General Details using the following fields:
Product Area This indicates which area of the product that the email template is related to. Whichever product area you define will determine which merge fields are available to use within the email. Template Name (Mandatory) The name of this email template. Priority Use the drop down box to set a priority for the email when it is sent out to users. The options available are Low, Normal and High. To (Mandatory) The user/s that the email is sent to.
Type an employee's name/username/email address into the search field to bring back relevant search results. Click the correct result to add them to the To field.
Note: For an employee to be included in the search results, they must have a valid email address available within their employee record.CC Users listed in the CC (Carbon Copy) field will receive a copy of this email when it is sent out.
Type an employee's name/username/email address into the search field to bring back relevant search results. Click the correct result to add them to the CC field.
Note: For an employee to be included in the search results, they must have a valid email address available within their employee record.BCC Users listed in the BCC (Blind Carbon Copy) field will also receive a copy of this email when it is sent out. However, users in the BCC field will be hidden to all other recipients of this email.
Type an employee's name/username/email address into the search field to bring back relevant search results. Click the correct result to add them to the BCC field.
Note: For an employee to be included in the search results, they must have a valid email address available within their employee record.Note: For each of the To, CC and BCC fields, you can click the
 icon which will allow you to specify the following recipients:
- Team
- Budget Holder
- Approver
- Item Owner
- Line Manager
- GreenLight Attribute (If a GreenLight has been defined within the Product Area field, you will be able to send this email to employees who appears on the GreenLight form).
Send Email Select this check box if you want this email to be sent to users, once the workflow event occurs. Attachments Click the  icon to display the Attachments window. This will allow you to add an attachment to this email template which can be downloaded by users when they receive the email. You can also View or Delete any existing attachments on the Email Template.
To add an attachment, click the Add New Attachment link. You can then specify an Attachment Title, Description and browse for a file on your computer/network. Once you have specified all of this information, click upload.Subject (Mandatory) Enter the subject of the email.
- Define the email content within the Email Content text editor. The text that you add can be formatted using the available options in the toolbar (hovering over an option will display the name of that option).
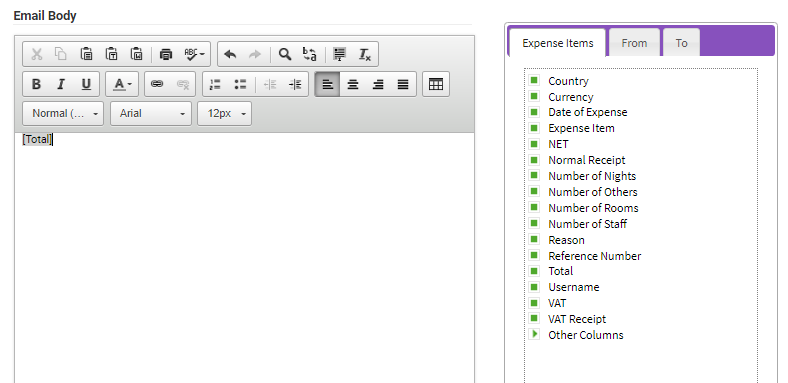
- Merge fields can be added to the email by dragging them from the tree into either the Subject field or the Body of the email.
Add a merge field to the email Subject Click and drag the merge field from the tree into the Subject field and drop it in the position that you want the merge information to be placed.
You can select different merge fields by moving through the Product Area, To and From tabs.Add a merge field to the Email Body Click and drag the merge field from the tree into the body of the email and drop it in the position that you want the merge information to be placed.
You can select different merge fields by moving through the Product Area, To and From tabs.
Tip: A merge field will allow you to insert data from your Assure Expenses database into the email template, based upon your system configuration.
For example, you can add the Sender Email Address merge field into an email template and each time this is sent to users, it will populate the sender's email address, in the location that you place the merge field.
If this is applied to the email that is sent to an administrator when a claimant has submitted their expenses, it will automatically populate the claimant's email address in place of the merge field. - Click Save to store the email template or click Cancel to discard any changes.

 icon which will allow you to specify the following recipients:
