Permissions
You will require an Access Role with the following permissions:
- Imports/Exports
Create a Financial Export
- Navigate from the Home page to Administrative Settings | Imports/Exports | Financial Exports.
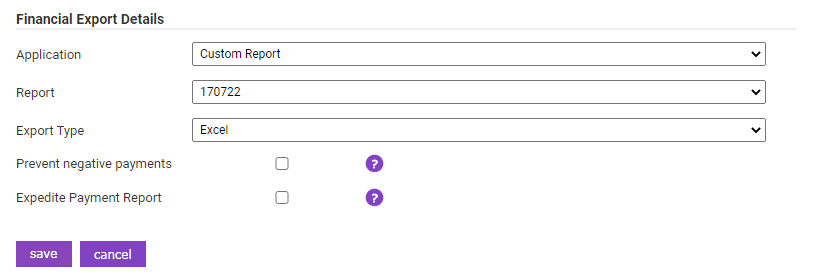
- From the Page Options menu, click Add Export to open the Financial Export Details window.

- Complete the Financial Export Details fields:
Field Description Application Select an application that the export will be based on. NHS Trust Select the relevant NHS trust from the drop-down list.
Note: The 'NHS Trust' field only displays when 'Application' is set to 'ESR'.Report Select the report which will be used for the data export. Export Type Select which format to export the report data in.
Note: The 'Export Type' field only displays when 'Application' is set to 'Custom Report'.Prevent Negative Payments Select the checkbox to only export positive payment values. Any negative payments for employees will be excluded. Expedite Payment Report Select the checkbox to mark the export as an Expedite Payment Report.
Note: Option will only appear for Expedite customers only. - Click Save to confirm and return to the Financial Export Details page.
Schedule a Financial Export
- Within the Financial Export Details page, click Schedule next to the financial export to open the Scheduled Reports page.


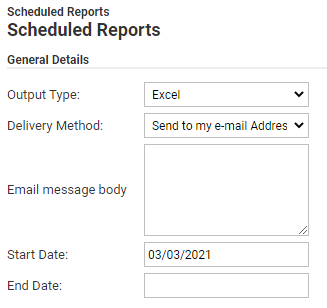
- Complete the General Details section:
Scheduled Report General Details Description Output Type Select the file export file type from Excel, CSV or Flat File. Delivery Method Select the intended destination of the export. Email Message Body Enter any additional text to add to the body of the email. FTP Address (Option only displays when delivery method is set to FTP Server). Username (Option only displays when delivery method is set to FTP Server). Password (Option only displays when delivery method is set to FTP Server). Use Secure Connection (SSL)? (Option only displays when delivery method is set to FTP Server).
Selecting the checkbox will encrypt the information using a secure URL (HTTPS rather than HTTP).Start Date Enter a start date for the scheduled report. End Date Enter an end date for the scheduled report (this can be left blank to continue the schedule indefinitely). - Complete the Schedule section to determine when the report will be run.
- Click Save to confirm.
Perform the Export
- Within the Financial Export Details page, click Export next to the financial export and then click OK when the dialog appears.
Note: Depending on your export application type, you may be required to configure additional options.

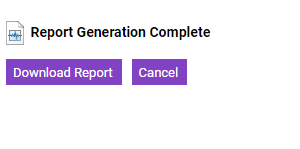
- Once the report has run, click Download Report to save a copy to your computer.

View Export History
- Within the Financial Export Details page, click
 next to the Financial Export to open the Export History Details page.
- Click
 next to an export to re-run the export and download a copy to your computer.


