Permissions
You will require an Access Role with the following permissions:
- Employees
- Vehicle Journey Rate Categories
- Expense Items
When an employee is relocated from one work address to another work address, they may be entitled to claim for the excess mileage which they undertake to commute from their home to their new work address. Assure Expenses allows you to set a fixed excess mileage figure per employee, which they are able to claim for by using the 'Fixed Excess Mileage' expense item.
In order to use fixed excess mileage within your system, you will be required to configure a few different areas of Assure Expenses. These steps are listed below:
Step 1 - Configure the Vehicle Journey Rate Category (Optional)
If your organisation has a set rate for excess mileage, you can configure that rate within a 'Vehicle Journey Rate Category' and set it against the 'Fixed Excess Mileage' expense item. This will ensure that any employees who claim the 'Fixed Excess Mileage' expense item will receive that rate. Alternatively, you can skip this step if you would prefer that claimants continue using their existing Vehicle Journey Rate Categories.
For information on how to create a vehicle journey rate, view Manage Vehicle Journey Rate Categories.
Step 2 - Configure the Item Role
Creating an Item Role specifically for employees who are permitted to claim excess mileage will allow you to have greater control over who has access to claim and for how long. At this point, you will only need to create the Item Role. This will be assigned to the appropriate claimants in 'Step 3'.
For information on how to create an item role, view Manage Item Roles.
Step 3 - Set the Excess Mileage Per Employee
- Navigate from the Home page to Administrative Settings | User Management | Employees.
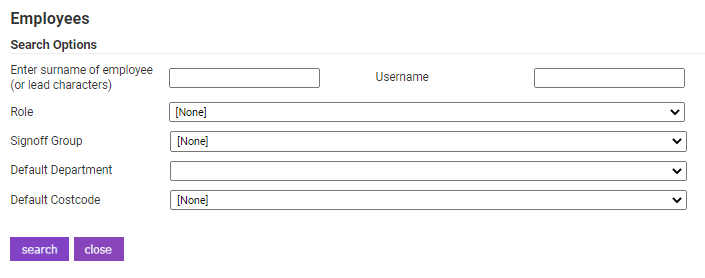
- Search for the employee and click
 .
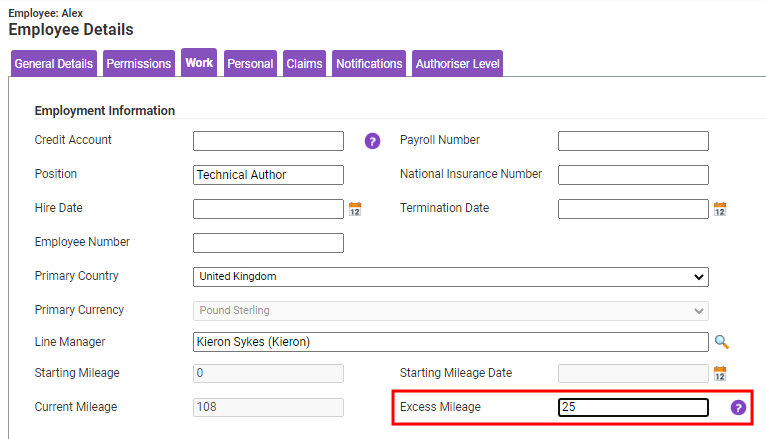
. - Click the Work tab and then locate the 'Excess Mileage' field. Enter the number of excess miles an employee is permitted to claim for each applicable journey.
- Click the Claims tab and assign the Item Role created in Step 2.
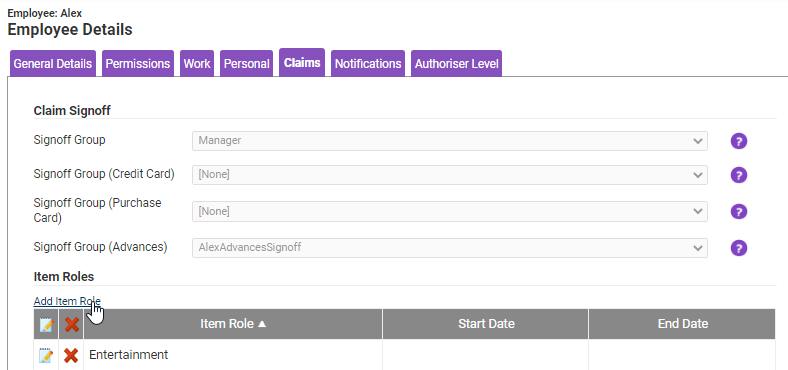
Note: You can use the 'Start Date' and 'End Date' fields on an Item Role to limit a claimant to only claiming excess mileage for a set period.
Step 4 - Create the 'Fixed Excess Mileage' Expense Item
- Navigate from the Home page to Administrative Settings | Base Information | Expense Items.
- Create or edit the expense item that you want to use for 'Fixed Excess Mileage'. For more information about creating an expense item, view Create an Expense Item.
- Set the Item Type field to Fixed Excess Mileage.

Optional: Set the Vehicle Journey Rate Category that you created in Step 1, otherwise, leave this blank.
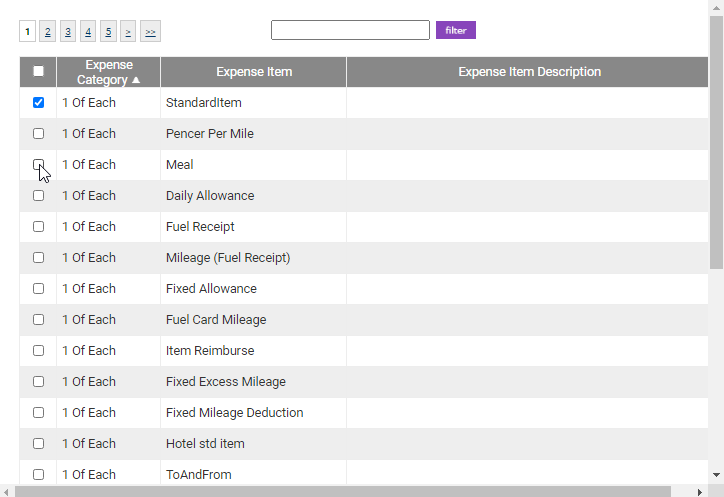
- Navigate to the 'Roles & Limits' tab. Click Add Item Role and select the Item Role created in Step 2. For more information, view Manage Item Roles.
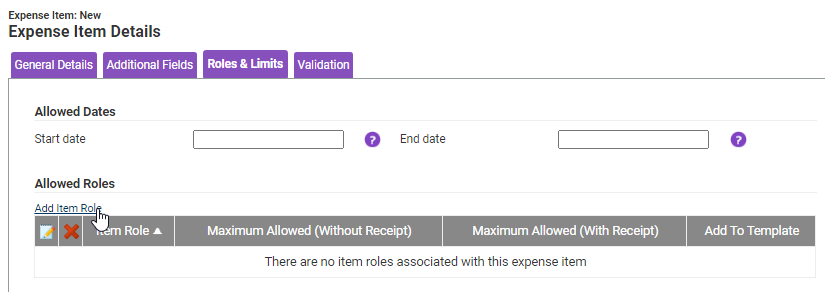
- Click Save to store the changes and return to the Expense Items menu.
Step 5 - Subscribe to Email Notifications for Change of Address (Optional)
To ensure that the 'Excess Mileage' value reflects the correct distance, you can subscribe to email notifications which will inform you when a home or work address is added, edited or deleted for a claimant. You can configure this for each employee who should be notified of address changes. For more information, view Add an Employee.
Note: You will only be notified for claimants who have an 'Excess Mileage' value set on their employee record.

 .
.


