Permissions
You will require the following permissions:
- No permission required
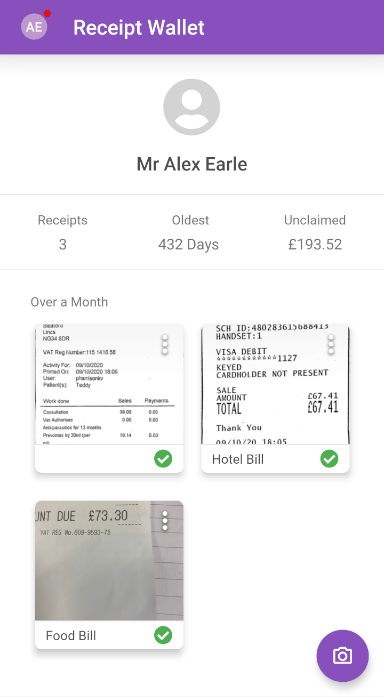
Adding a receipt whilst on the move can save you time when it comes to organising and claiming your expenses at the end of the month. We created the Receipt Wallet as a handy place to digitally store your receipts rather than keeping a bunch of them in your actual wallet. We automatically send your receipts to Receipt Scan, our handy optical character recognition machine, which will read the key data from your receipt image and populate it when you add it to an expense. This article will explain how to add a receipt to your Receipt Wallet.
For more information on Receipt Scan, view Receipt Scan - Feature Overview.
- Tap the Navigation Menu
 and then tap Receipt Wallet.
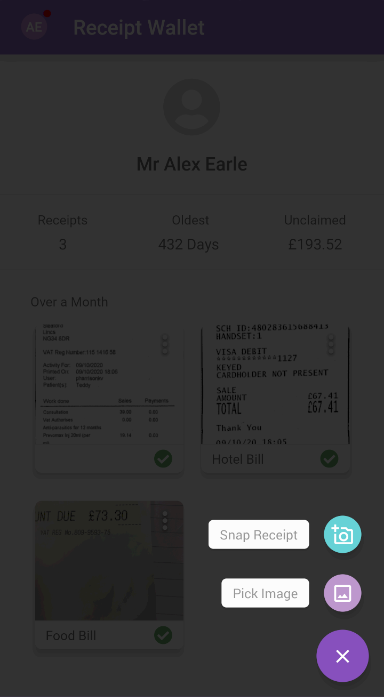
- Tap
 and then tap Snap Receipt
  or Pick Image
  .
.
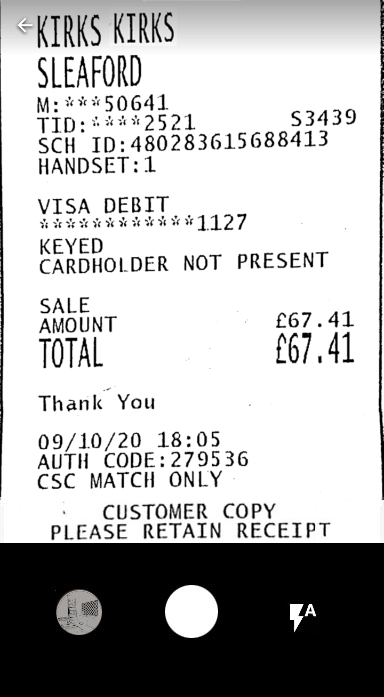
- If you tapped Snap Receipt
 , take a photo of your receipt using the camera. A preview of receipt image will appear next to the capture button. Tap the preview next to the capture button. This will display the receipt images that you have taken on the review screen. If the images are blurry, we recommend that you retake them.
Note: You can take as many photos as you need. These images will appear as a preview next to the capture button as you take each photo.
- If you tapped Pick Image
 , select your receipt image from within your picture gallery. This will display the receipt image that you have selected on the review screen.
- If you tapped Snap Receipt
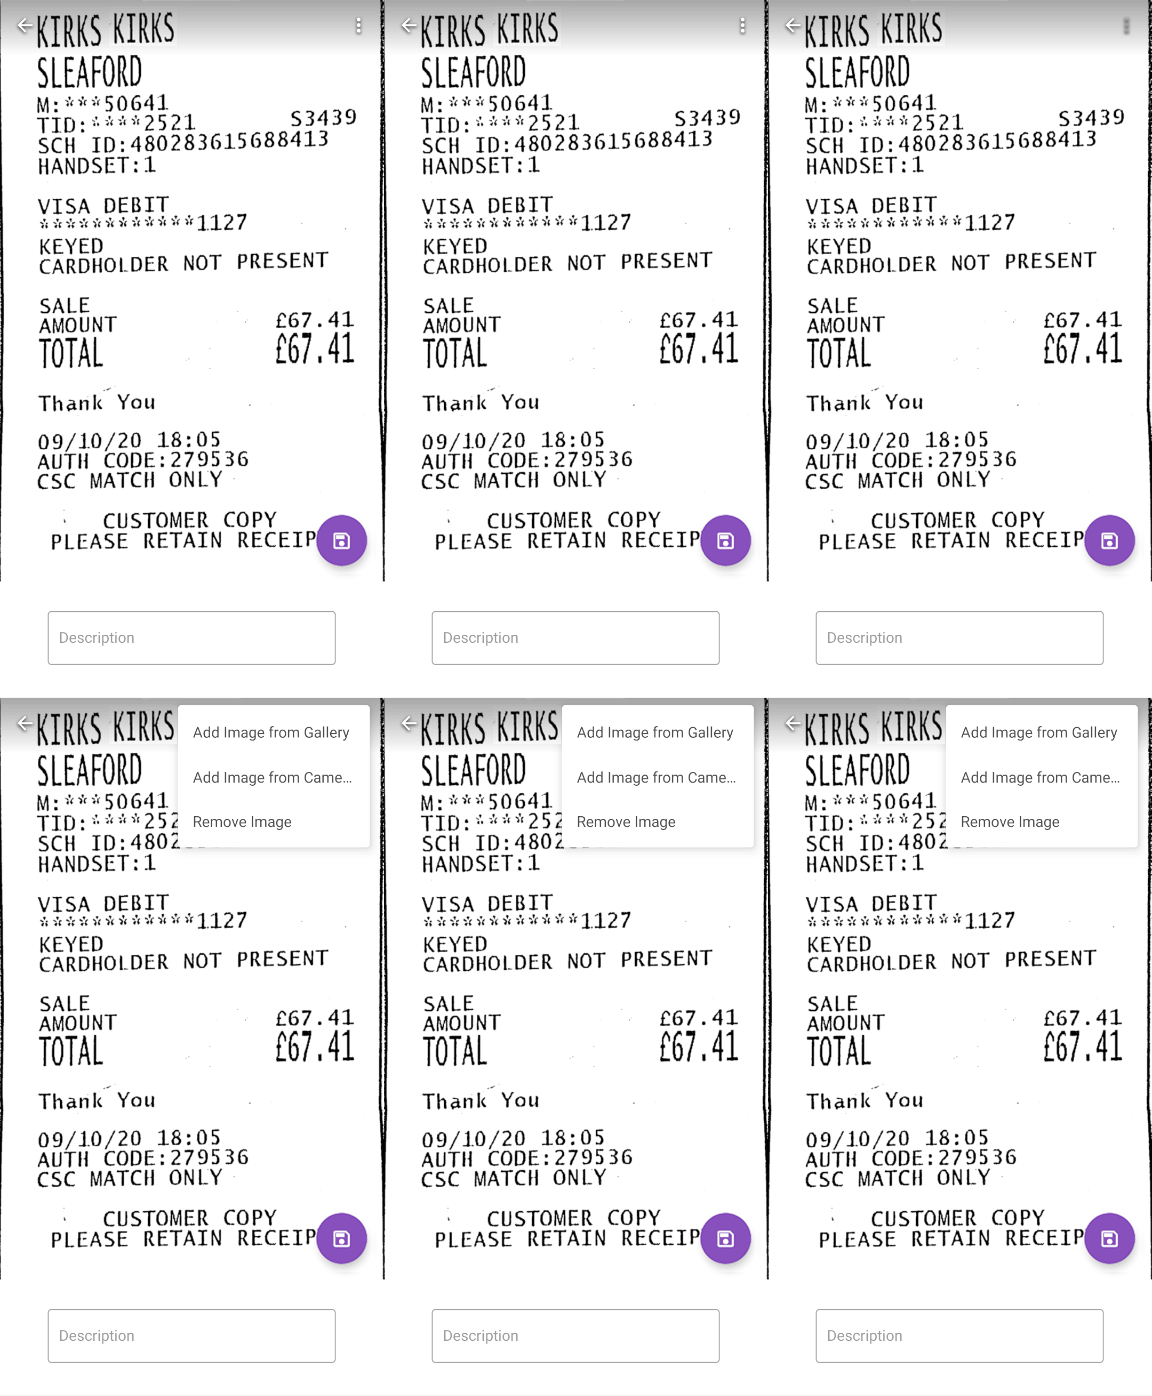
- Tap the menu
 on the review screen to:
Action Description Add New Image from Gallery This allows you to add images from your gallery to your receipt. Add New Image from Camera This allows you to take a photo using your camera and then add it to your receipt. Remove Image This will delete the image that is currently being shown. If this is the only receipt image, you'll be taken back to your Receipt Wallet. 
- Enter a description of your receipt image within the 'Description' field.
- Tap Save
 .
. - Your receipt will then be processed by Receipt Scan. The table below shows the different states which will be displayed next to your receipts:
State Description 
The receipt image has been sent to Receipt Scan and OCR processing is in progress. 
OCR processing is complete and information is available to prepopulate on your expense. When adding an expense from this receipt, the following information may be prepopulated for you: - Expense Date
- Currency
- Total
- VAT

OCR processing has failed. No information will be available to prepopulate on your expense, but you can still add an expense from your receipt. - The next step is to add an expense from your receipt. For more information, visit Mobile - Add an Expense.


 and then tap Snap Receipt
  or Pick Image
  .
.

 on the review screen to:
 .
.


