Permissions
You will require the following permissions:
- 'Check & Pay' will only be available if you are an approver of expenses. You will require the 'Check & Pay' option on your Access Role.
Checking if an expense is acceptable is an important part of the Assure Expenses Mobile process- allowing and returning your claimant's expenses is vital for the company's reimbursement policies. This article will explain how to approve and reject claims and its individual expenses.
- Tap the Navigation Menu
 and then tap Check & Pay. A list of claims that need checking will appear.
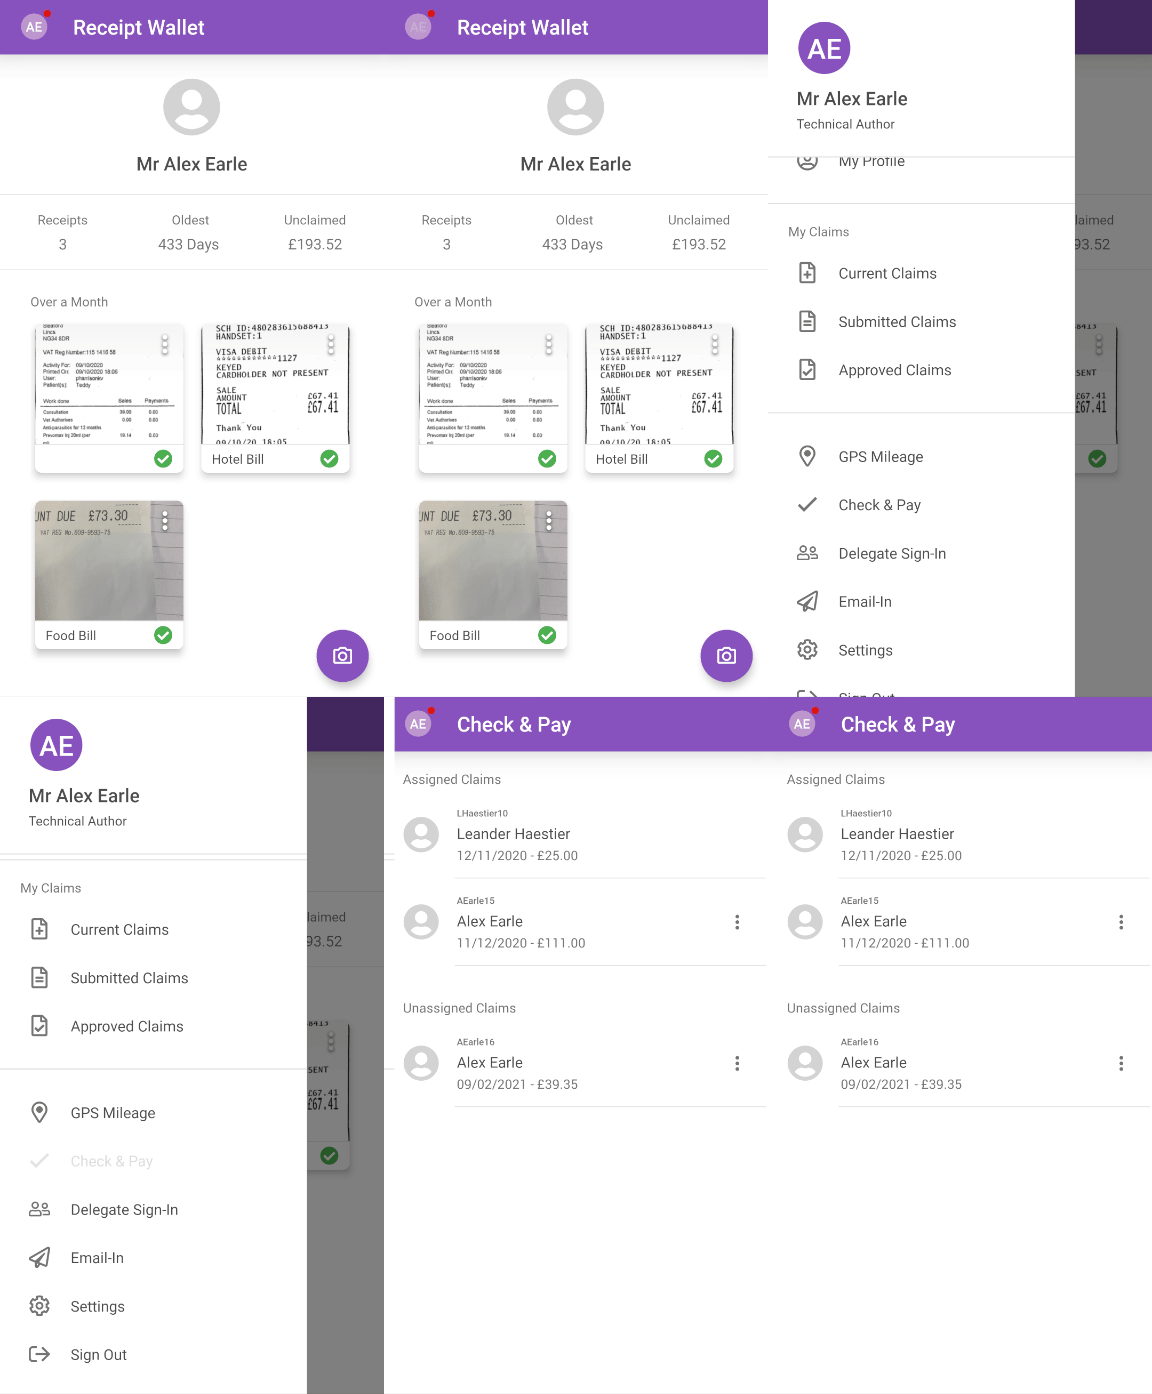
Note: When you have signed in to Assure Expenses Mobile, the Navigation Menu
 will display a red dot
  to indicate that you have a notification. This could be to notify you that you have claims to check. Tap Notifications and then tap the 'You Have Claims to Check' notification. This will take you to the 'Check & Pay' menu.
 - Within the 'Assigned Claims' section, tap the claim that you want to check. To view the history of the claim, tap the menu
 at the top of the page and then tap Claim History.
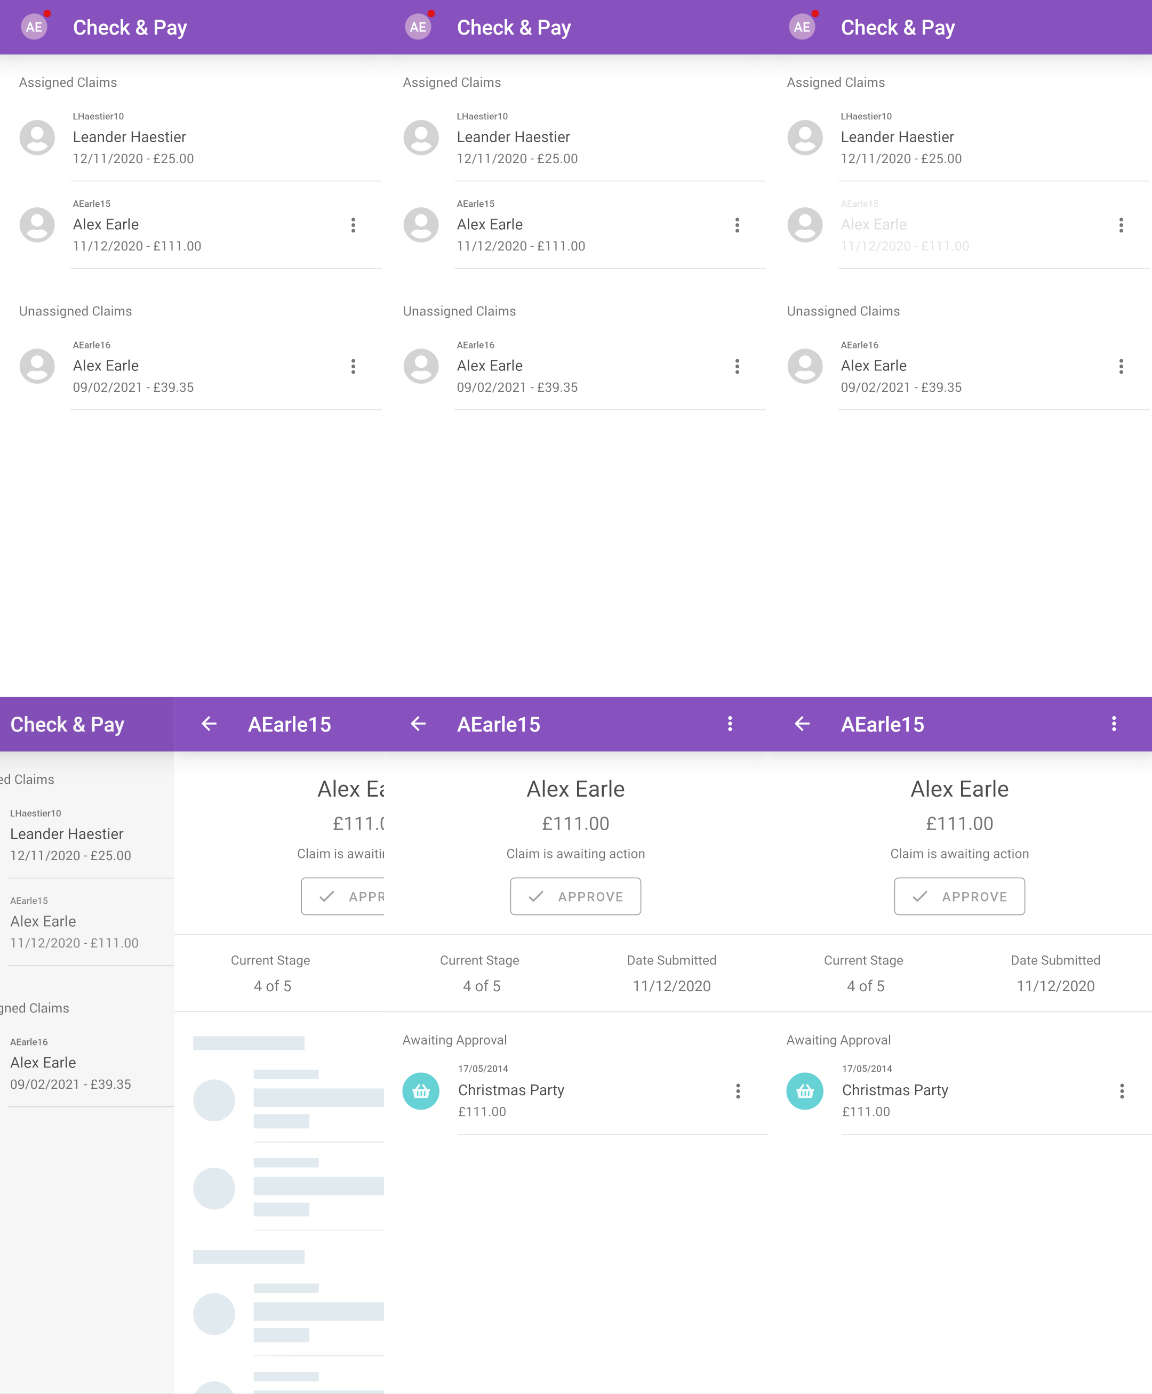
Note: If you are part of a team of approvers, claims which have progressed through to your team for approval will be displayed in the 'Unassigned Claims' section. You must assign a claim to yourself before you are able to check it. For details on how to do this, view Mobile - Assign a Claim.
- Tap on an expense to view more details.
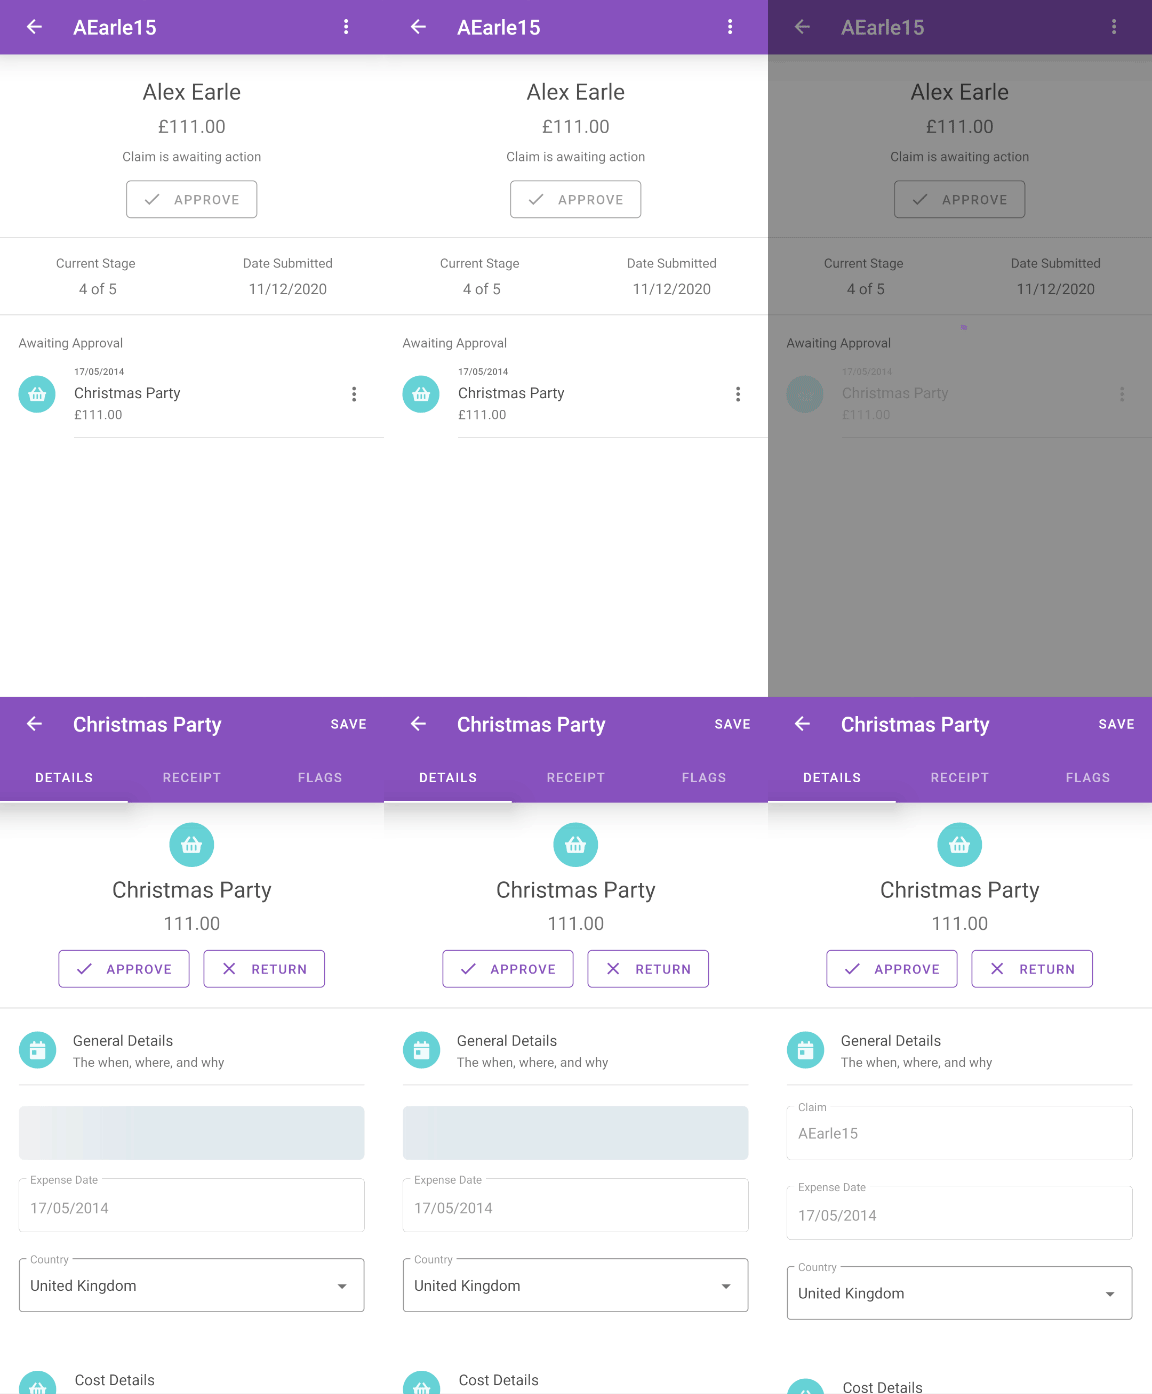
Tip: Tap the menu
 next to an expense and then tap Approve if you want to approve the expense instantly. If 'One Click Approval' is configured by your organisation, you can tap Approve to approve the claim without approving each individual expense.
 - Check the content of the expense item. There are 4 things you are able to check:
- You are able to change any details about the expense within the 'Details' tab. When saving, you will be required to enter a reason for amending the expense.
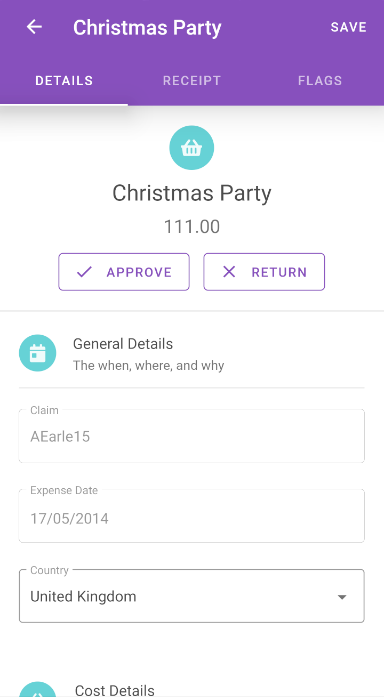
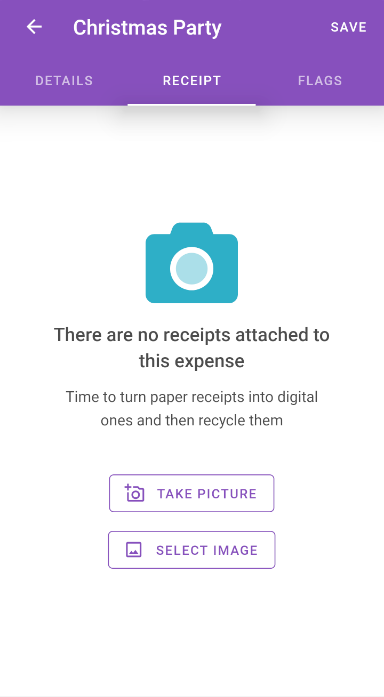
- You can check the receipts attached to the expense item within the 'Receipts' tab.
- If your organisation uses Expedite Validate and the expense item requires validation, you can check validation results attached to the expense within the 'Validation' tab. For more information, visit Mobile - View a Claimant's Validation Results.
- You are also able to check any flags attached to the expense item within the 'Flags' tab. Tap a flag to view the flag details.
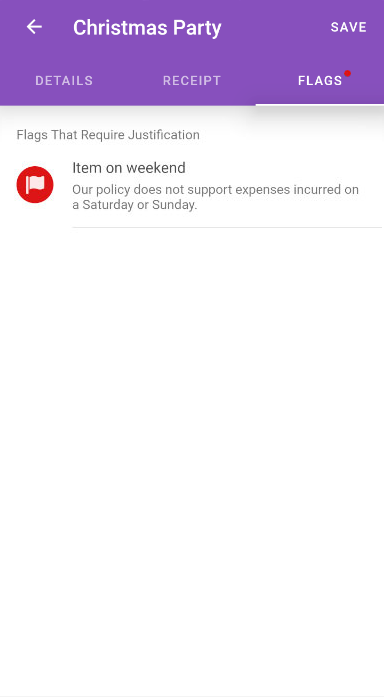
- The list of flags will be split in to different sections. Flags under the 'Flags That Require Justification' section will require you to enter a justification. You will not be able to approve the expense until you have entered a justification for each flag which requires one.
- For certain flag types, a 'Related Expenses' tab will be displayed above the flag details. This provides further information for each of these flag types:
- 'Frequency of Item (Count)' flag - Related expenses will display with a
 .
. - 'Group Limit with a Receipt' flag - Displays policy information indicated with a
 and any related expenses will display with a
  .
. - 'One in a Group' flag - Displays policy information indicated with a
 and any related expenses will display with a
  .
. - 'Duplicate Expense' flag - Displays duplicate expense items with a
 and any related expenses will display with a
  .
.
- 'Frequency of Item (Count)' flag - Related expenses will display with a
- The list of flags will be split in to different sections. Flags under the 'Flags That Require Justification' section will require you to enter a justification. You will not be able to approve the expense until you have entered a justification for each flag which requires one.
- You are able to change any details about the expense within the 'Details' tab. When saving, you will be required to enter a reason for amending the expense.
- Tap SAVE when you are satisfied with any changes you have made.
- When you have checked the expense, you need to decide whether to approve or return the expense.
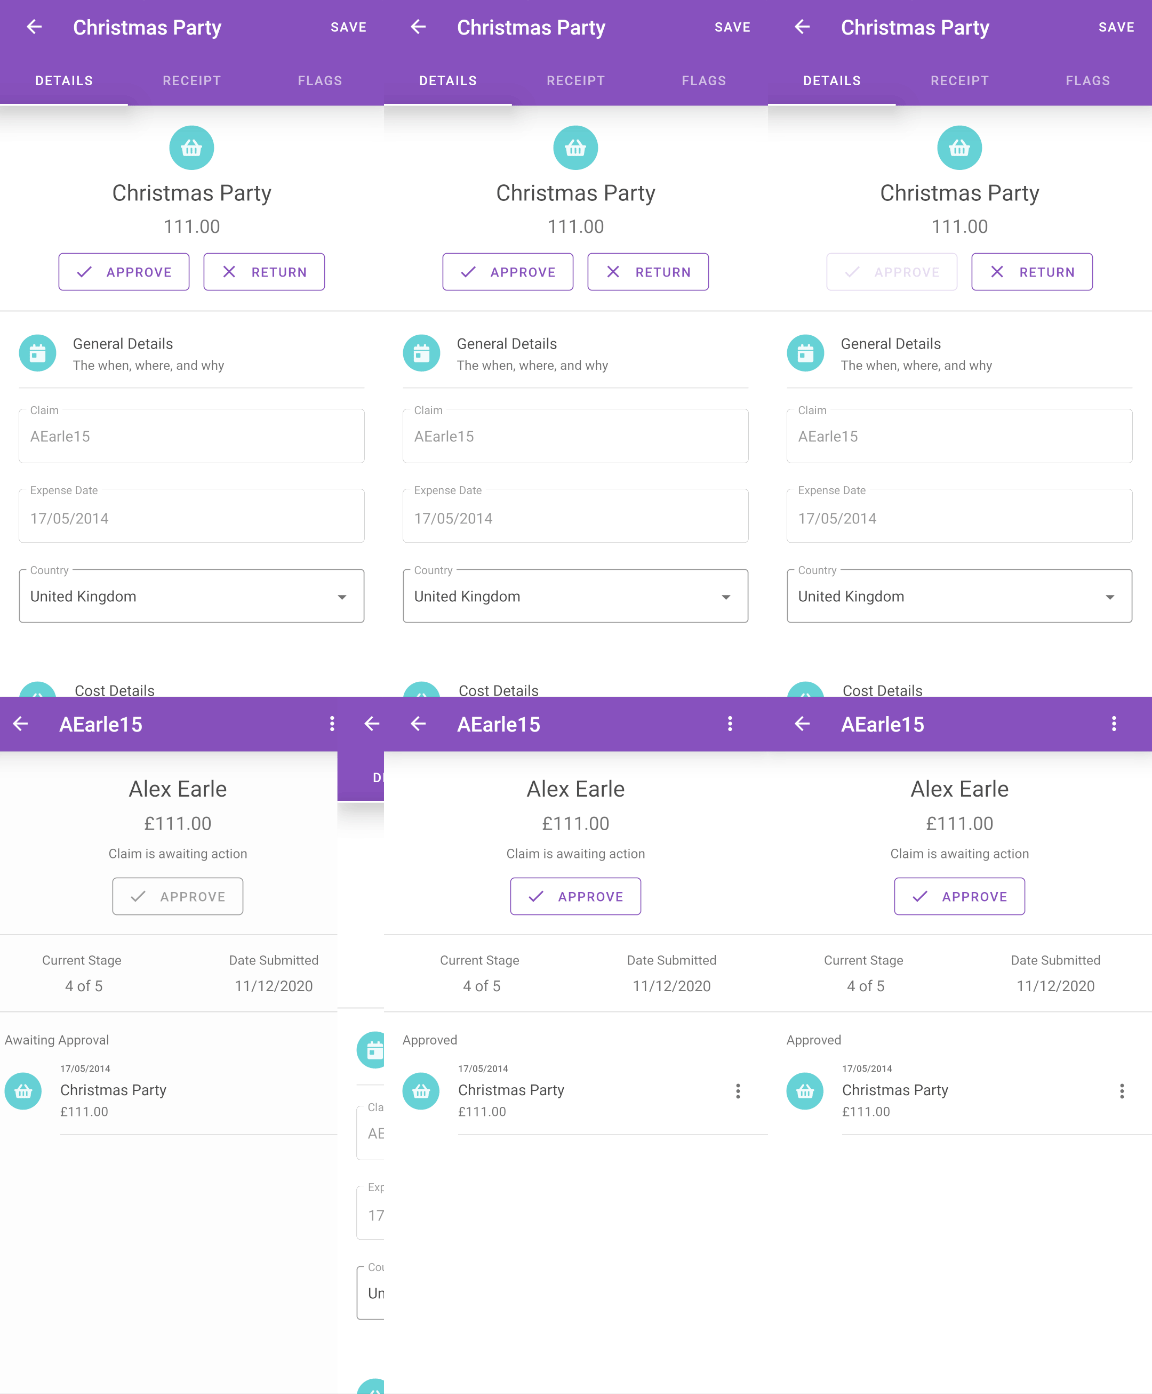
- If you are happy to approve the expense, tap on the Details tab and then tap Approve. The expense will move into the 'Approved' section.
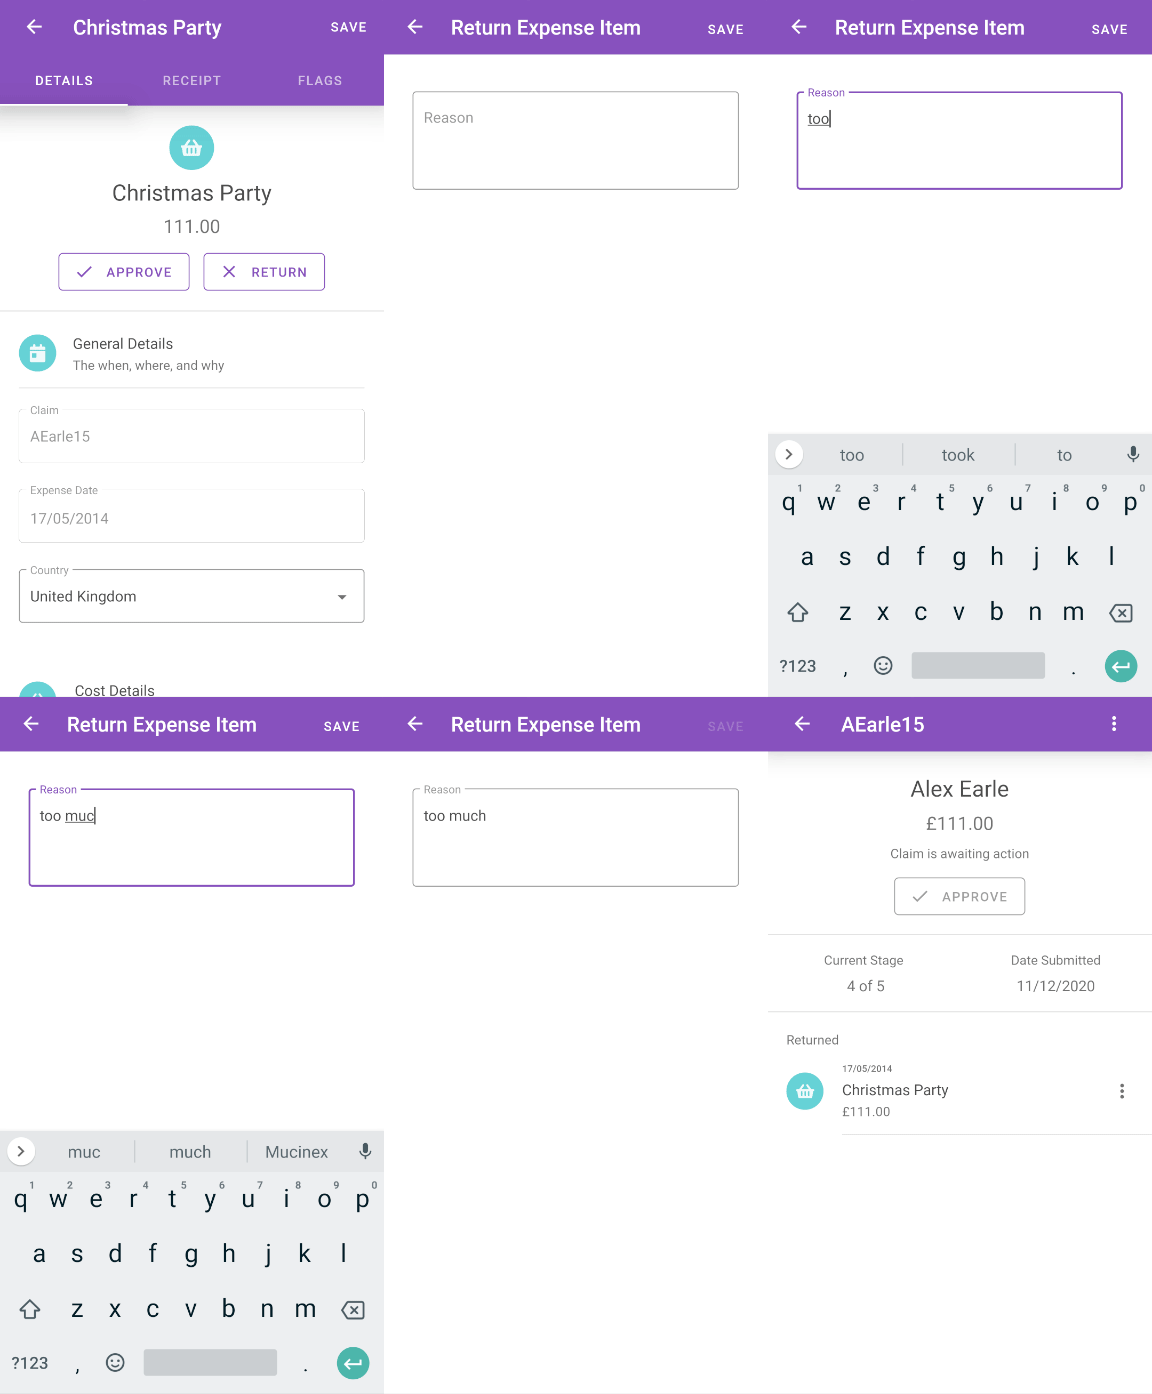
- If there is an issue with the expense, tap Return to return the expense item to the claimant. You will be prompted to enter a reason for returning the expense. After entering a reason, tap SAVE to return the expense to the claimant. The expense will move into the 'Returned' section.
- If you are happy to approve the expense, tap on the Details tab and then tap Approve. The expense will move into the 'Approved' section.
- Once you have approved all of the expense items, the final action will be to tap Approve. If there are any returned expense items, the claimant will either need to amend the expense, dispute the return, or delete the expense before you can approve the claim.
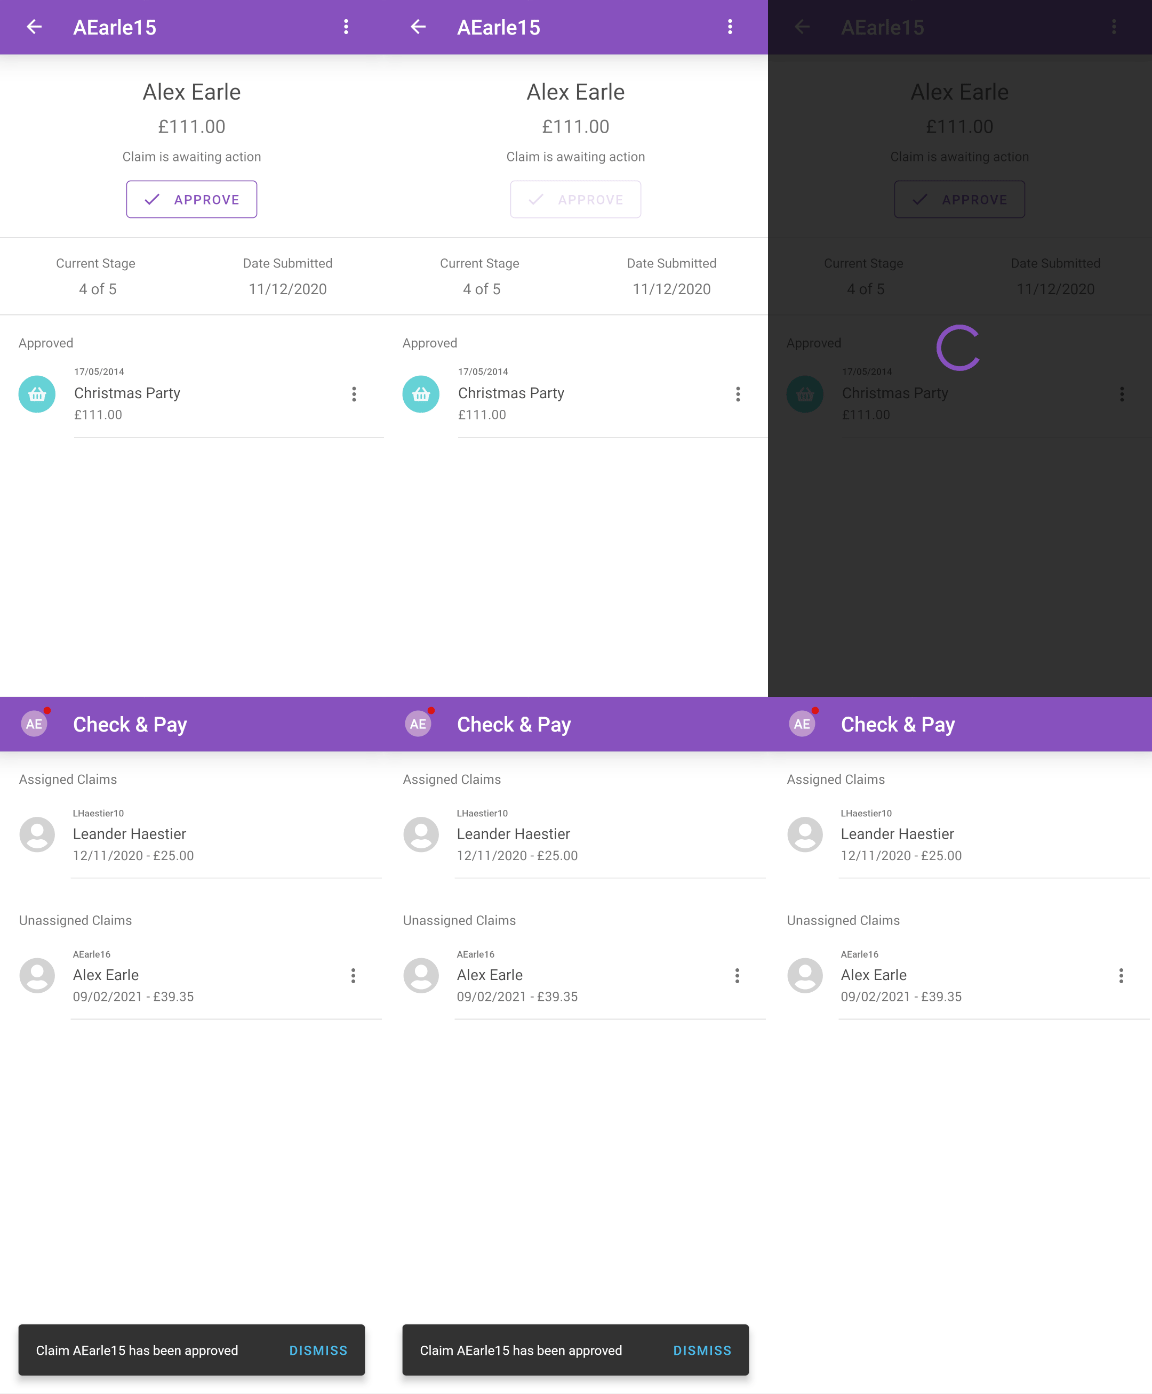
- If you are not the final approval stage, tapping Approve to approve the claim will progress the claim on to the next Signoff Group stage.
- If you are not the final approval stage, tapping Approve to approve the claim will progress the claim on to the next Signoff Group stage.
- If you are the final approval stage but do not have 'One Click Approval' enabled within the Signoff Group settings, tapping Approve will return you to the Check and Pay screen. From here you can tap the claim that you have just approved and then tap Allocate For Payment.
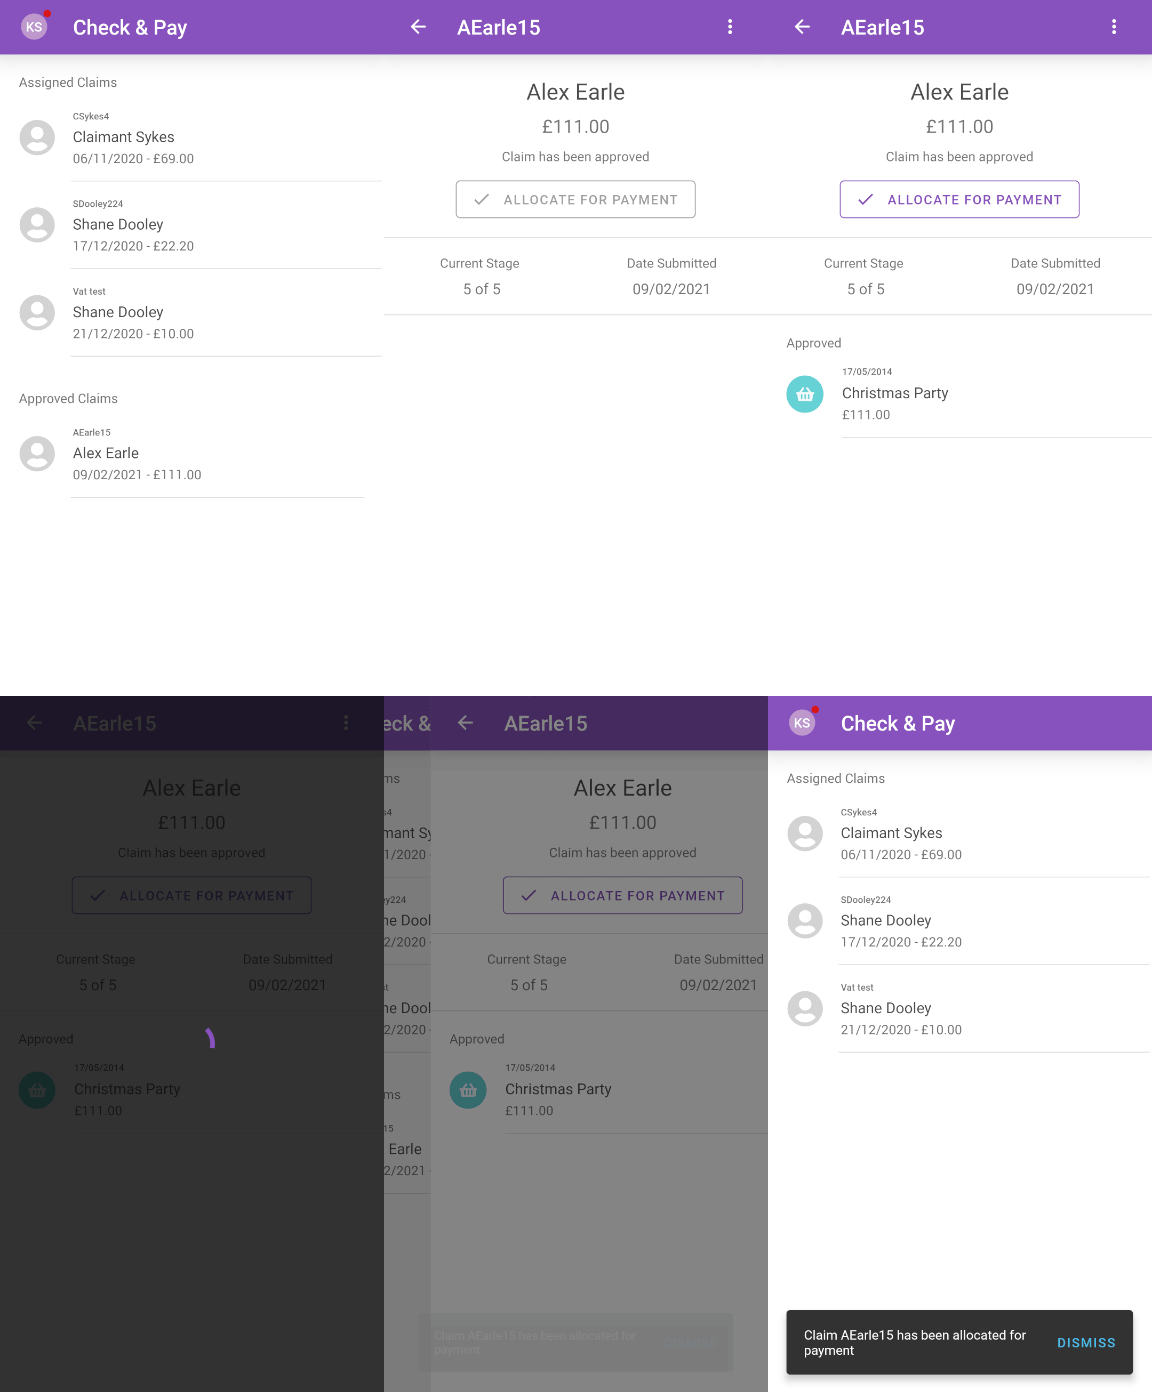
- If you are the final approval stage and have 'One Click Approval' enabled within the Signoff Group settings, tapping Approve will approve the claim and allocate the claim for payment. This will complete the process.
Note: Once a claim has been approved, it can't be unapproved.
- If you are the final approval stage and have 'One Click Approval' enabled within the Signoff Group settings, tapping Approve will approve the claim and allocate the claim for payment. This will complete the process.
 and then tap Check & Pay. A list of claims that need checking will appear.
 to indicate that you have a notification. This could be to notify you that you have claims to check. Tap Notifications and then tap the 'You Have Claims to Check' notification. This will take you to the 'Check & Pay' menu.
 at the top of the page and then tap Claim History.


 .
. and any related expenses will display with a


