Permissions
You will require an Access Role with the following permissions:
- Employees
- Import Data Wizard
- Reports
Archive an Individual Employee
- Navigate from the Home page to Administrative Settings | User Management | Employees.
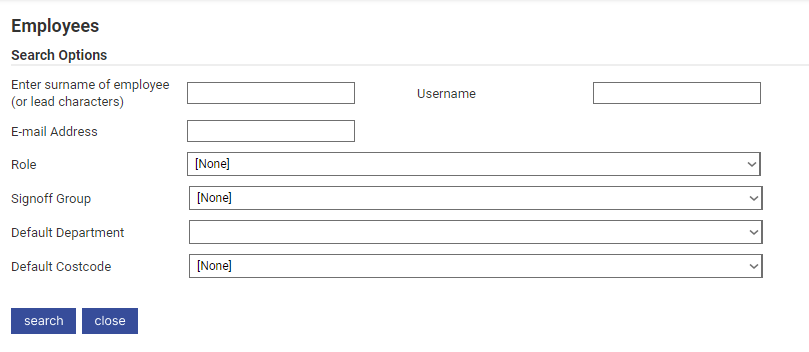
- Use the available search filters and click Search to find the required employee.
- Click
 to archive the selected employee.
Automatically Archive an Employee
You are able to automatically archive an employee by configuring General Options for employees. For more information, visit General Options - Employees.
Archive Employees in Bulk
Create a spreadsheet with the required fields listed below and import the information via the Import Data Wizard. If you do not already have a spreadsheet, you can run an existing standard report such as the Employee List (a list of all employees within the system) and modify as necessary.
Required Fields
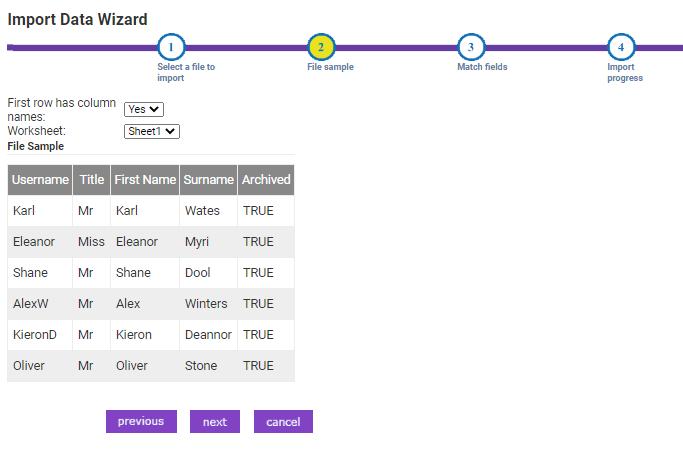
- Username
- Title
- First Name
- Surname
- Archived
Note: If you already have a spreadsheet with the employees you want to archive along with the required fields, skip to the Import Data Wizard section.
Modify the 'Employee List' Report
- Navigate from the Homepage to Reports.
- Enter Employee List into the search filter and click Search.
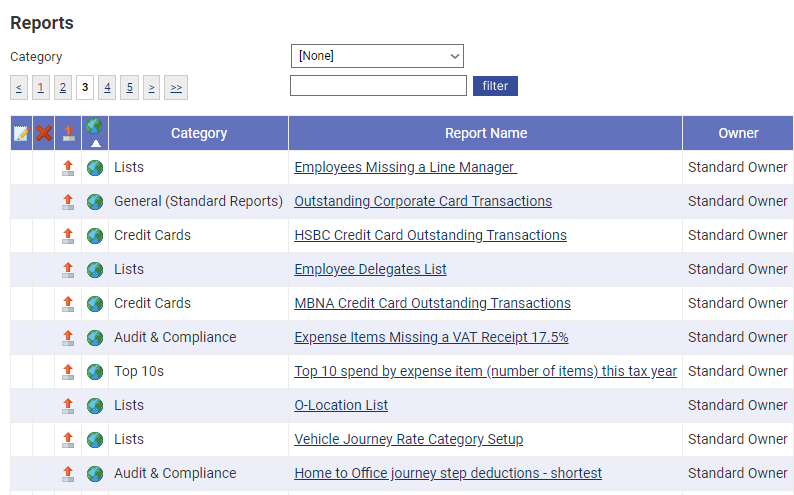
- Click on the name of the report to run it and and then click Change Report.

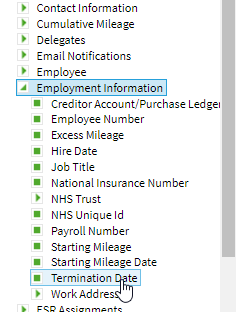
- In the Columns tab, navigate to Other Columns | Employee Information and select/drag Termination Date.
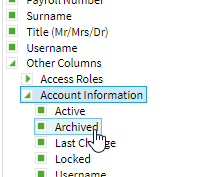
- In the Columns tab, navigate to Other Columns | Account Information and select/drag Archived.
- Click Save.
- Click Export to Excel and save the file in an accessible location. The spreadsheet will display all employees that are not archived and allow you to view their termination dates, if applicable.
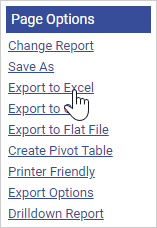
- Within the spreadsheet, for the employees that require terminating, change the archived column to 'TRUE' and click Save.
Note: 'TRUE' must be in upper case otherwise the data import will fail.
Import Data Wizard
- Navigate from the Homepage to Administrative Settings | Imports/Exports | Import Data Wizard. For more information, view Use the Import Data Wizard.
- Select a File Type from the drop-down list.
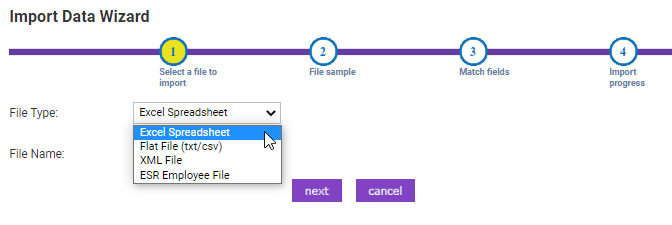
- Click Browse to search your computer for the import file which matches the File Type you have selected.
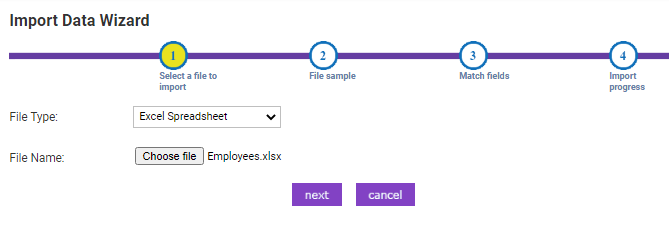
- Click Next to proceed to the File Sample screen. A screenshot of your uploaded file will be displayed. Use the drop-down lists to match the formatting of the spreadsheet.
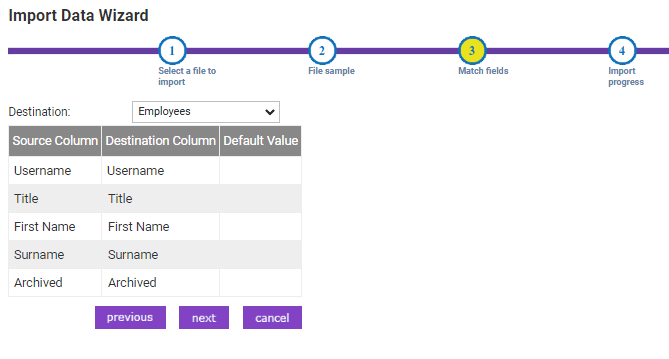
- Click Next to proceed to the Match Fields screen. In the Destination drop-down list, select 'Employees'. In each Destination Column, click the cell and use the drop-down list to match the required fields.
Note: Only the required fields listed need to be matched (Username, Title (Mr/Mrs/Dr), First Name, Surname and Archived). For any other non-mandatory fields, select the '<ignore>' option.
- Click Select and you will see additional column headers. Ignore this and then click Next to import. A list of successfully imported records will be displayed.

 to archive the selected employee.


