Permissions
You will require an Access Role with the following permissions:
- Item Roles
- Employees
- Expense Items
Add an Item Role
- Navigate from the Home page to Administrative Settings | User Management | Item Roles. This will display a list of existing Item Roles and their descriptions.

- Click New Item Role in the Page Options menu.

- Complete the General Details section:

Field Description Role Name* Enter a name for the role. Description Enter a description for the role. - Click Link Expense Item to add an expense item to the item role. The General Details window will be displayed.

- Complete the expense item General Details.

Field Description Expense Item* Select an expense item from the drop-down list. Any expense items selected will appear within the claimant's My Expense Items list when making a claim. Maximum limit without receipt Enter the maximum spend that is accepted without a receipt for the expense item. Maximum limit with receipt Enter the maximum spend that is accepted with a receipt for the expense item. Add to template Select the check box to make the expense item available for users with this Item Role assigned. Click Save to add the expense item to the Item Role.
Click Save to store the Item Role or Cancel to discard any changes.
Assign an Expense Item to an Item Role
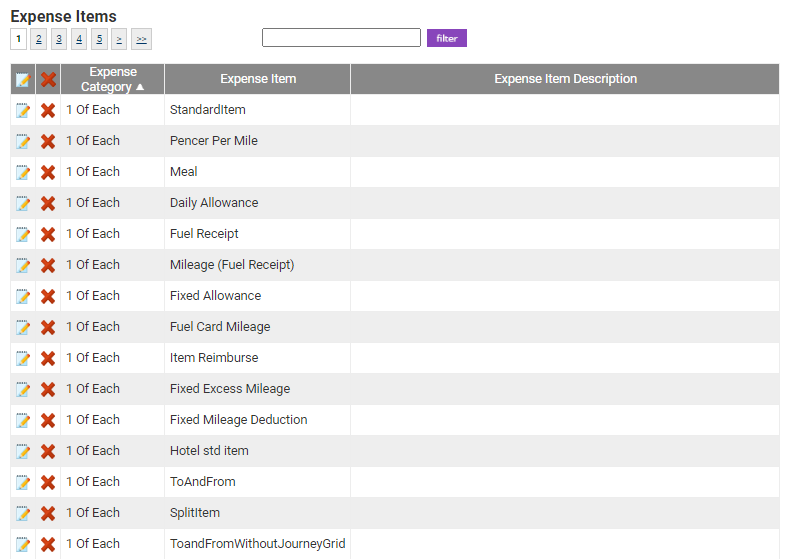
- Navigate from the Home page to Administrative Settings | Base Information | Expense Items.

- Use the search filter on the 'Expense Items' page to search for an expense item.
- Click
 next to the expense item to open the 'Expense Item Details' page.
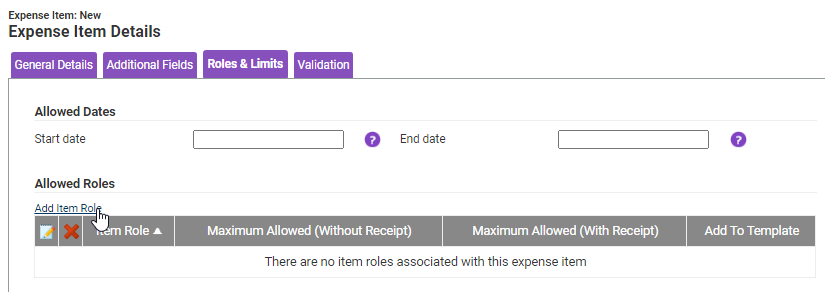
 - Within the Roles & Limits tab, click Add Item Role. This will display a window that allows you to select the Item Role that you want to assign to the expense item.

- Select an Item Role from the Item Role drop-down list to assign the expense item to. If required, choose a minimum and maximum limit that can be claimed with or without a receipt. Click Save to store the changes.
- Click Save on the Expense Item Details page to complete this process.


 next to the expense item to open the 'Expense Item Details' page.
