Permissions
You will require the following permissions:
- Your organisation must be licenced for Assure Expenses Expedite - Scan
Claimant Steps
An organisation will typically receive a batch of envelopes, which are then distributed to claimants. Each pre-printed envelope will have an Envelope Number (EN) on the back. You will need to request an envelope by following your organisation's specific policies.
- Follow the normal procedure for Creating an Expense Claim until the point of submitting the claim. Before you submit your claim, you will see an Envelope Attachment Information box which includes important information.

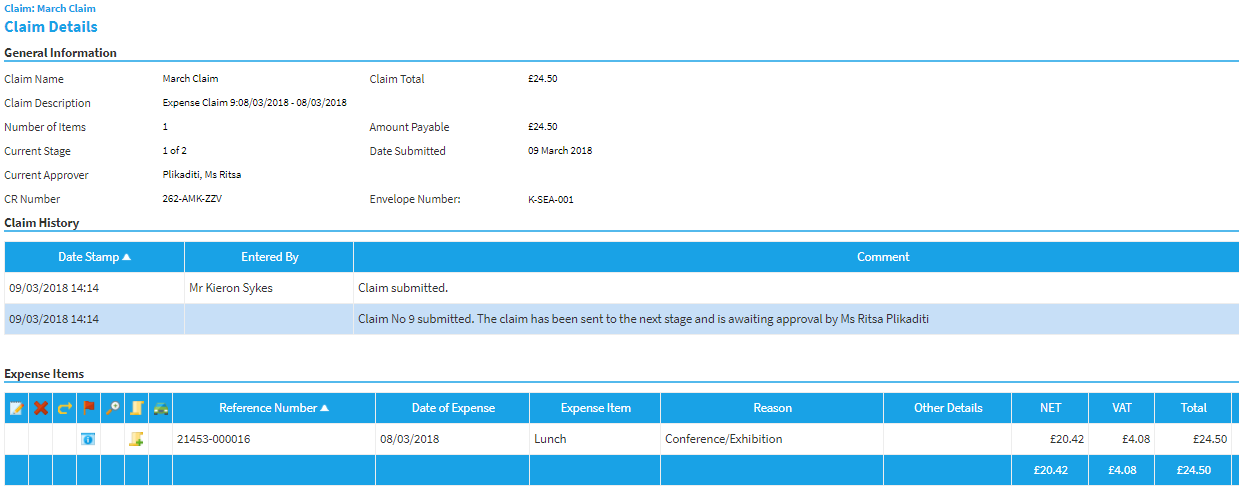
- Ensure that you write the Expense Item Reference Number on each receipt. The Expense Item Reference Number can be found on the Claim Details page against the Expense Item it represents.

- Once you have clicked the submit button, your claim information is recorded. A screen will appear that will allow you to confirm if you want to send receipts by post or have no need to send receipts.
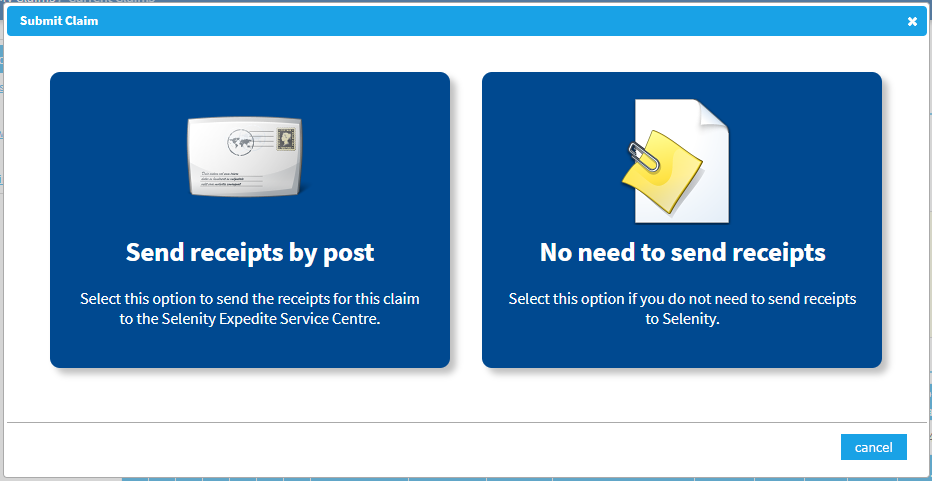
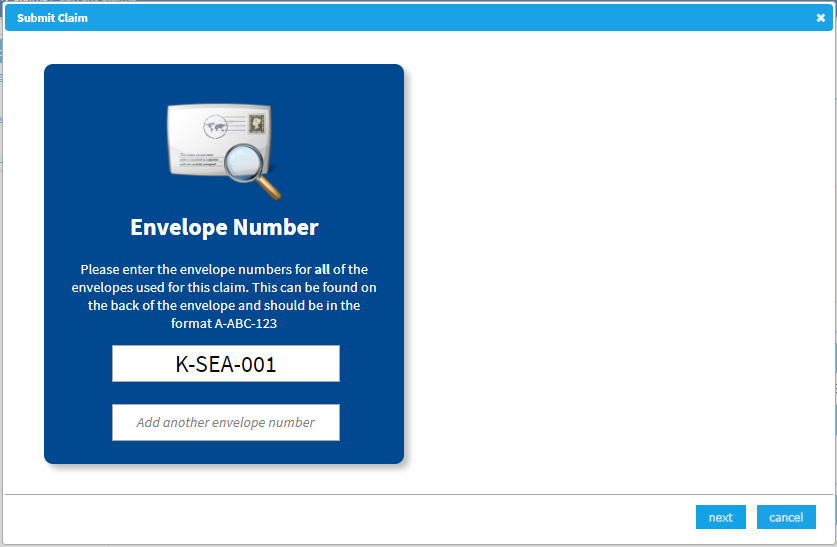
- Select 'Send receipts by post' which will display a dialog where you can enter the Envelope Number (EN). You can add multiple envelope numbers using this dialog.
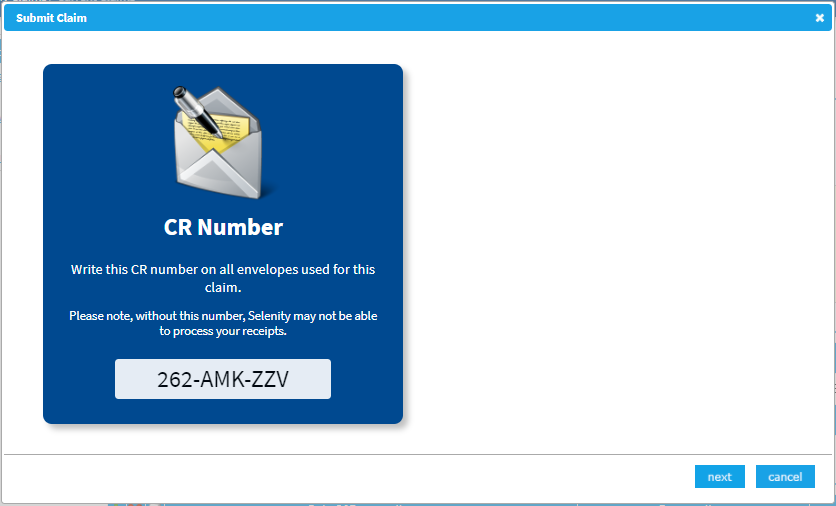
- Click Next and another dialog will provide you with your Claim Reference Number (CRN). Please write the CRN in the box provided on the envelope. Take care to write the CRN neatly and in block capitals.
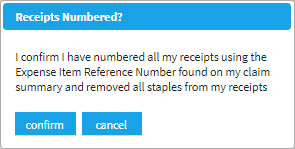
- Click Next and a declaration will appear which will ask you to confirm if you have numbered all of your receipts using the Expense Item Reference Number and that all staples have been removed.
- Continue to submit the claim as you would normally.
- Each receipt for the claim should then be placed into the envelope/s and the envelope/s sealed - please do not use additional sealant or tape.
- If the envelope requires any additional postage to be added, this should be done before posting the envelope to our processing center.
- The envelope then needs to be posted to the pre-printed address on the front.
After the Envelope is Posted
- Once the envelope has arrived at our secure processing centre the Claim History will be updated to Received for Scan & Attach. As a claimant, you may receive an email informing you that your envelope has reached this stage. This is dependent on your system configuration.
- Envelope Numbers associated to the Claim will appear on the claimant’s Claim Details page next to the Envelope Numbers box. This will show whether the envelope has any defects or has incurred further postage costs, if so they will be displayed in red.
- Scanning of the receipts occurs and both the digital and hard copy receipts are securely stored. The digital images are then associated to the Claim identified by the envelope.
- Once scanning of an envelope is complete, the Claim History will be updated to reflect this.
- The Expedite operators will then associate the scanned images of the receipts to the appropriate Expense Items where possible.
- If the receipts cannot be attached to the individual Expense Item for whatever reason, they are inserted above the list of Expense Items on the Claim Details page, into the Claim Header.
Note: If you are licenced for the Validation service and you have a validatable Expense Item without a receipt attached, you will have the opportunity to match the remaining receipts to the appropriate Expense Item.


