Permissions
You will require the following permissions:
- The relevant item role that allows you to claim these expense types
Having to add an address for each and every step of a journey can be long and arduous. GPS Mileage allows you to record your location whilst on the move to build up your journey in real time. This article will show you how to record your journey using the GPS Mileage feature.
- Tap the Navigation Menu
 and then tap GPS Mileage.
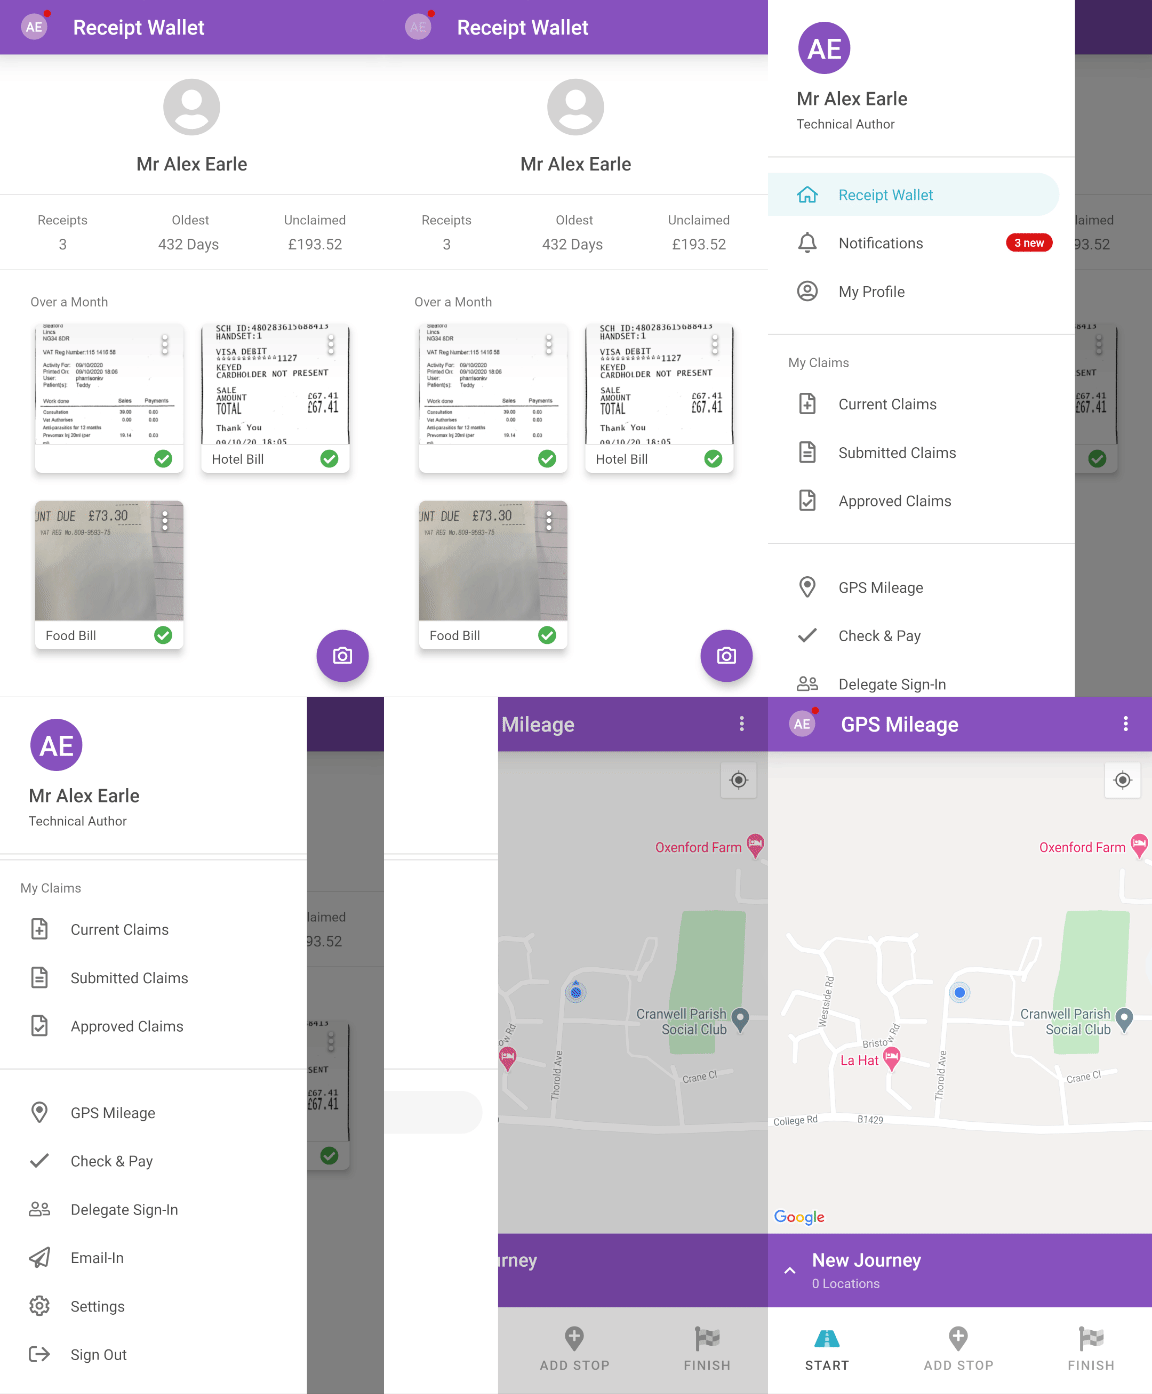
Note: You'll need to enable location services to use GPS Mileage.
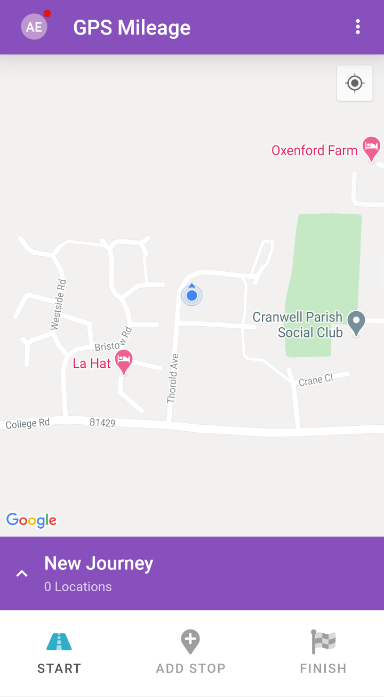
- When you are present at your starting location, tap Start
 to record the location details. This will create an active journey which includes the date and how many locations you have visited.
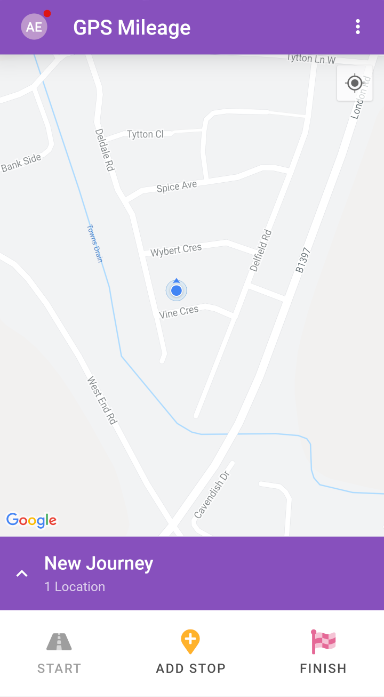
- Once you arrive at your next location, tap Add Stop
 to record the location details. This will add your location to the list of locations visited.
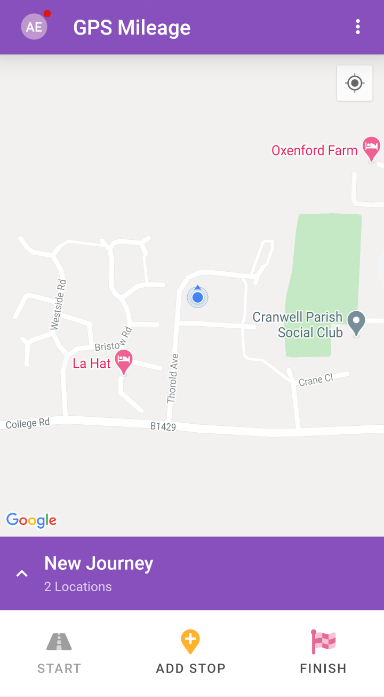
- Tap Add Stop
 at any further locations you visit on your journey.
Tip: Tap New Journey to show all the locations within your current journey. From here you can manually add a location before or after another location by tapping the menu
 . For information, view Mobile - Edit a Journey Recorded by GPS Mileage
 - Once you have arrived at your final location for the journey, tap Finish
 .
.
- A dialog will appear asking if you are ready to finish your journey. Tap Finish. You will be taken to the 'Saved Journeys' page.
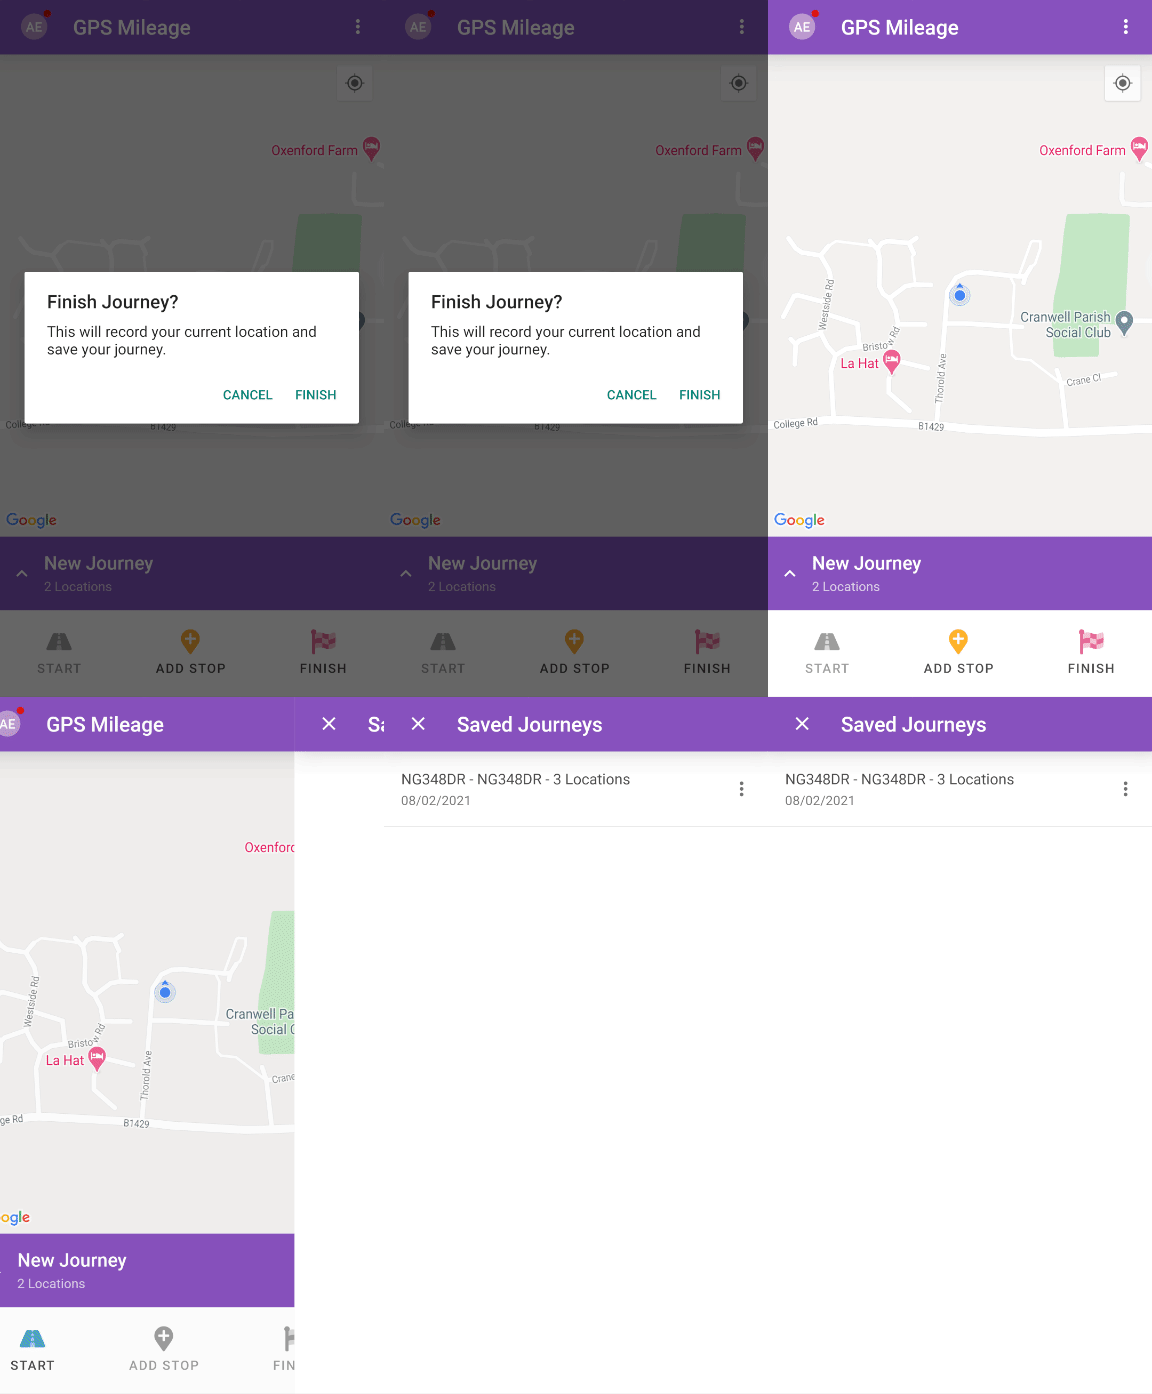
Tip: Within the 'Saved Journeys' page, tap the the journey to see the all the locations visited.
- The next step is to add your journey to an expense item. Tap the menu
 and then tap Add To Claim. For more information on adding expenses, visit Mobile - Add an Expense.
Note: This journey will only be available on the device that you recorded it on. The data is not available on the browser version of Selenity Expenses and must be added as an expense through Selenity Expenses Mobile. If the mobile device/data is lost, it will not be recoverable.
 and then tap GPS Mileage.
 to record the location details. This will create an active journey which includes the date and how many locations you have visited.
 to record the location details. This will add your location to the list of locations visited.
 . For information, view
  .
.


