Permissions
You will require the following permissions:
- An Access Role with permissions for Check & Pay in order to approve expenses
Note: This section will only be available if you are an approver of expenses. If you are not an approver, the 'Check & Pay' menu will not be visible.
When you have logged into Expenses Mobile, a notification will appear at the top of your screen notifying you of any outstanding claims that need checking. Tapping this notification will take you to the 'Check & Pay' menu.
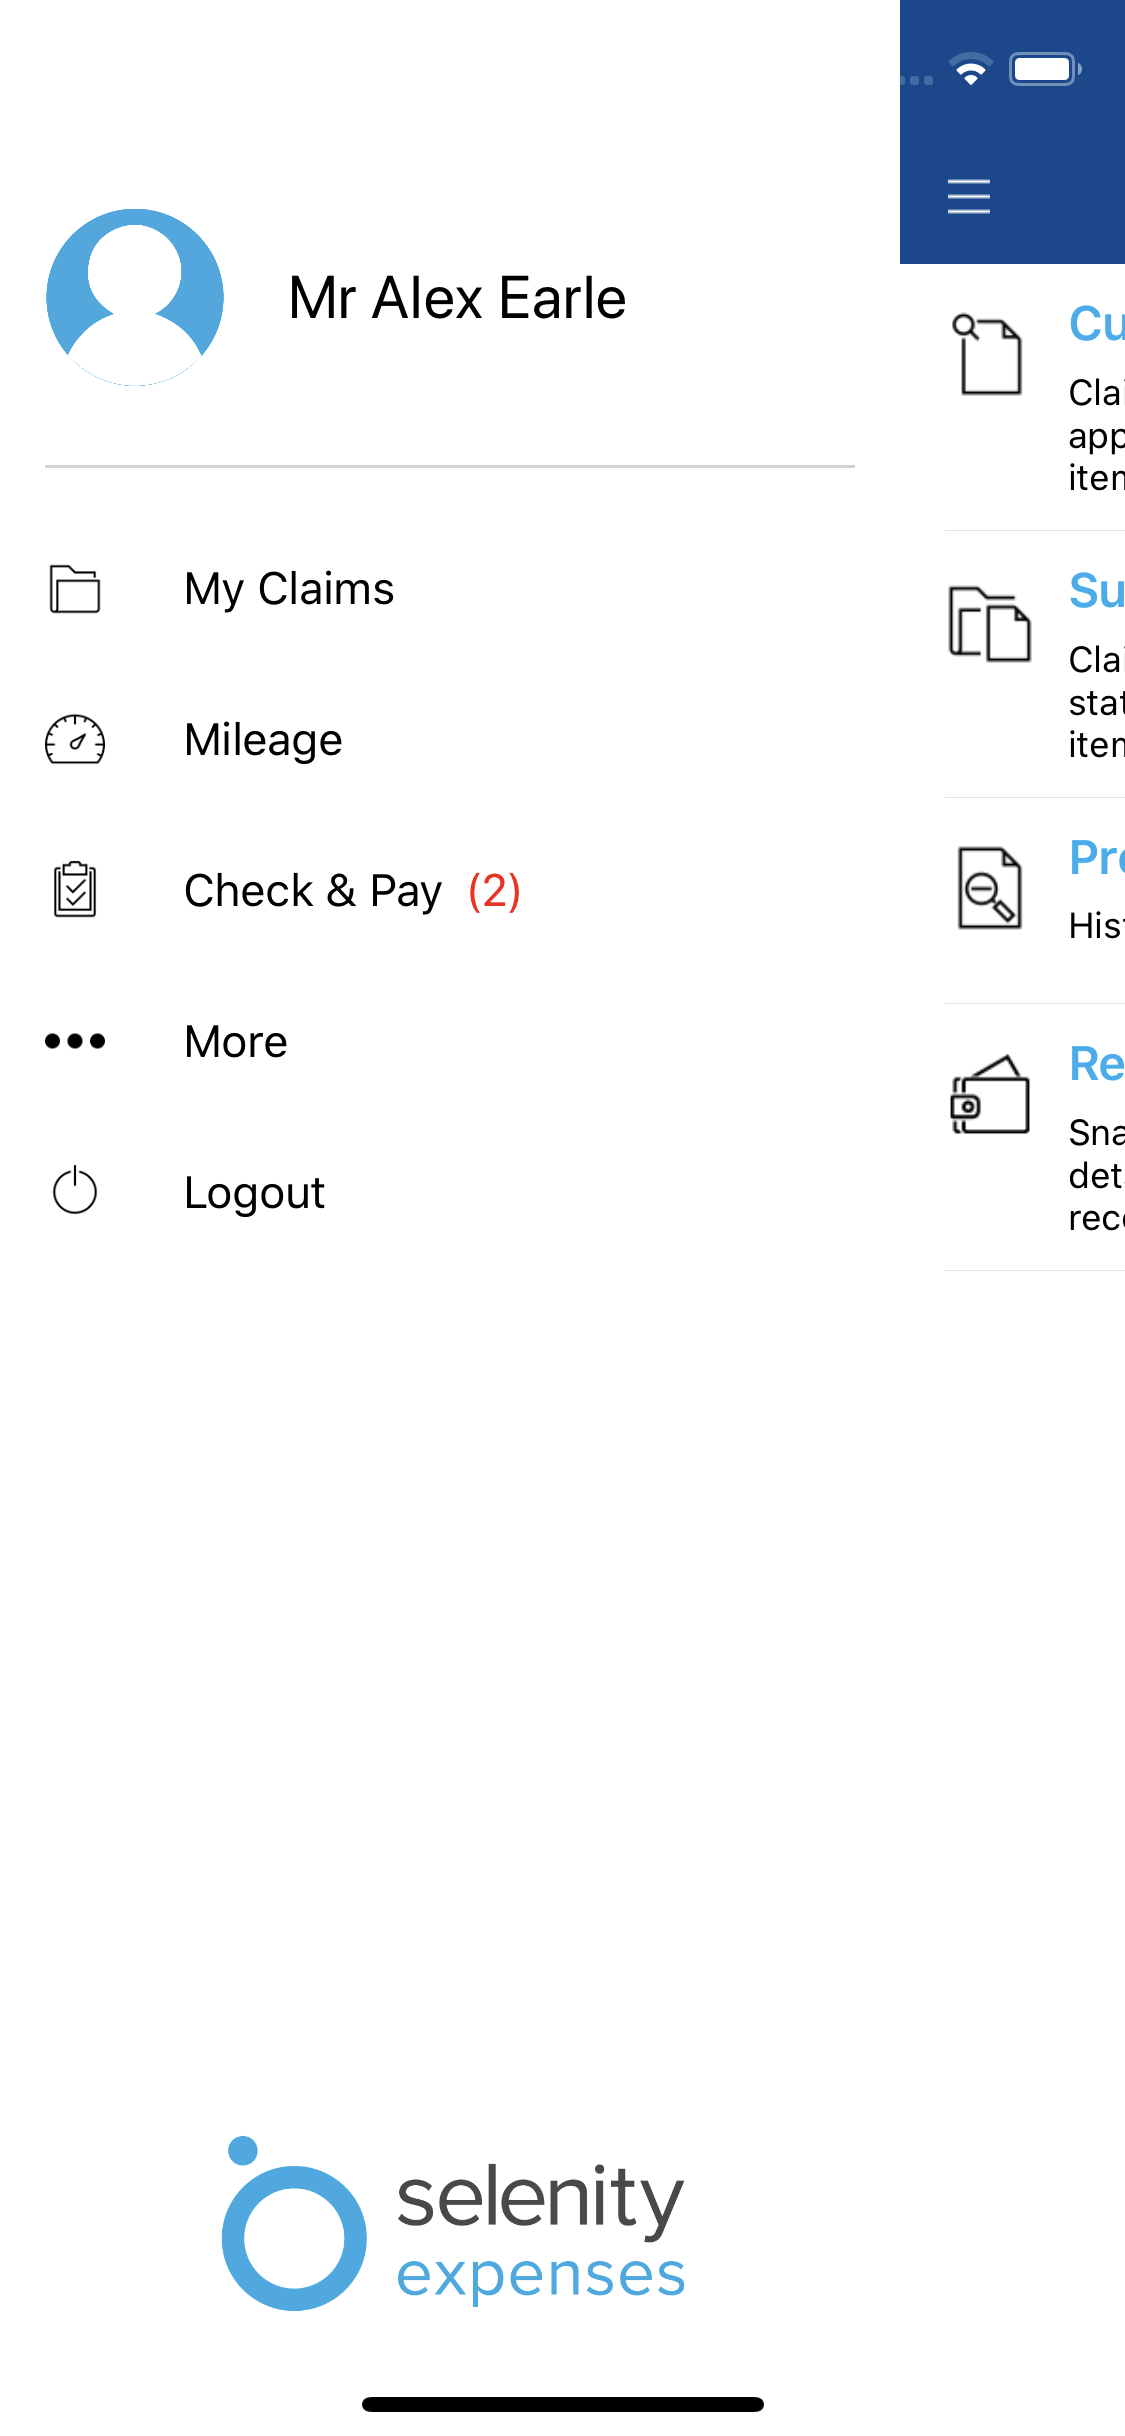
- Log into Expenses Mobile. Tap the hamburger menu
 and then tap Check & Pay. This will display a list of claims which are awaiting your approval. The number in brackets indicates how many claims are awaiting your approval.
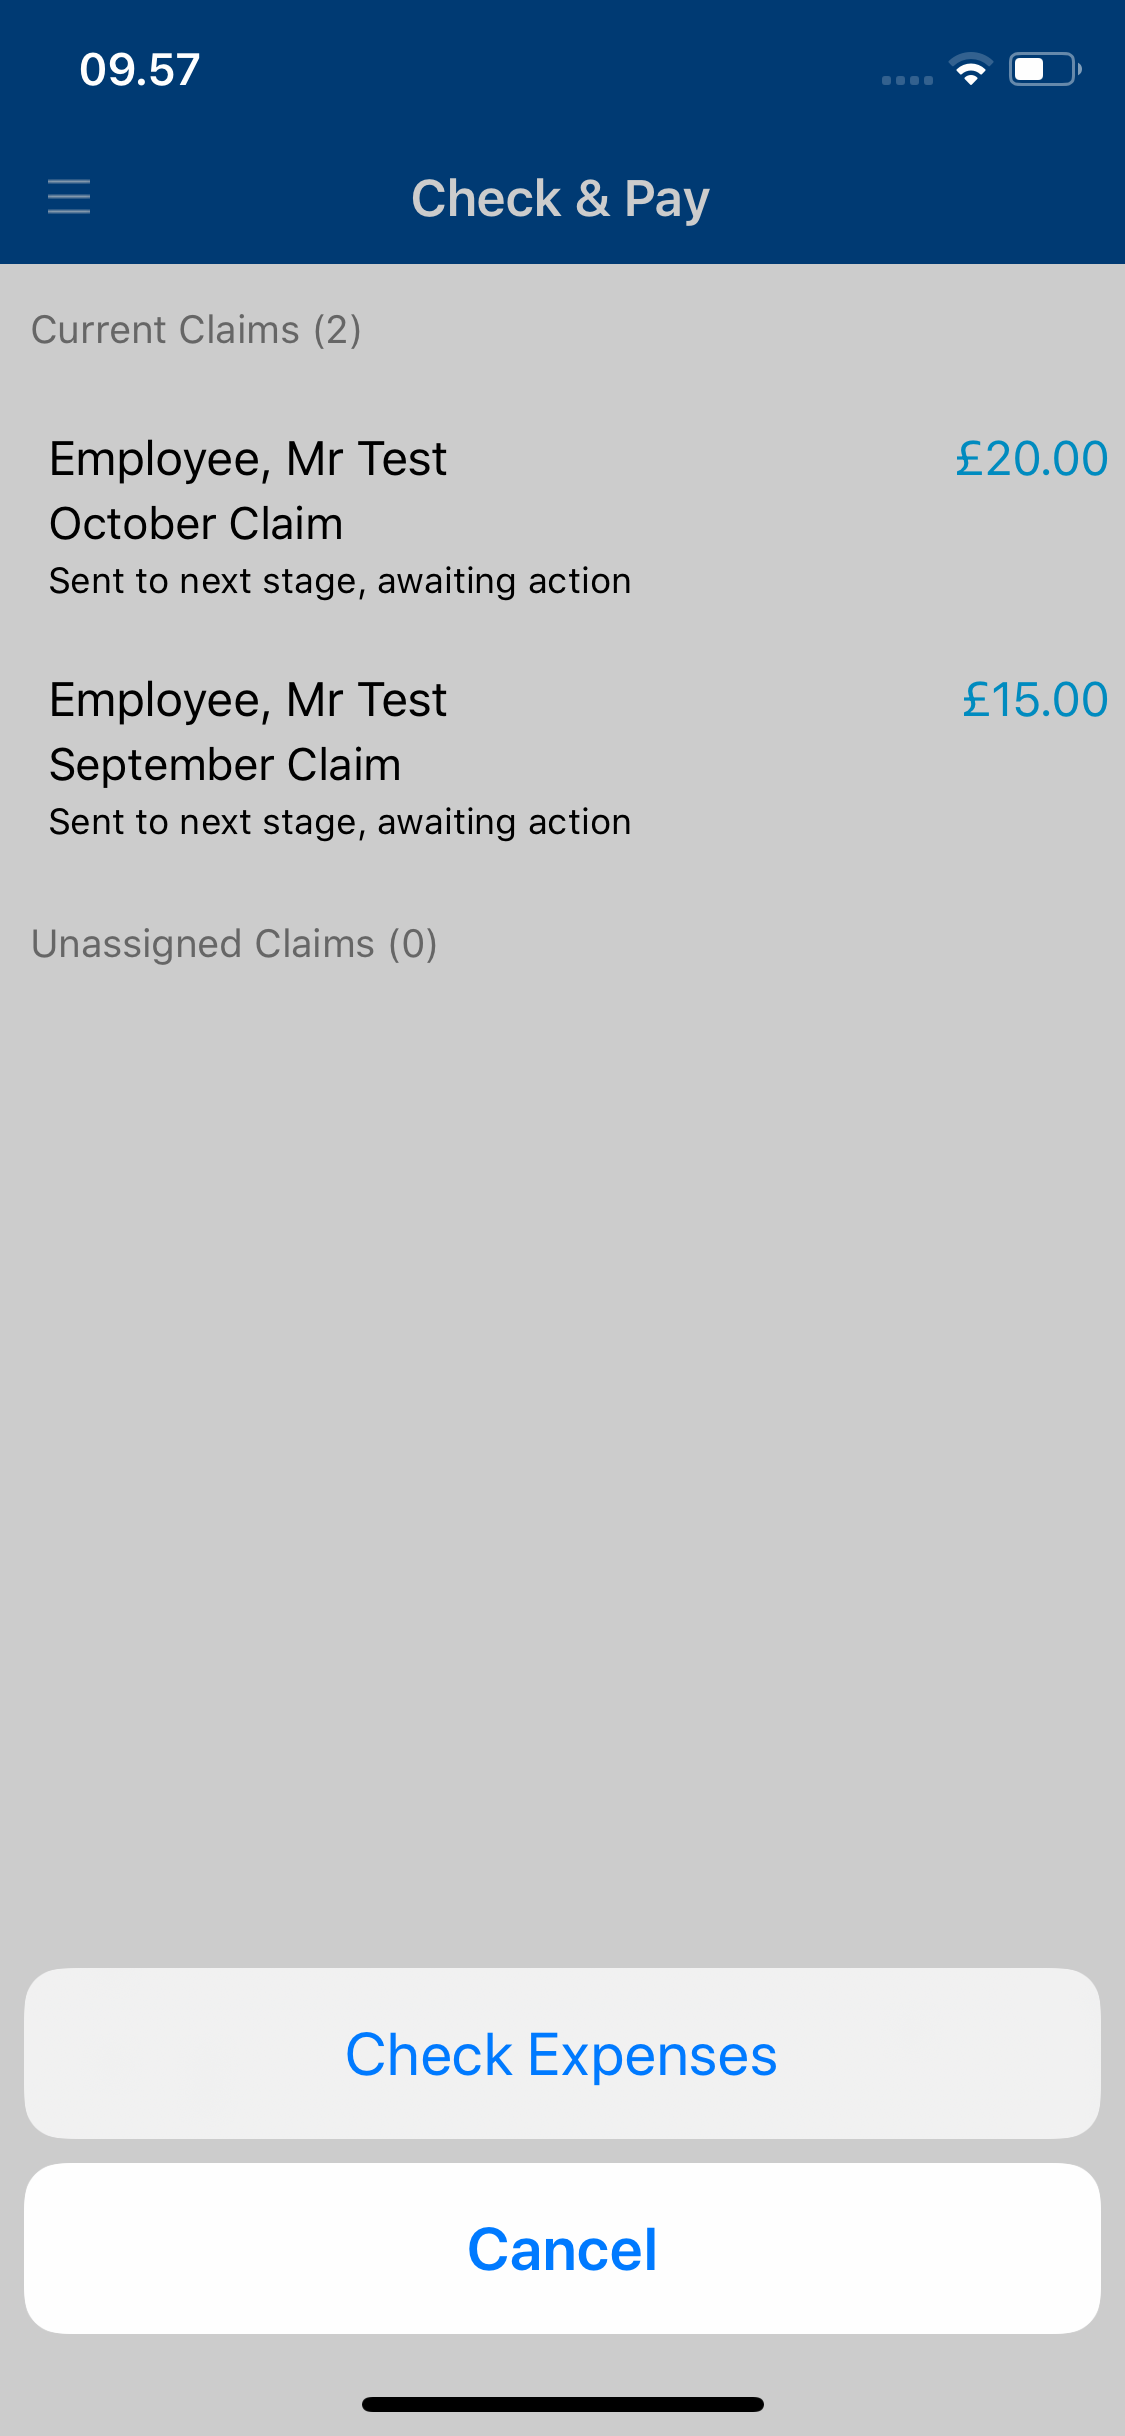
- If you are part of a team of approvers, claims which have progressed through to your team for approval will be displayed in the Unassigned Claims section. You must allocate a claim to yourself before you are able to process it. For details on how to do this, view Assign a Claim.
- If you are part of a team of approvers, claims which have progressed through to your team for approval will be displayed in the Unassigned Claims section. You must allocate a claim to yourself before you are able to process it. For details on how to do this, view Assign a Claim.
- Tap the claim that you want to view and then tap Check Expenses. This will direct you to the 'Claim Details' screen which lists each of the expense items on the claim.
- Use the options below to find out more information about each expense item. Some options may not be available depending on the expense items within the claim.
Option Description View Details View Details Tap to view the details of the expense.
If you need to edit the expense, tap the edit button which will allow you to make changes to the expense details. If changes have been made to the expense, you will be required to provide a Reason for Amendment upon tapping Save. The reason for amendment will be displayed within the Claim History.Return Selected Tap to return the expense back to the claimant for amendments.
This will prompt you to provide a reason for returning the expense. Click Return once you have provided a reason.Allow Selected Tap to approve the expense. This will move the expense into the Approved section. You may have to type in a justification if there is a flag in order to approve an expense item.
Unapprove - Tap the expense within the Approved section and then tap Unapprove.View Receipt Tap to view receipts which have been attached to this expense. Flags Tap this to view the flags which are associated with this expense. Tap on a flag to view more information, view the claimant justifications (if provided) and enter any authoriser justifications. 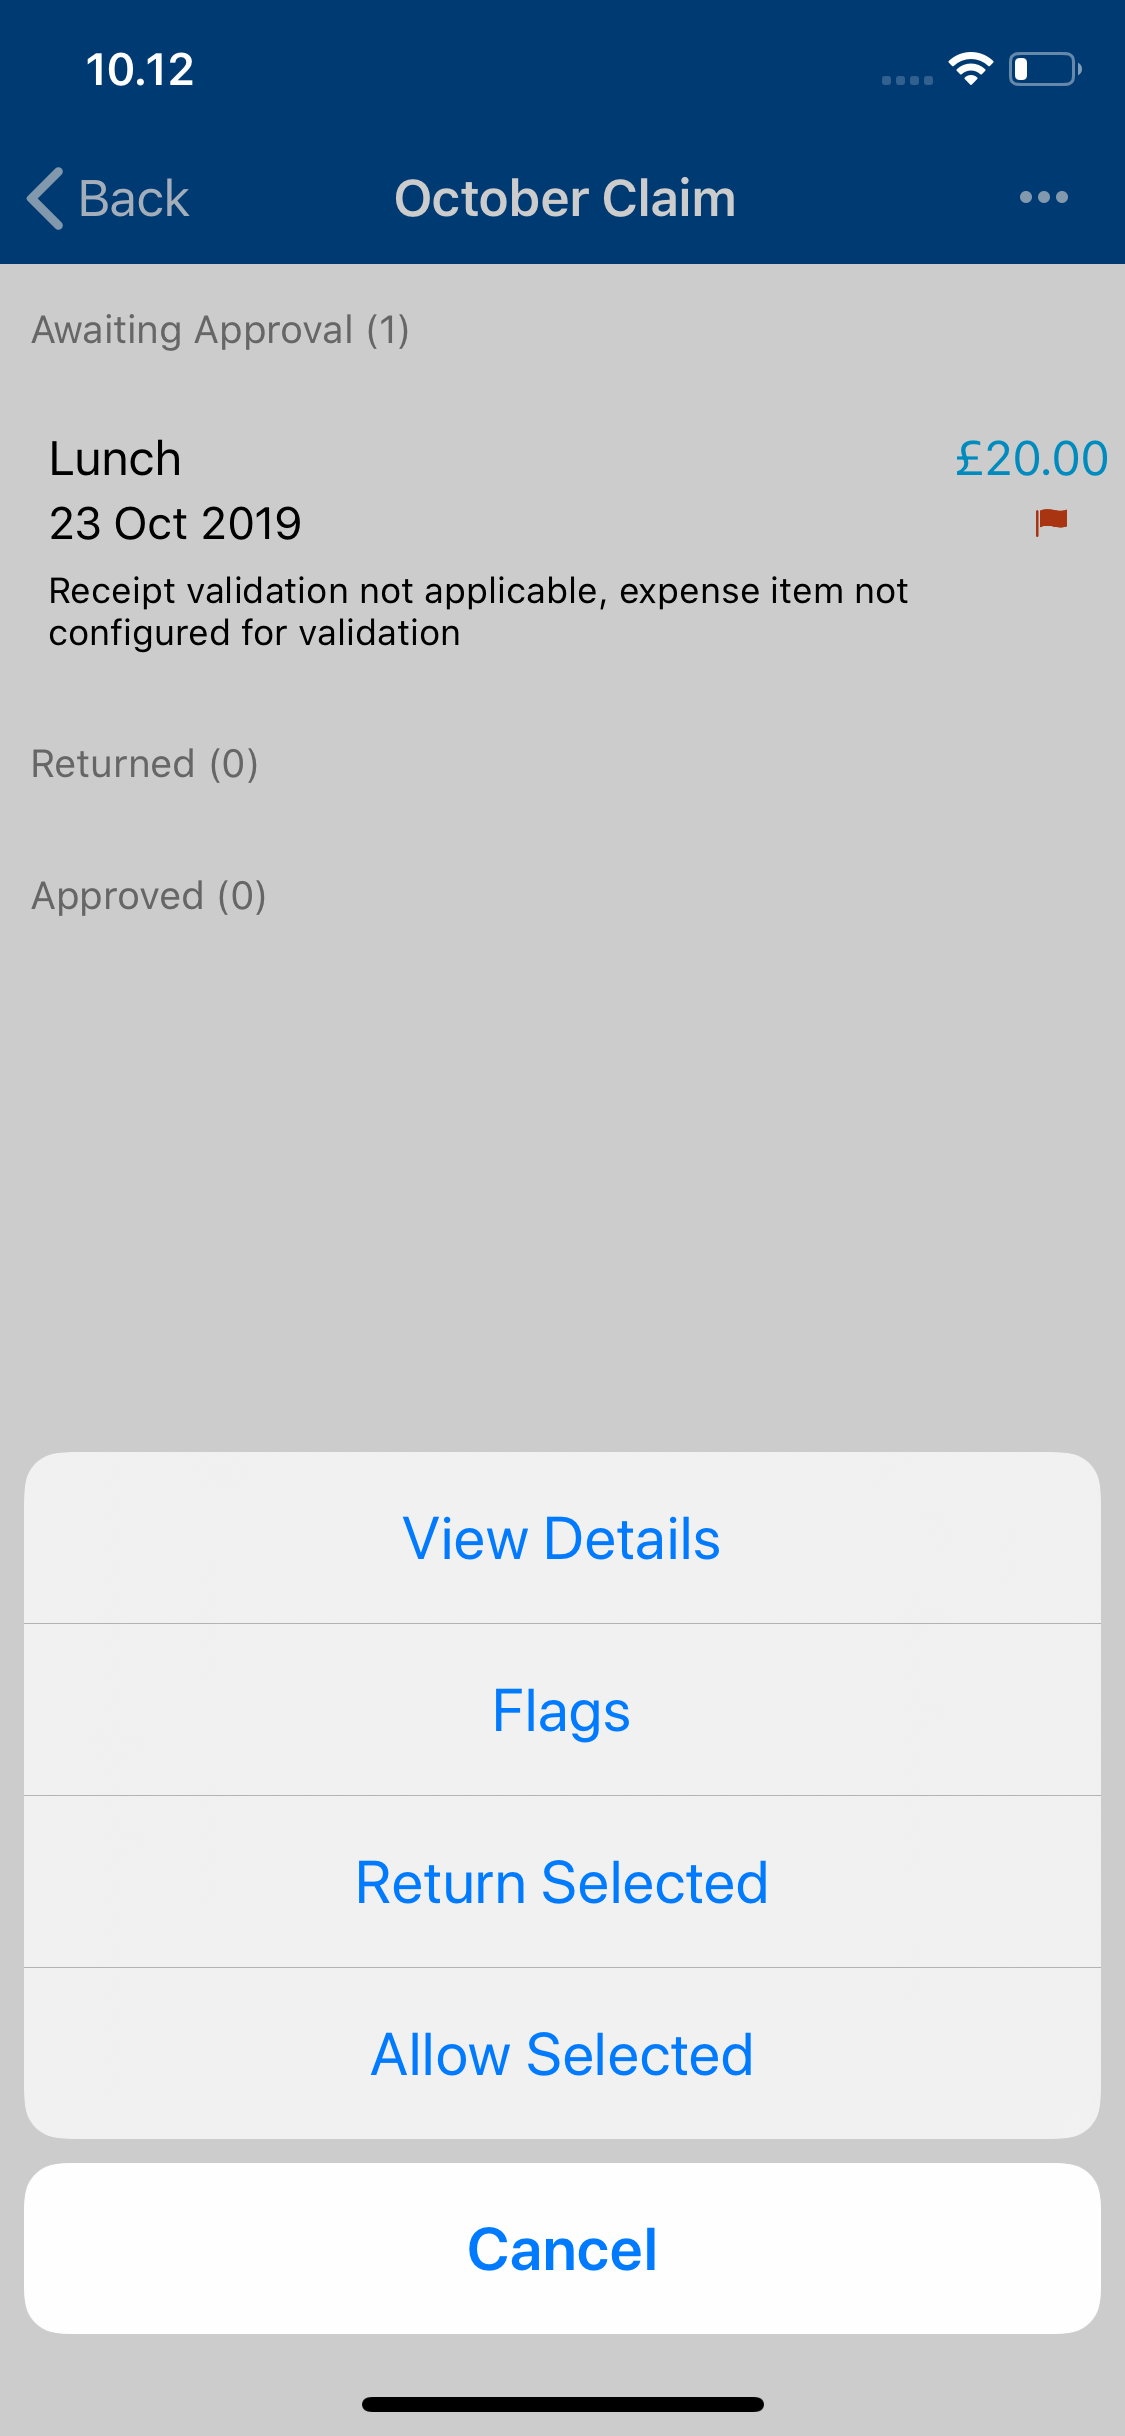
- Use the options below to find out more information about each expense item. Some options may not be available depending on the expense items within the claim.
- Take action against each of the expenses which are awaiting approval. Once all of the expenses are approved, tap Approve. A declaration may appear depending upon your system configuration which you will be required to accept in order to continue.
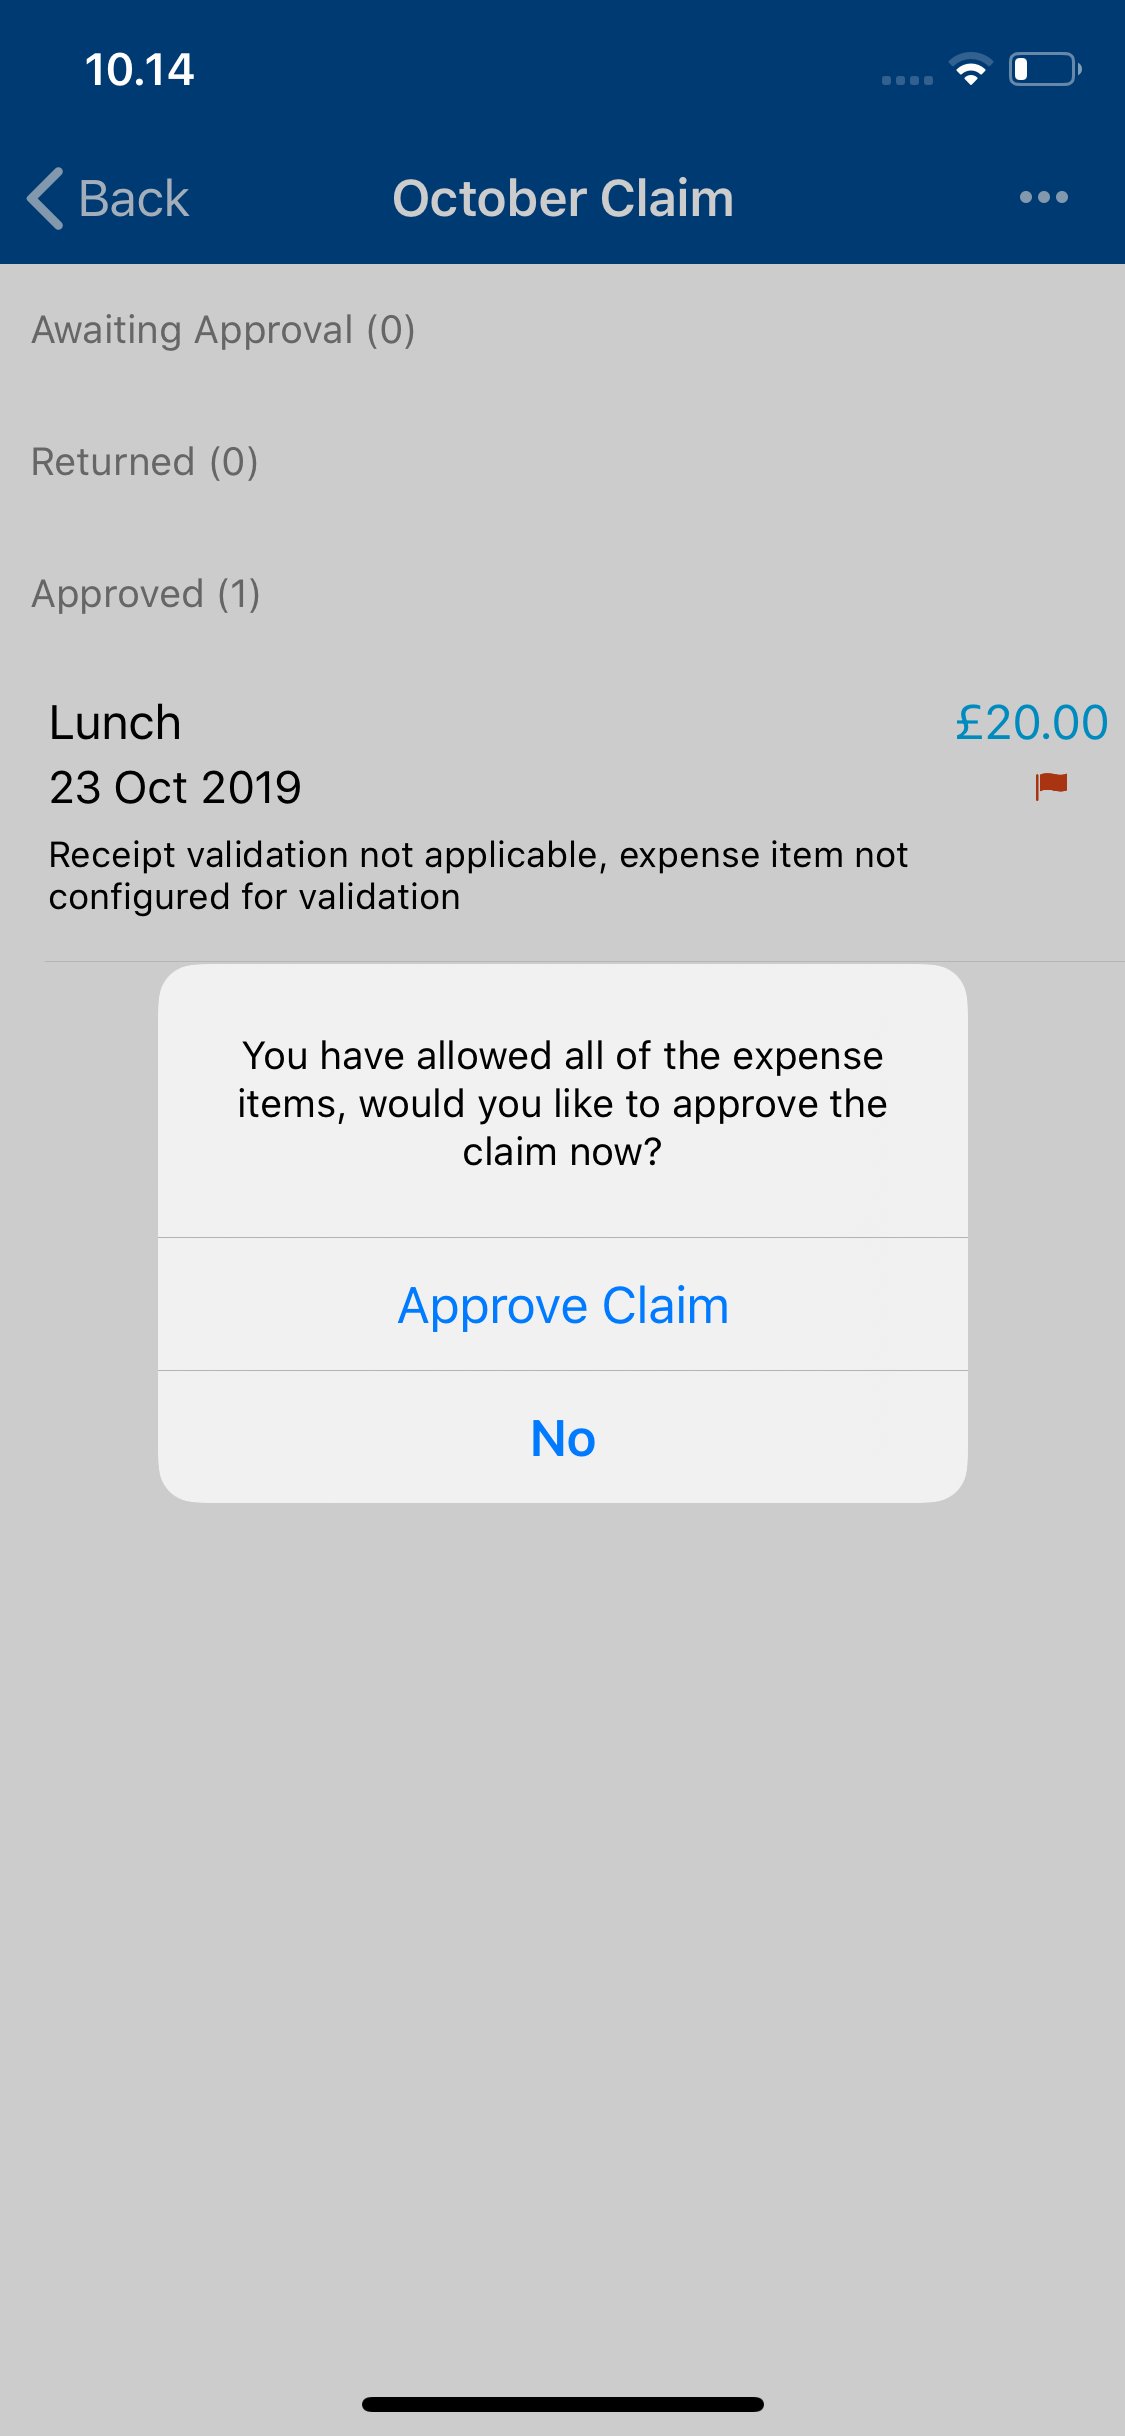
- If you are not the final approval stage, tapping Approve Claim will progress the claim onto the next Signoff Group stage.
- If you are the final approval stage and have 'One Click Approval' enabled within the Signoff Group settings, tapping Approve Claim will approve the claim and allocate the claim for payment. This will complete this process.
- If you are the final approval stage but do not have 'One Click Approval' enabled within the Signoff Group settings, tapping Approve Claim will return you to the Check and Pay screen. From here you can tap the claim that you have just approved and then tap Allocate For Payment.
- If you are not the final approval stage, tapping Approve Claim will progress the claim onto the next Signoff Group stage.
More Options
Tap More  to access the following:
- History - Provides an audit trail of the status of the claim as it makes its way through the approval process.
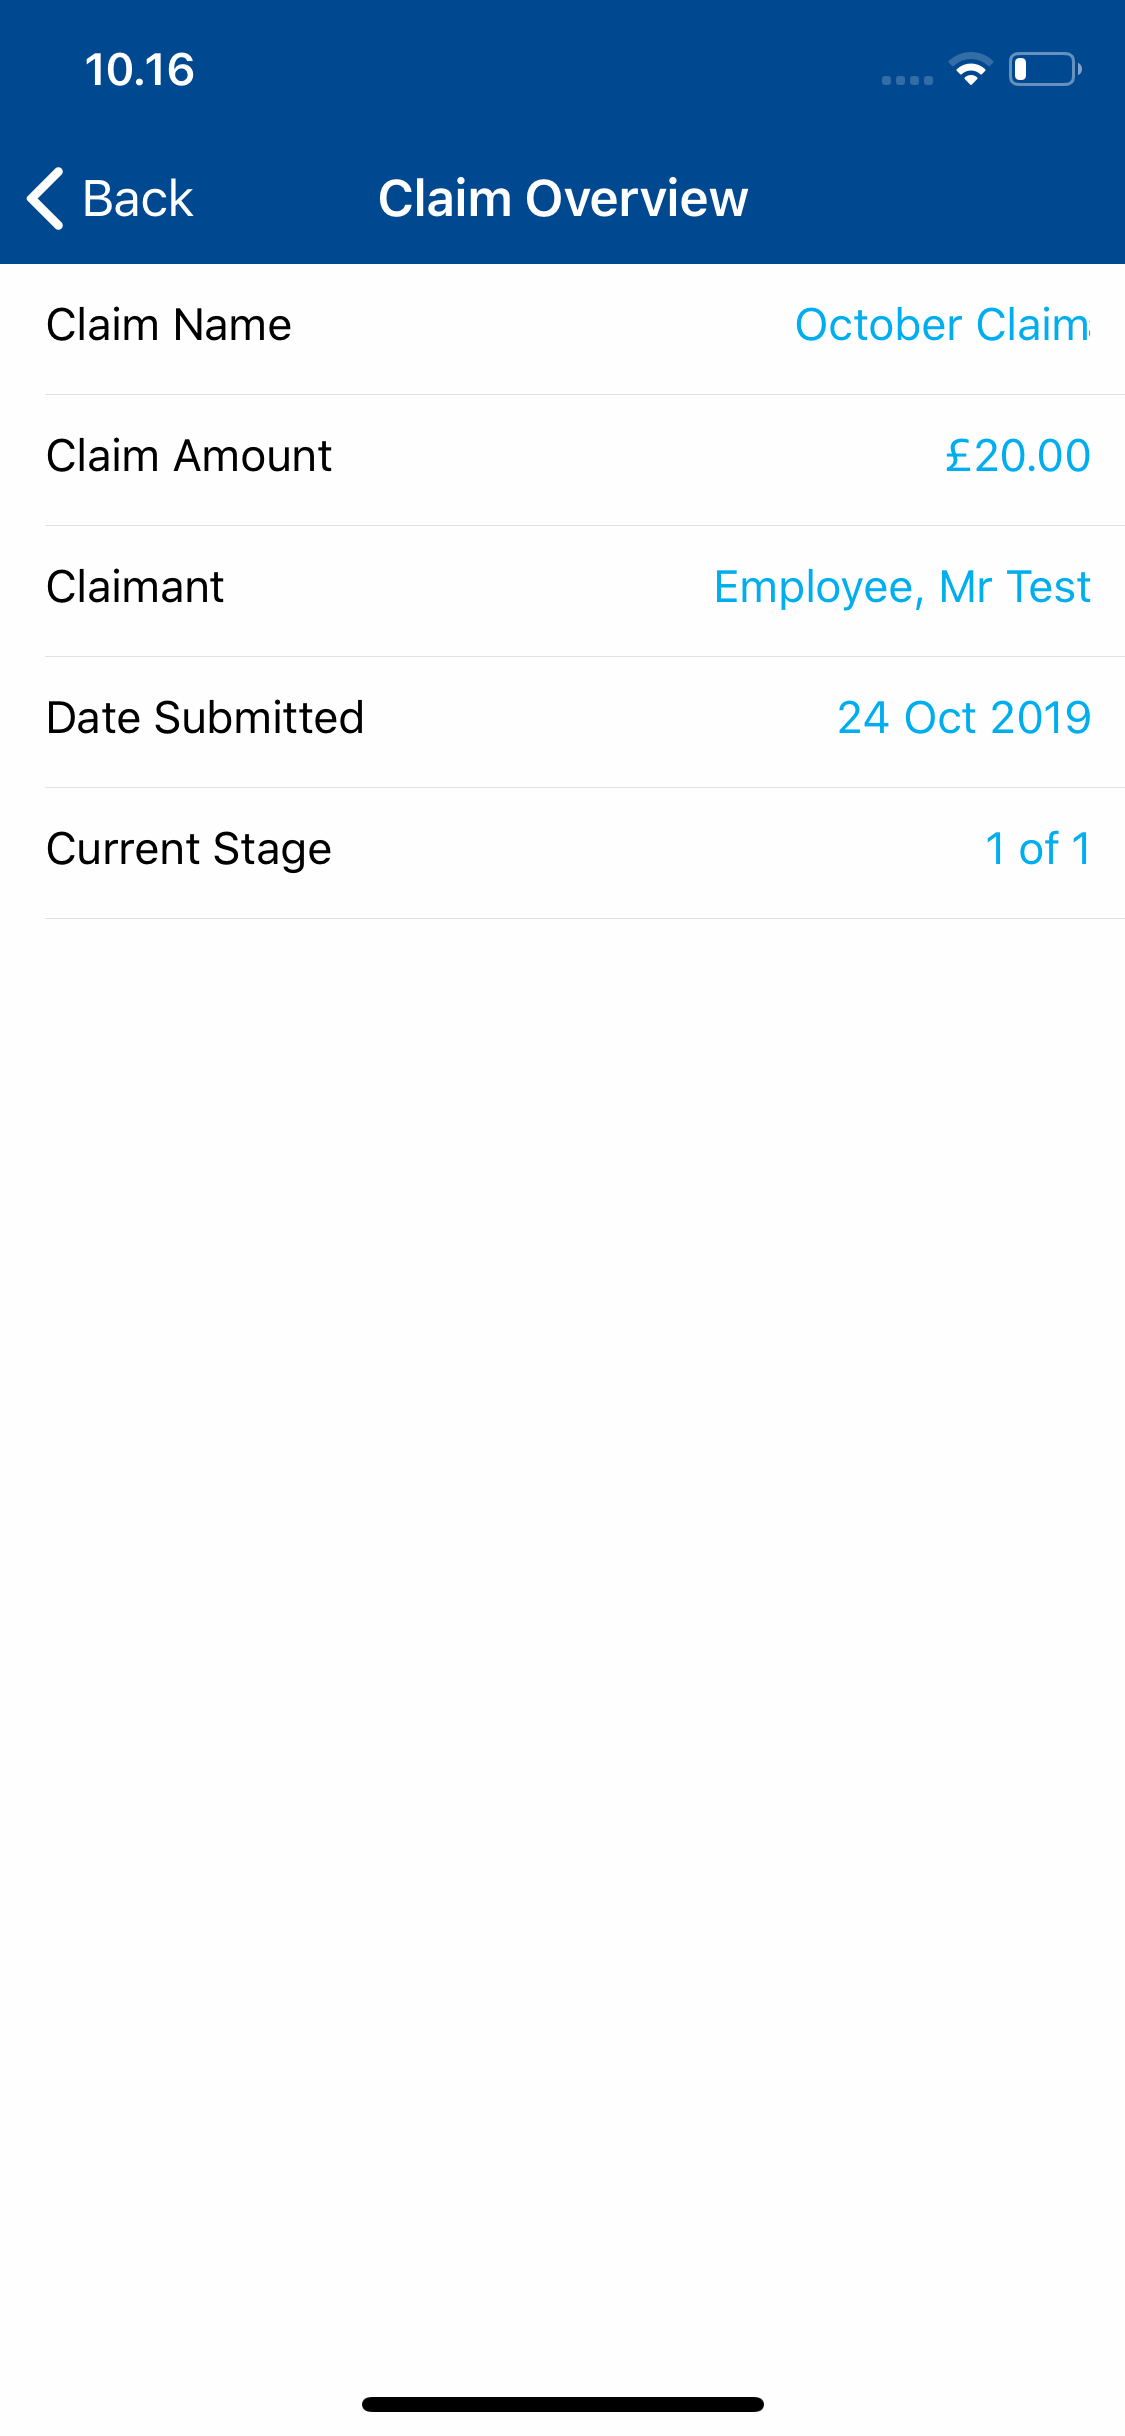
- Claim Overview - Provides further details about the claim.
 and then tap Check & Pay. This will display a list of claims which are awaiting your approval. The number in brackets indicates how many claims are awaiting your approval.


