Permissions
You will require the following permissions:
- In order to access the 'My Advances' menu you will require a Signoff Group to be set for 'Advances' within your employee record
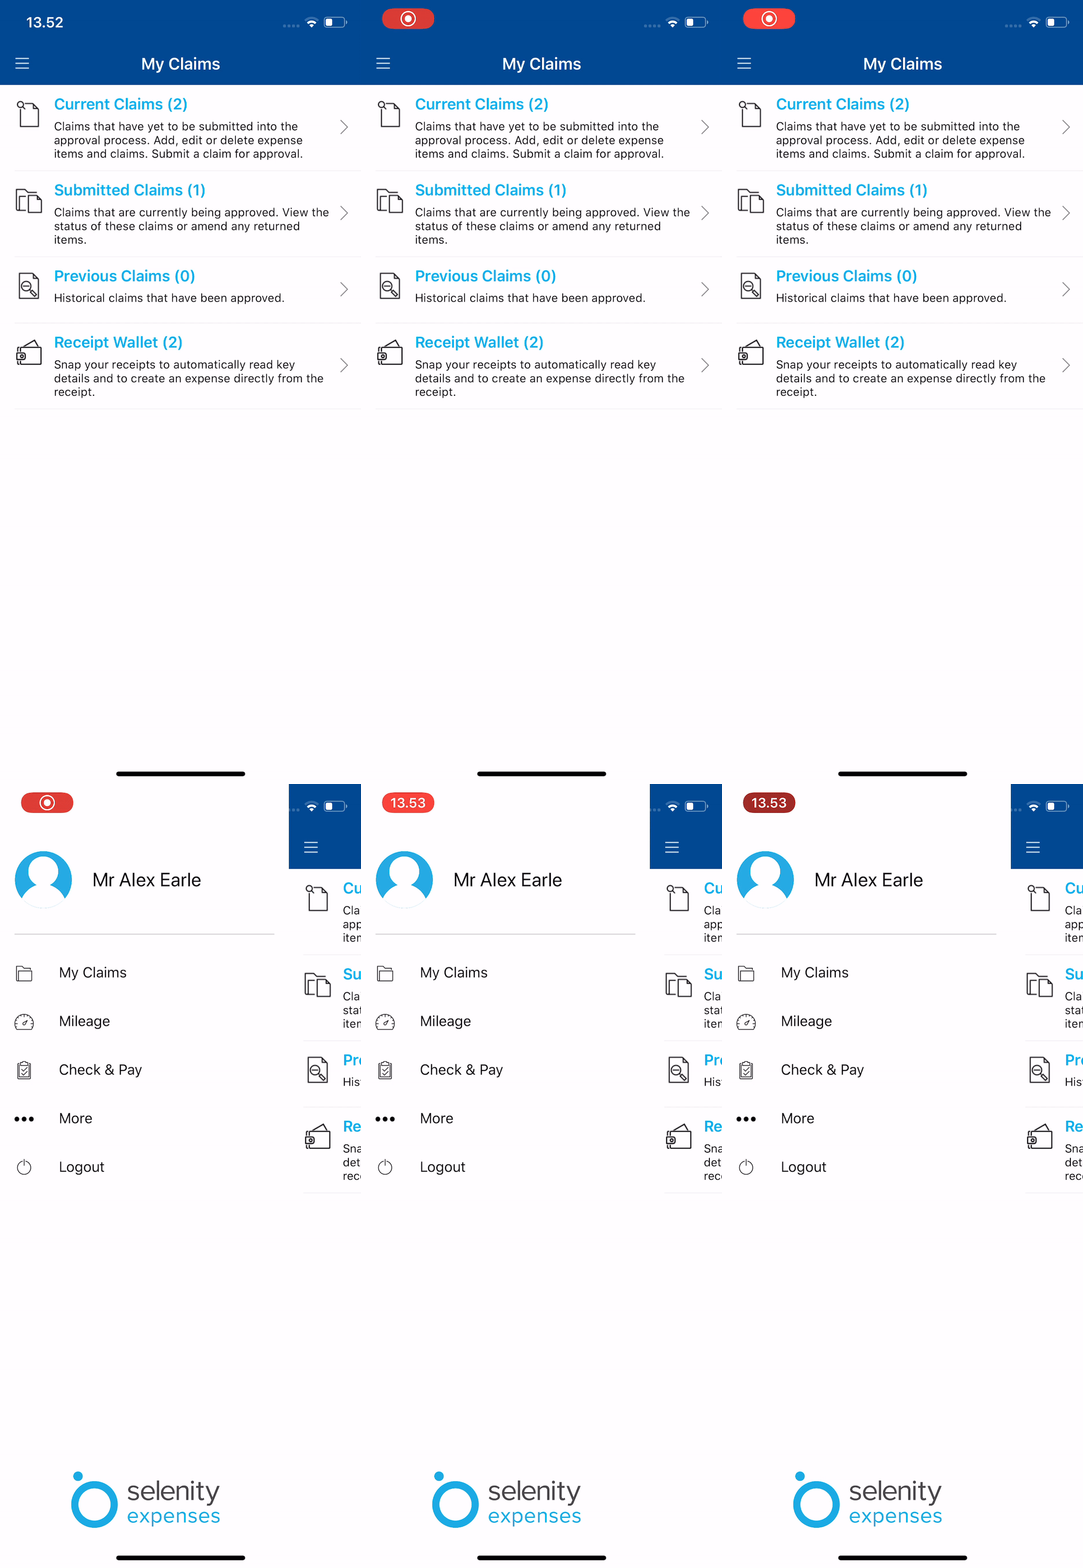
- Log into Expenses Mobile. Tap the Hamburger Menu
 and then tap More.
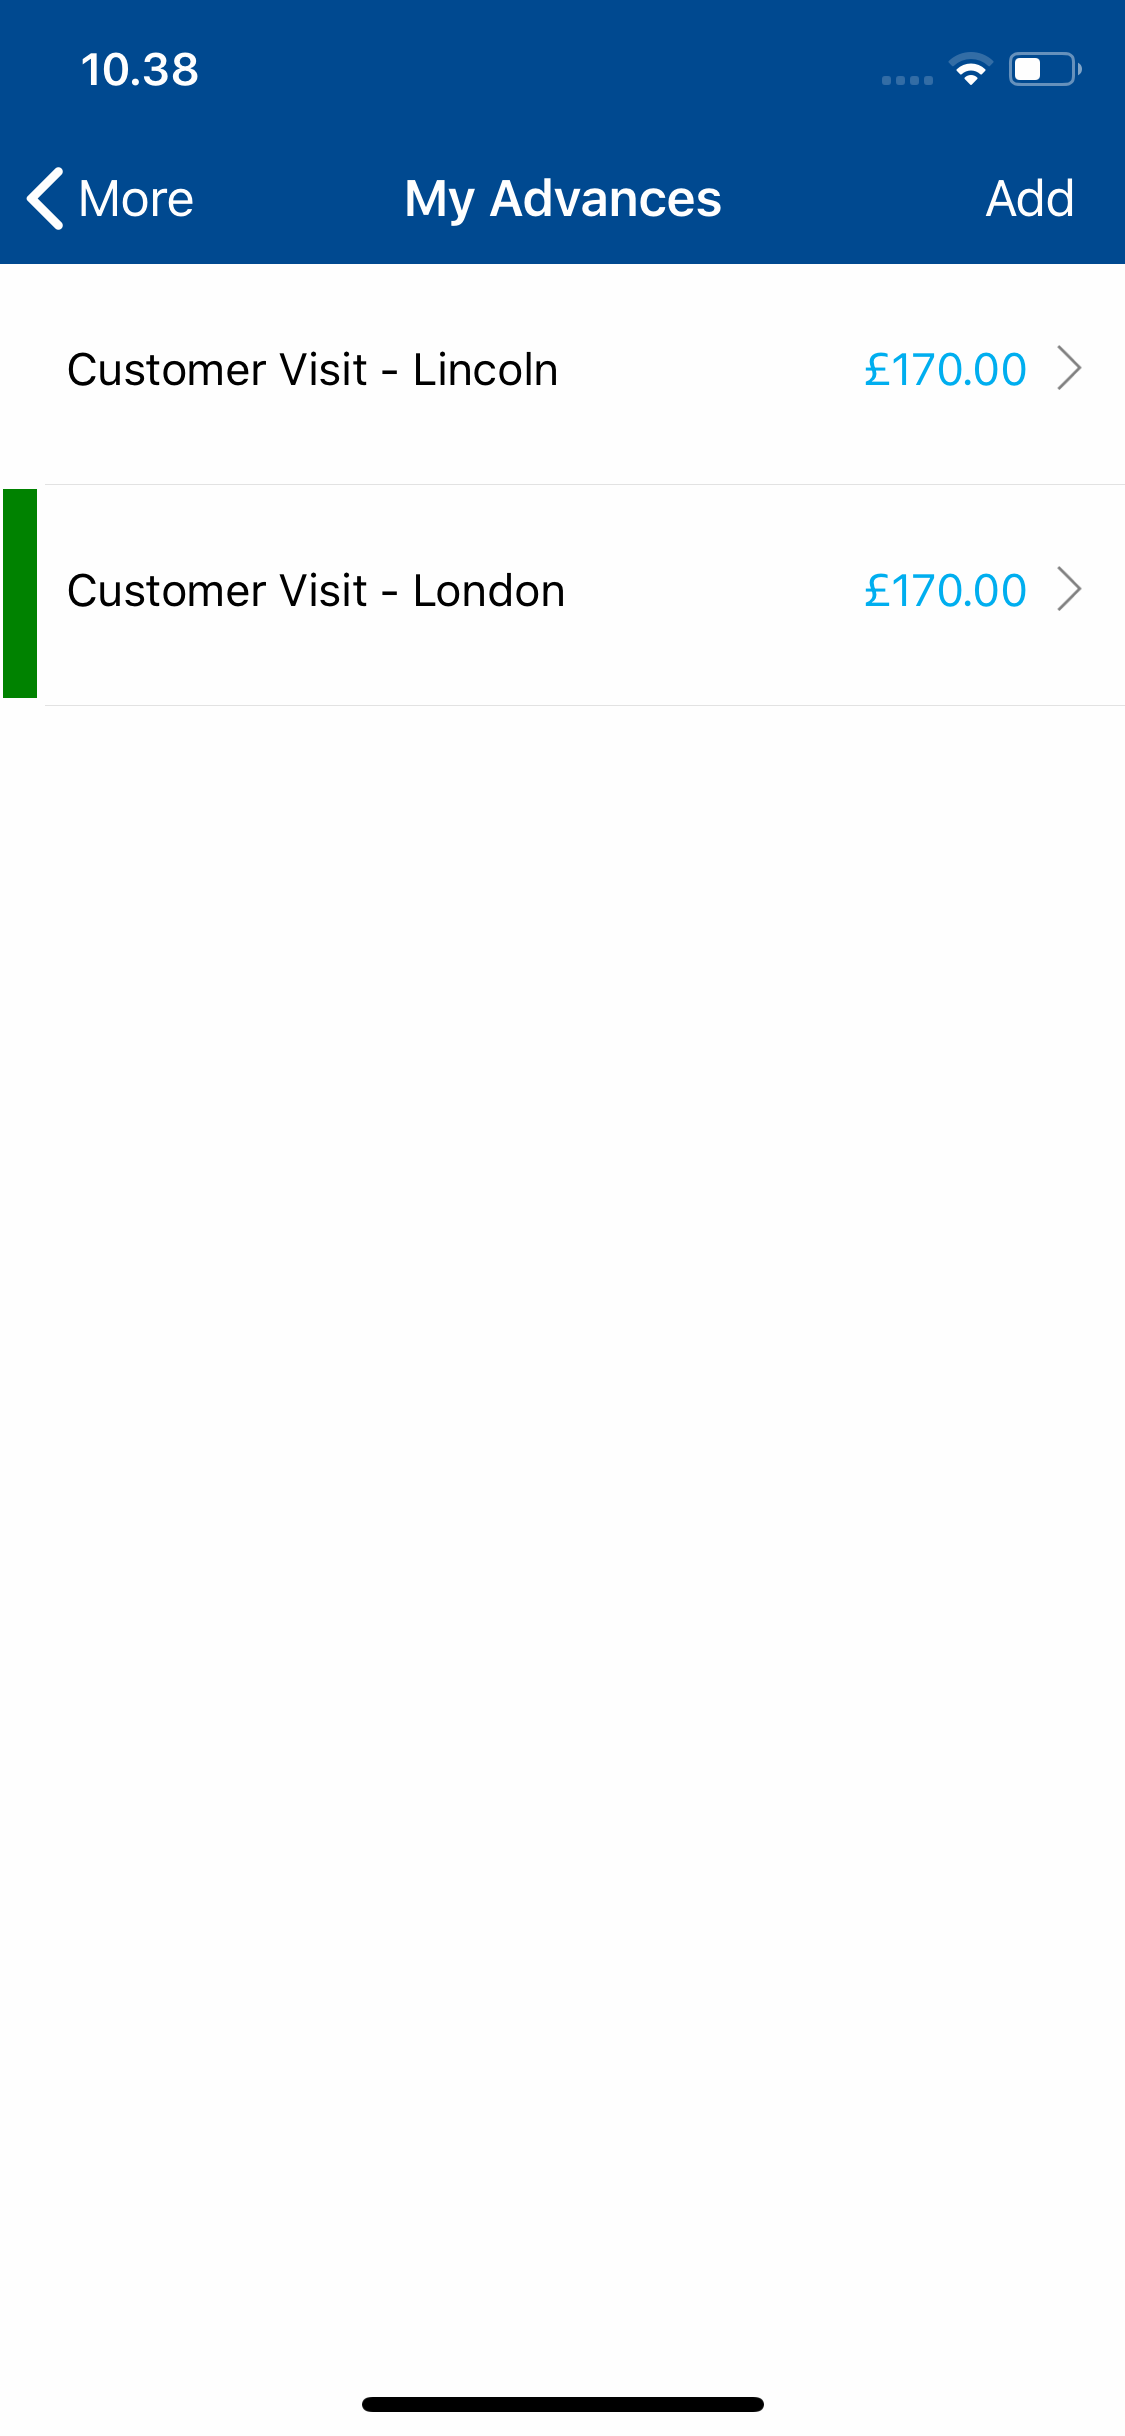
- Tap My Advances. This will display a list of all your existing advances created within Expenses, however, settled advances will not be displayed.

- The status of an advance will be shown with a colour indicator:
- Green Indicator - The advance has been paid.
- Red Indicator - The advance has been rejected/returned.
- No Indicator - The advance is pending/awaiting approval.
- You can view further details, edit or delete an advance:
Platform Instruction iOS View advance details: Tap on the advance.
Edit an advance: Swipe left on the advance and then tap Edit.
Delete an advance: Swipe left on the advance and then tap Delete.Android View advance details: Tap on the advance and then tap View Details.
Edit an advance: Tap on the advance and then tap Edit.
Delete an advance: Tap on the advance and then tap Delete.
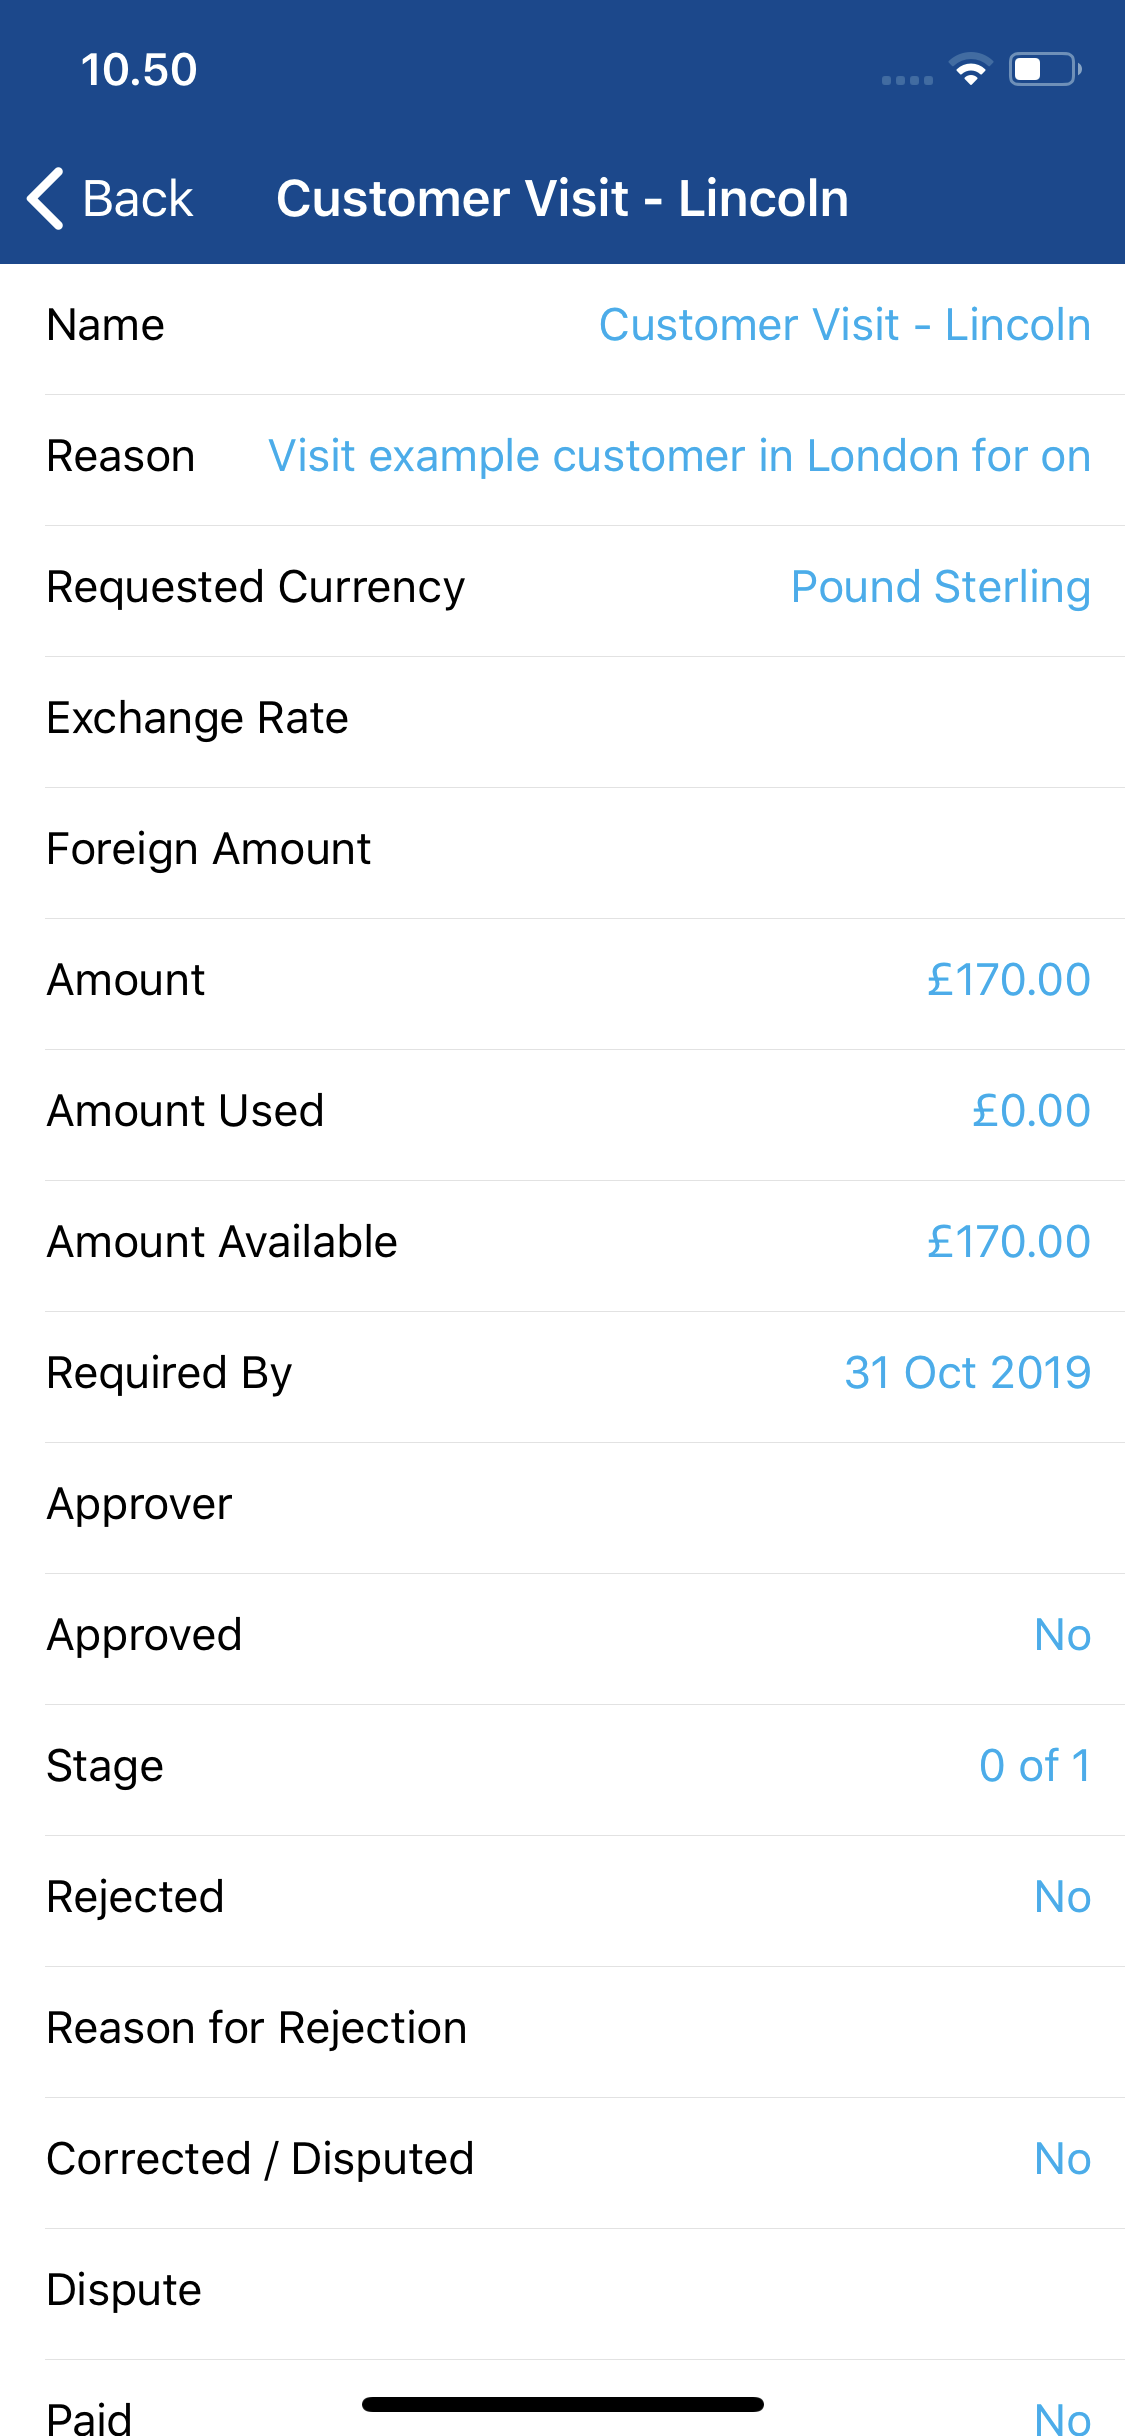
Note: You will only be able to edit or delete an advance if it has been rejected or returned to you. The image above is the 'View advance details' option.
The details which may be displayed when viewing an advance are described below:Field Desceription Name Tap the claim that you want to add an expense item to. This will direct you to the Claim Details page for the claim. Reason Tap the claim that you want to add an expense item to and then tap the Expense Items button. This will direct you to the Claim Details page for the claim. Requested Currency Tap the claim that you want to add an expense item to. This will direct you to the Claim Details page for the claim. Exchange Rate Displays the exchange rate if the claimant requests a currency which is different to your organisation's base currency.
Note: An exchange rate must be configured between the base currency and the requested currency in order to request the advance.Foreign Amount Displays the amount requested in the foreign currency if the requested currency is different to your organisation's base currency. Amount Displays the amount requested in the base currency. If the requested currency is different to your organisation's base currency, this will display the converted amount. Amount Used Displays the amount of the advance which has been used against expense items. Amount Available Displays the amount of the advance which has not been used yet and is still available to be used. Required By The date which the claimant has requested that advance is provided by. Approver Displays the name of the user is responsible for approving the advance. Approved Shows whether the advance has been approved or not. Stage Displays which signoff stage the approval is at. Rejected Shows whether the advance has been rejected or not. Reason for Rejection If the advance has been rejected, this displays the approver's reason for rejection. Corrected / Disputed Shows whether the advance has been corrected/disputed and sent for approval or not. Dispute If the advance has been previously rejected and disputed by the claimant, this displays the claimant's reason for dispute. Paid Shows whether the advance has been paid or not. Issue Number A unique number which is assigned when the advance has been moved from 'approved' to 'paid'. Settled Shows whether the advance has been settled or not.
- The status of an advance will be shown with a colour indicator:
Requesting an Advance
- From the My Advances screen, tap Add (+).
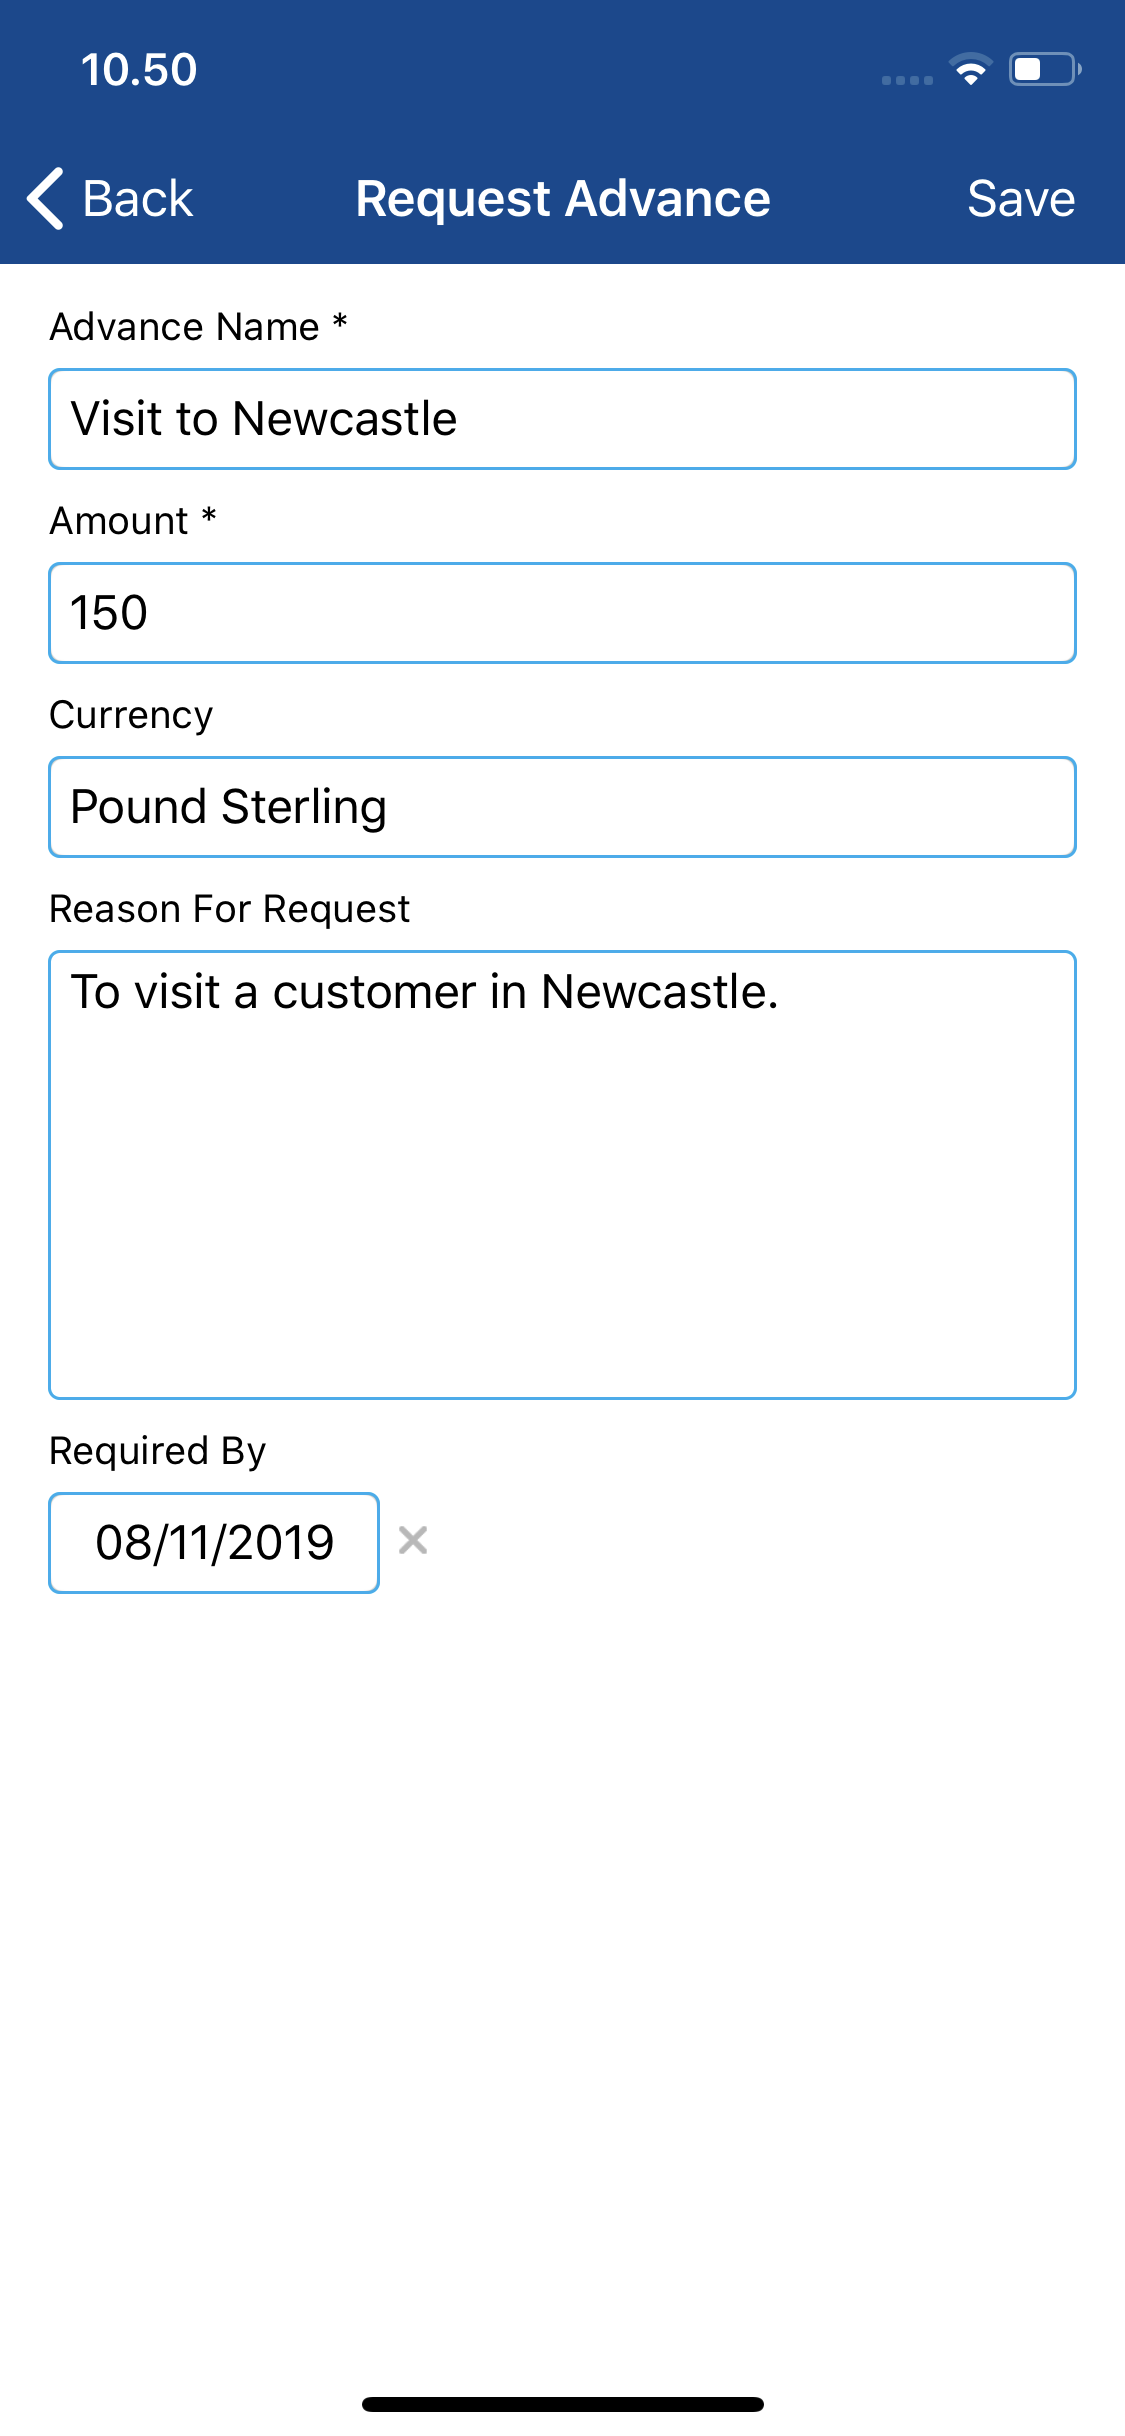
- Enter the following details:
Field Description Advance Name* Enter the name for this advance. Amount* Enter the amount required for this advance. Currency Select a currency from the list of active countries. This will be pre-populated with the primary currency from within your employee record. Reason For Request Enter the reason why you require this advance. Required By Select the date which you require this advance by. 
- Tap Save. This will create the advance and send it to the approver set within your advances signoff group.
 and then tap More.


