Permissions
You will require the following permissions:
- No permissions required
Edit a Receipt
- Log into Expenses Mobile and tap Receipt Wallet. Each receipt will have a status based on whether they have been sent for OCR processing.
- The two types of status are 'Processing...' and 'Complete'.
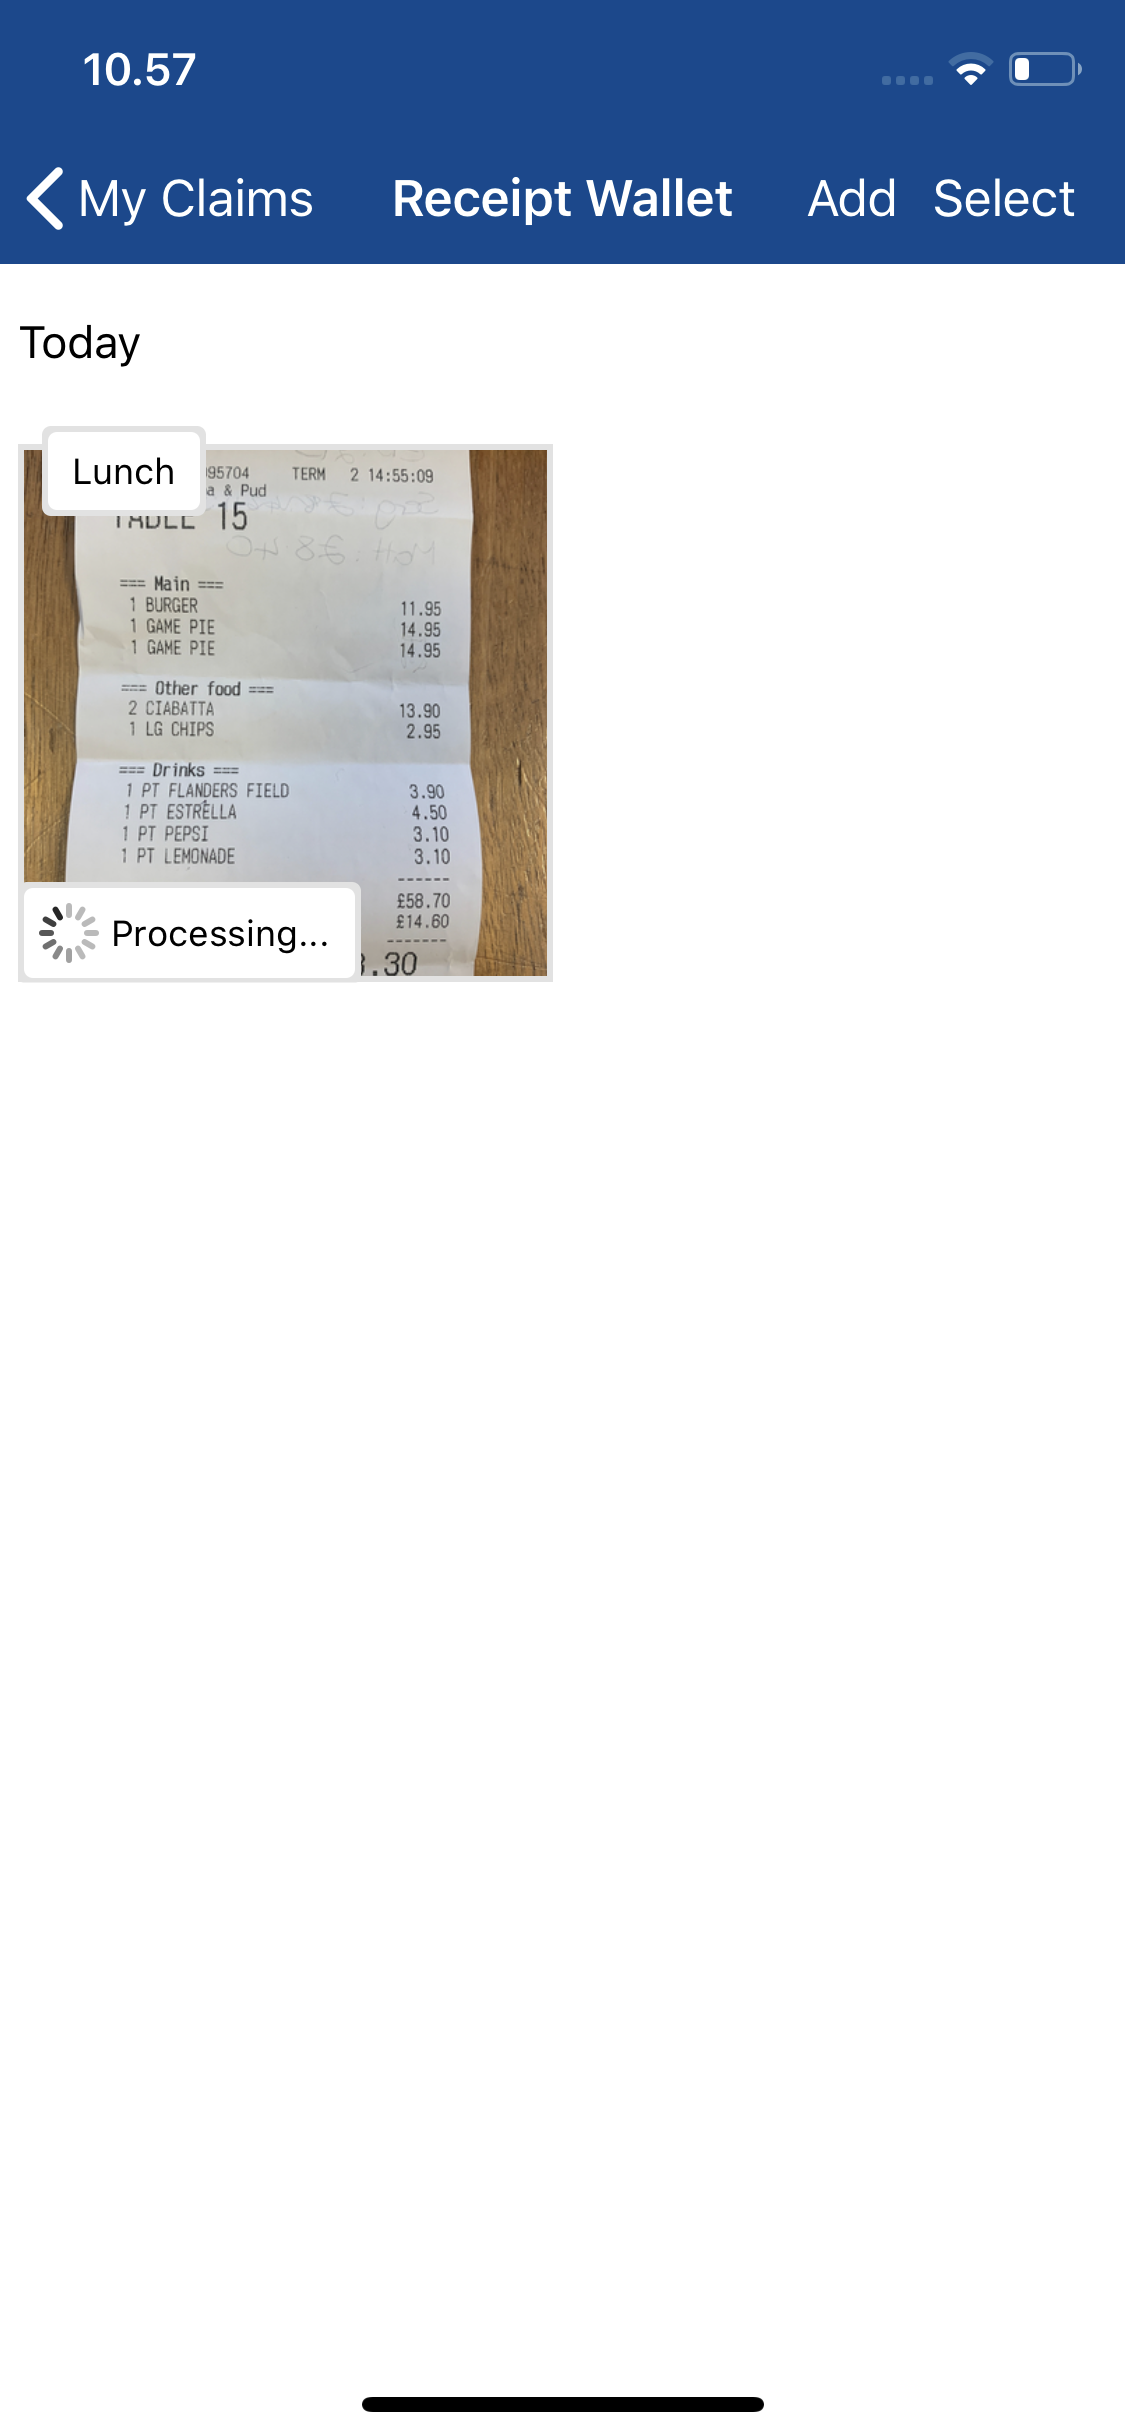
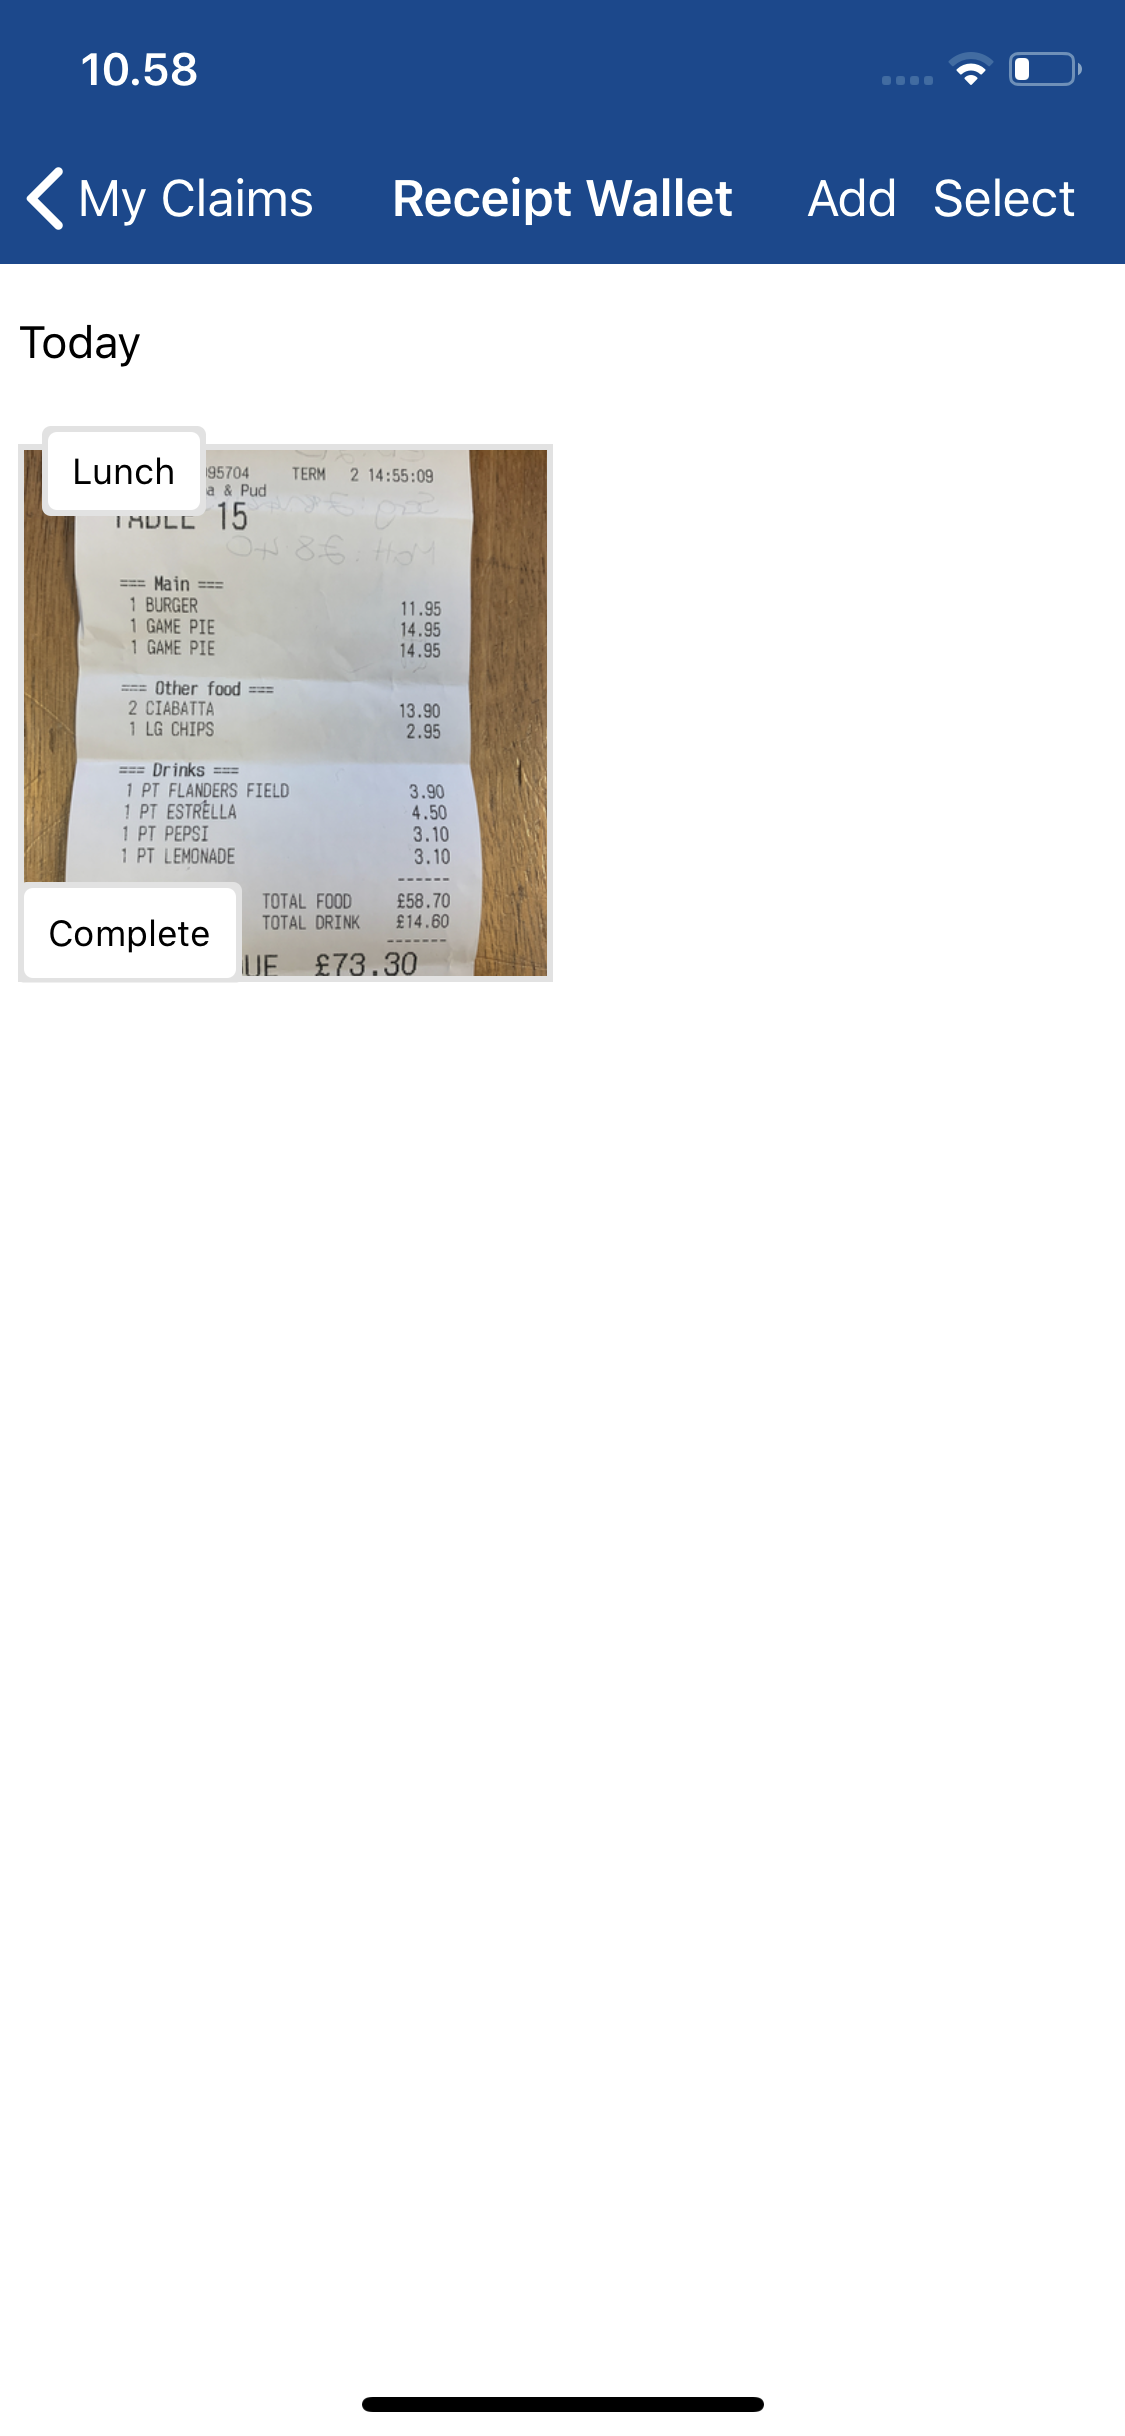
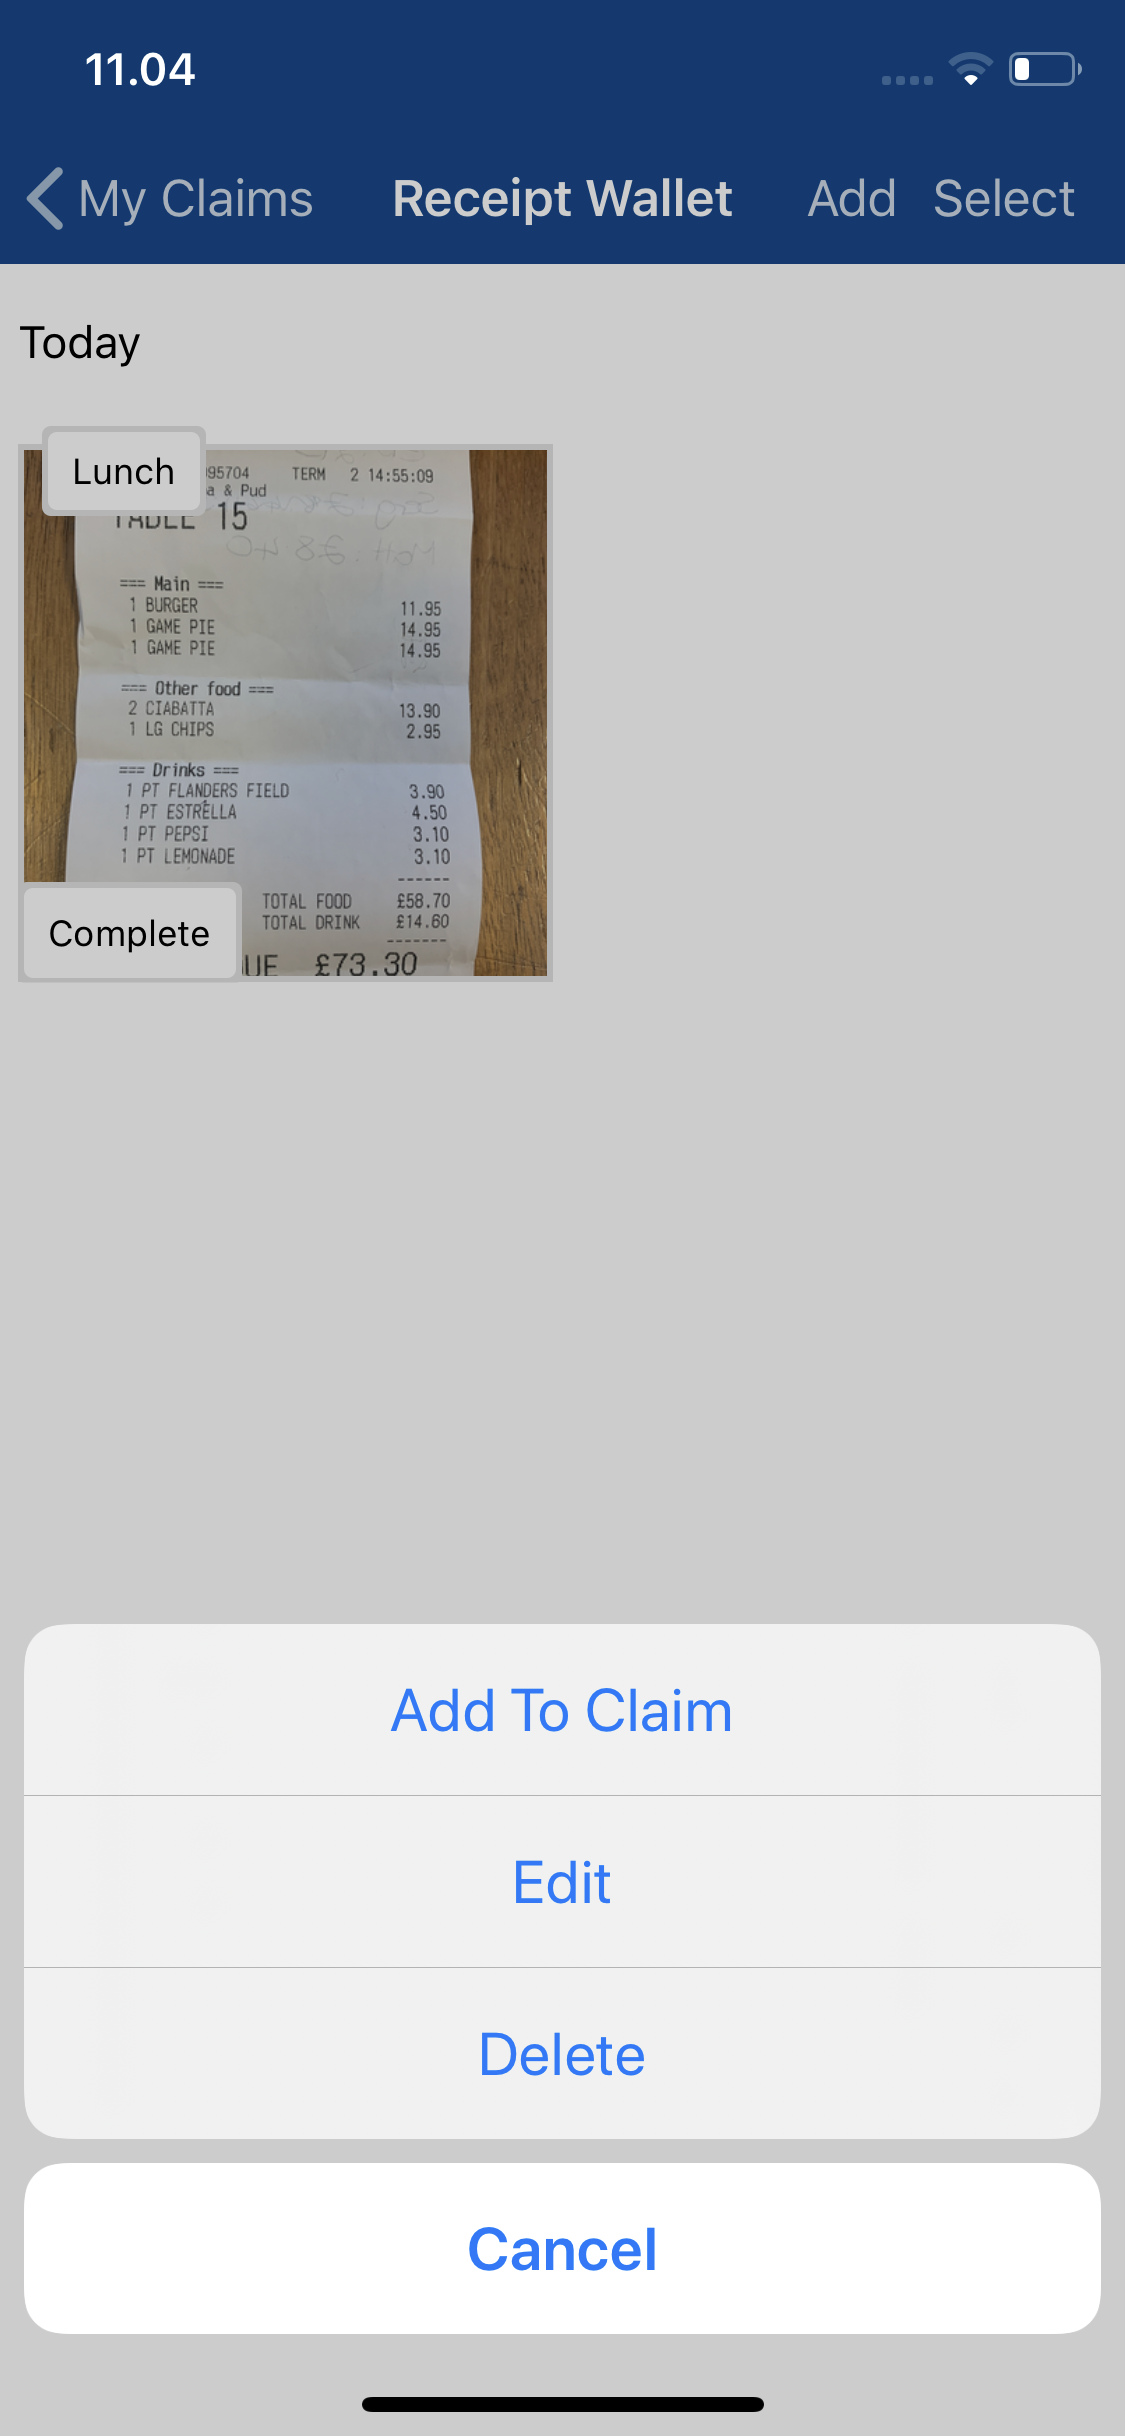
Status Description Processing The receipt is being analysed to capture specific details such as Total, Date, VAT Amount and Currency. Complete The receipt has finished OCR processing and is now ready to be added as an expense. Note: If your device loses connection to the internet during the processing stage, your receipt will not change to the 'Complete' state. You can manually add the receipt to an expense by tapping the image and then tapping Add to Claim.
- The two types of status are 'Processing...' and 'Complete'.
- Tap on the receipt you would like to modify and then tap Edit.
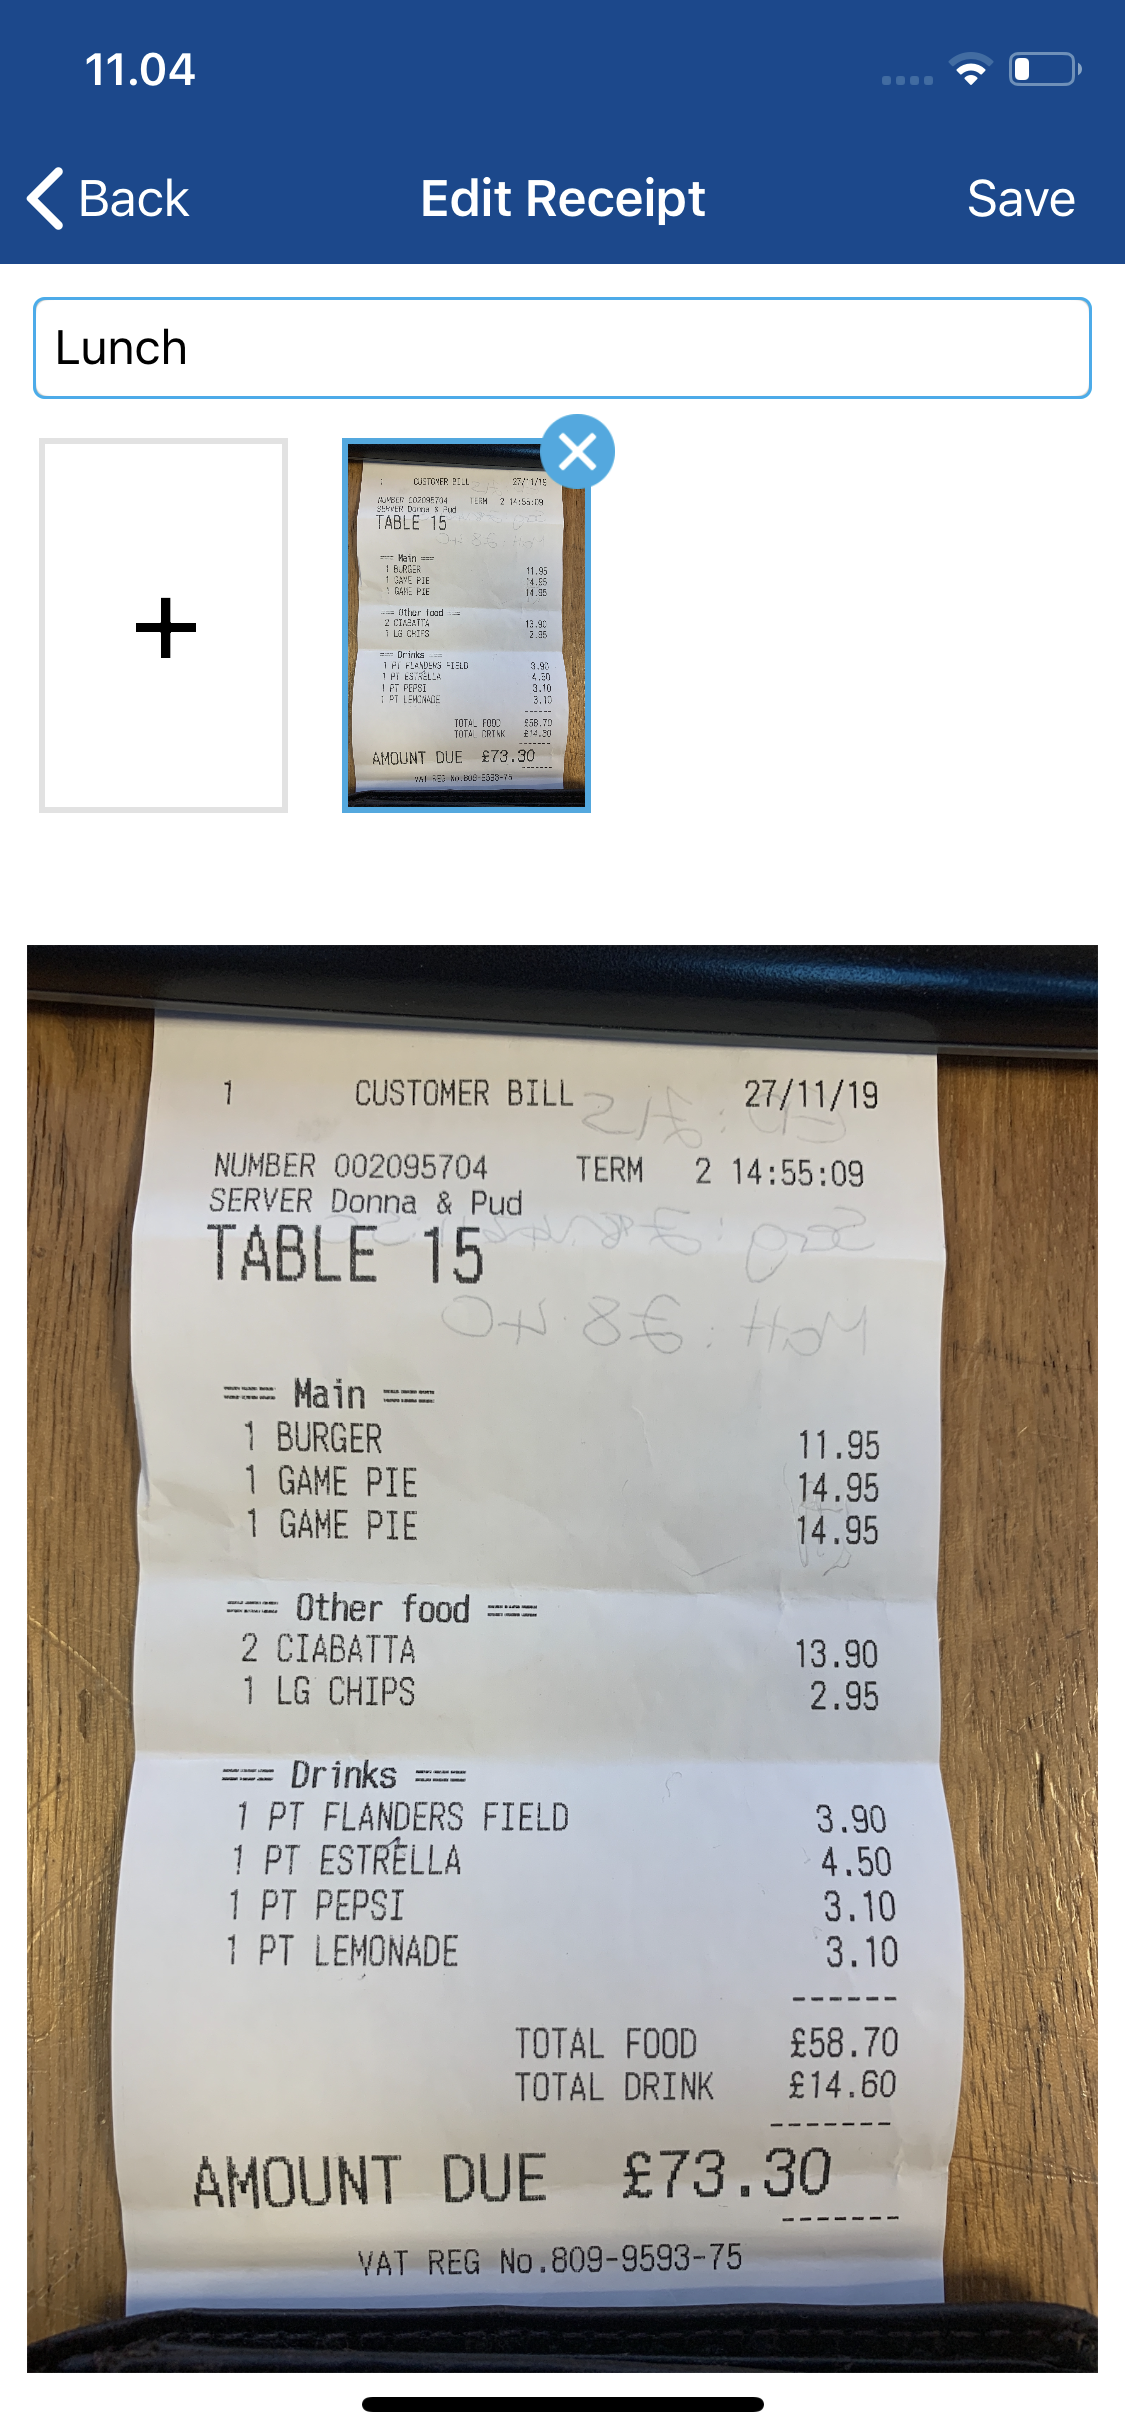
- Within the Edit Receipt page, you can do the following:
Action Description Add an Additional Image Tap the '+' to add a new image to the receipt.
Take a photo of the receipt ensuring that it is clear, in-focus and includes the relevant information.- If the image is acceptable tap Use Photo/Ok/Accept.
- If the image is unacceptable, tap Retake/Retry and then attempt to take the photo again.
Note: If the image is changed or updated on a receipt with a 'Complete' status, it will be automatically be sent for OCR processing again. The 'Receipt Scan Review' screen will update accordingly when the image is added to the claim.
Delete a Receipt Image Tap  on an image to delete it from the receipt. Tap Delete on the confirmation message to remove the image from the receipt.
Note: If all images are deleted, upon tapping Save, the receipt will be deleted from your Receipt Wallet.Receipt Name Tap the Receipt Name to edit the name of the receipt. - Tap Save to send the receipt for OCR processing.
Delete a Receipt
- Log into Expenses Mobile and then tap Receipt Wallet.
- Tap on the receipt you would like to delete and then tap Delete.

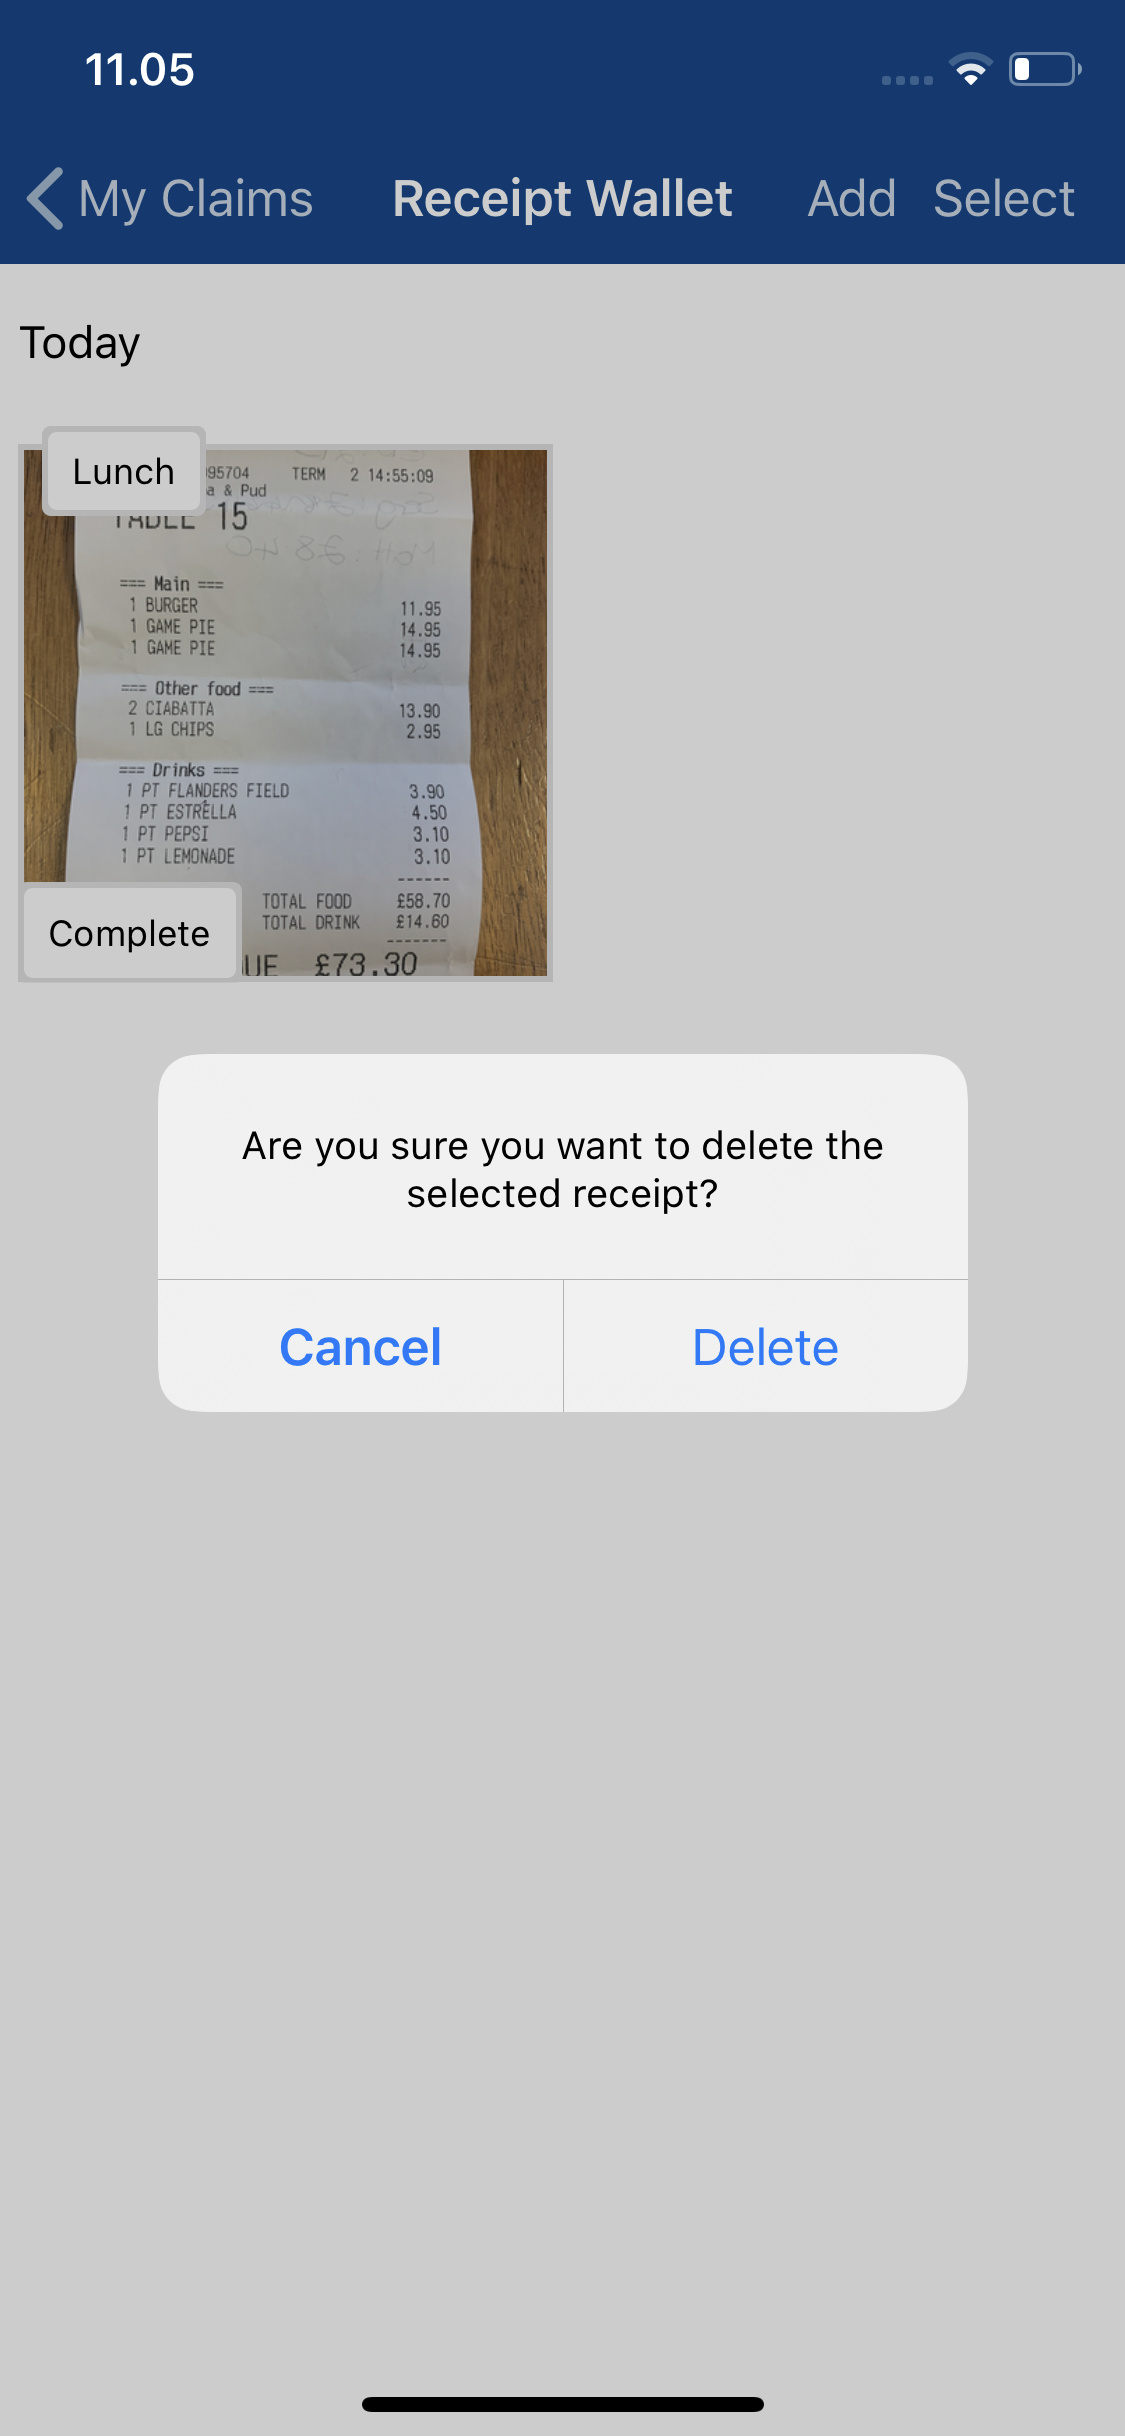
Note: To delete several receipts at the same time, press and hold on a receipt or tap Select and then tap on multiple receipts. Once you have selected all the receipts that you would like to delete, tap Delete.
- Tap Delete on the confirmation message to remove any selected receipts from your Receipt Wallet.
Add an Expense
For more information on how to add an expense using Receipt Scan, view Mobile - Add an Expense using Receipt Scan.
Note: After adding a receipt to an expense, the receipt cannot be returned to your Receipt Wallet.


 on an image to delete it from the receipt. Tap Delete on the confirmation message to remove the image from the receipt.

