Permissions
You will require the following permissions:
- The relevant item role that allows you to claim these expense types
Login Page
A journey can be recorded using the 'Log Mileage' option on the Login page or via the 'Mileage' tab. Recording via the login page allows you to save a journey without logging in and then reconcile at a later date. However, in order to add a journey to a claim, you will need to log in.
Note: You will need a Default Mileage Item set in order to use the 'Log Mileage' option on the Login page. For more information, view Change your Default Mileage Item.

For how to log your mileage, view the 'Mileage Tab' at the top of this article.
Mileage Tab
A journey can be recorded using the 'Log Mileage' option on the Login page or via the Mileage option located in the hamburger menu. Recording via the login page allows you to save a journey without logging in and then reconcile at a later date. However, in order to add a journey to a claim, you will need to log in.
- Log into Expenses Mobile. Log into Expenses Mobile. Tap the Hamburger Menu
 and then tap Mileage.
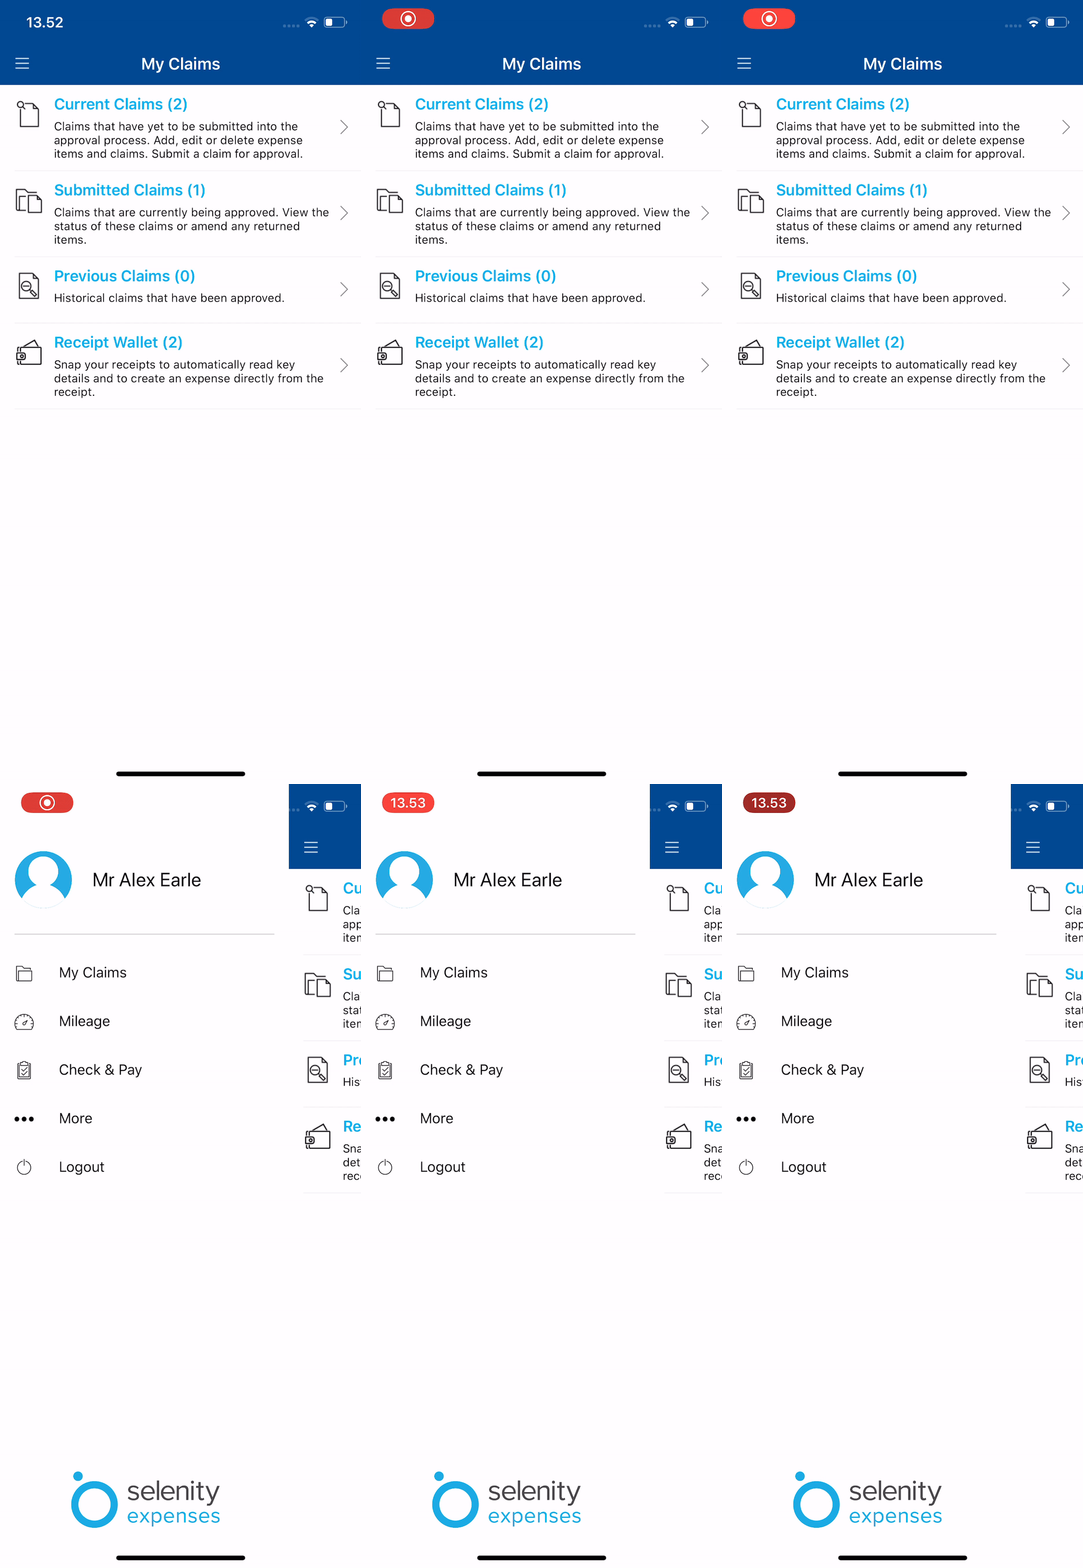
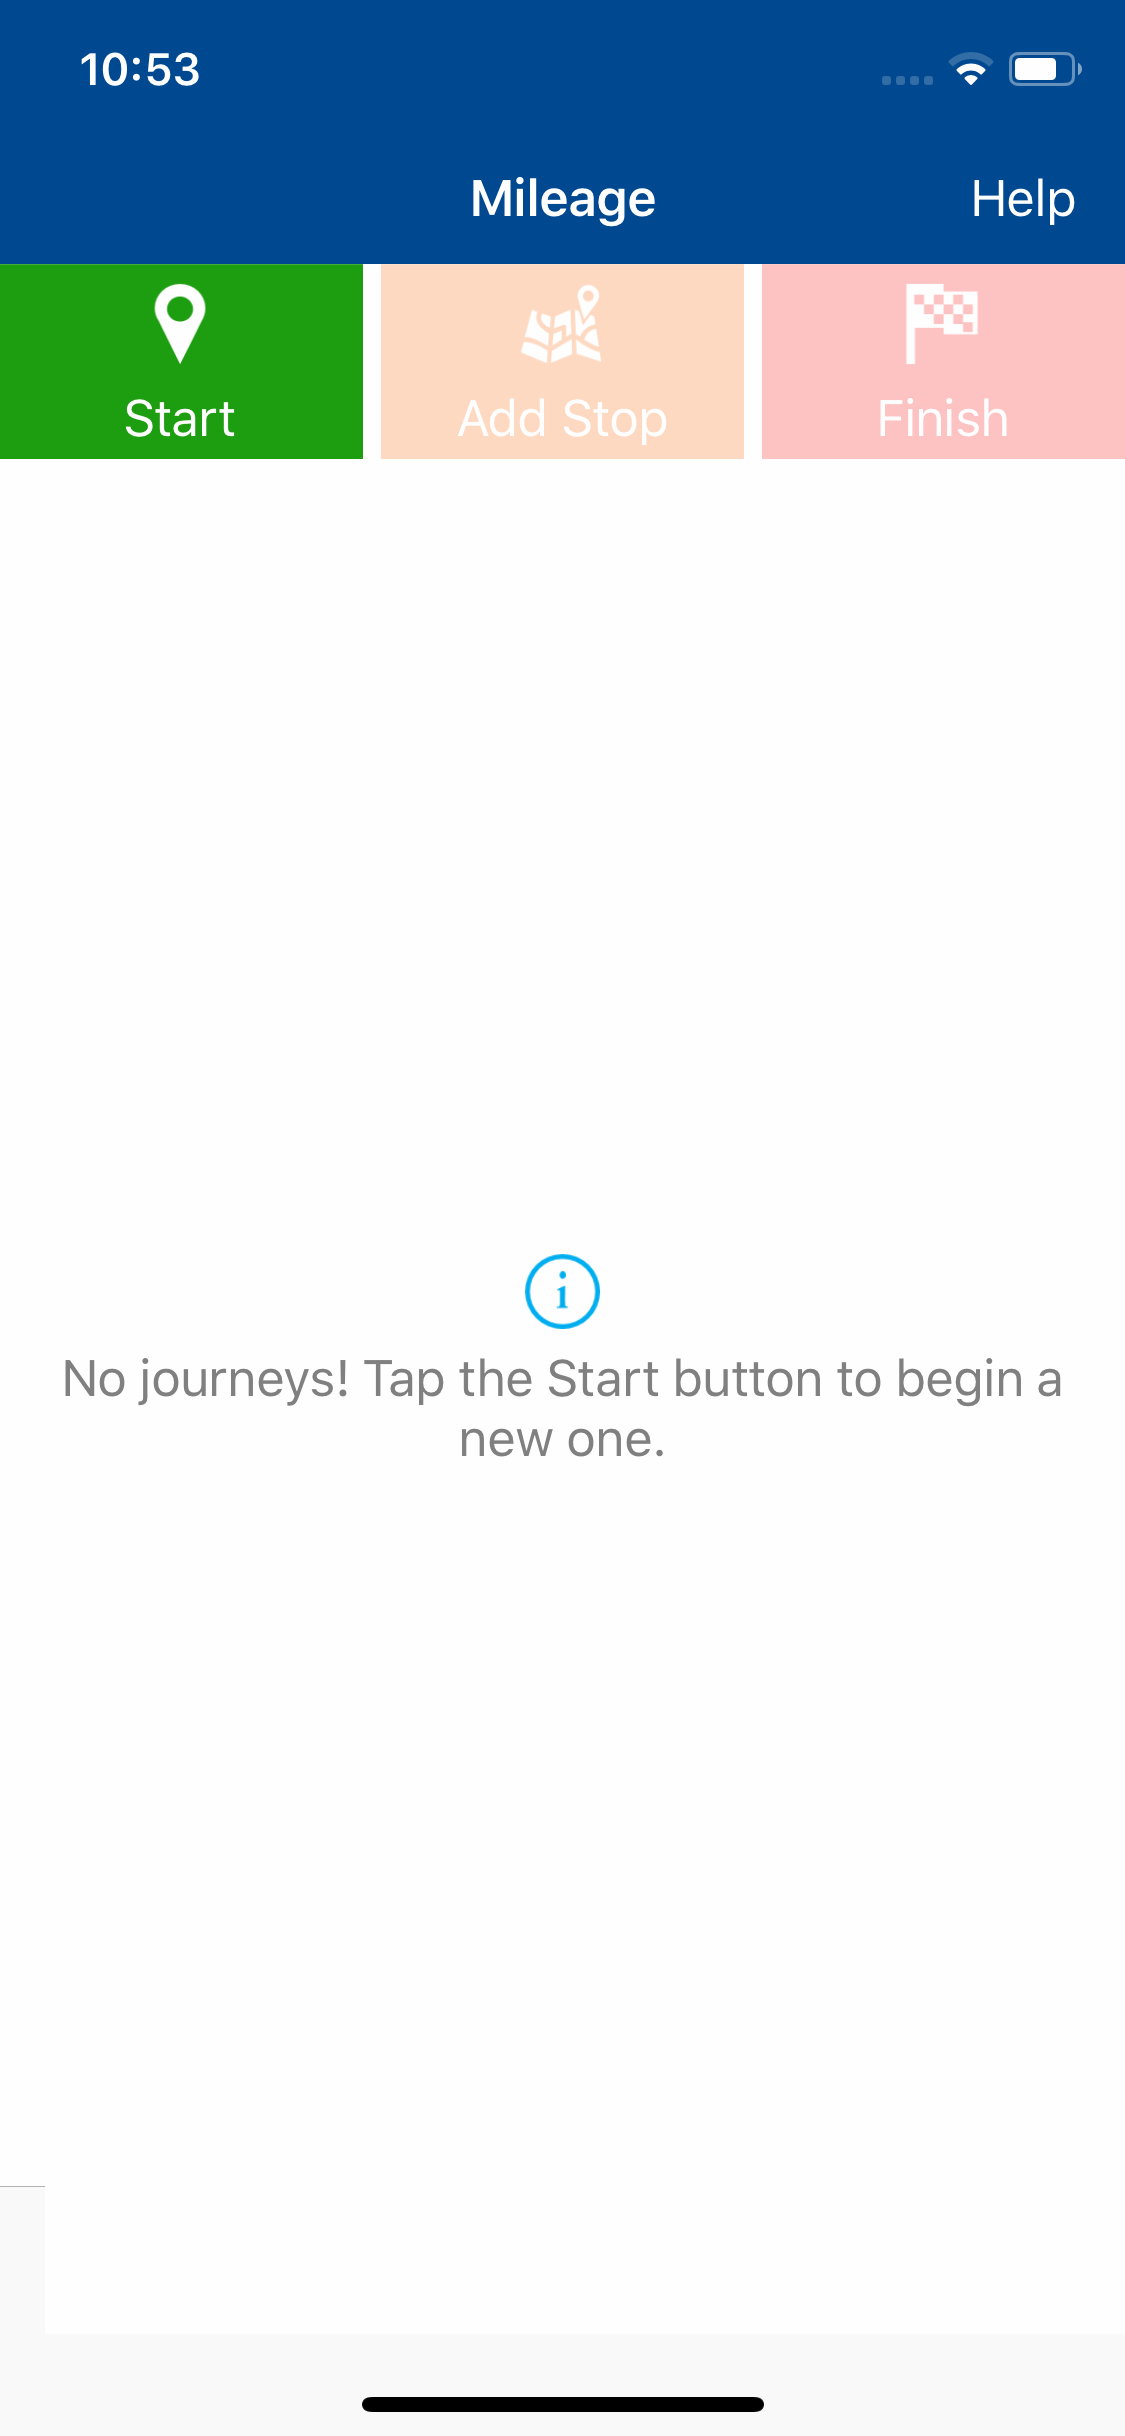
Note: A data/internet connection is required to record journeys automatically using the Mileage feature, however, if you lose this connection you will be prompted to add the location manually.
- When you are present at your starting location, tap the Start button to record the location details. This will create an active journey which includes the date and how many locations have been visited.
Note: If you have not set a Default Mileage Item, you will be notified and provided with a link to set this.
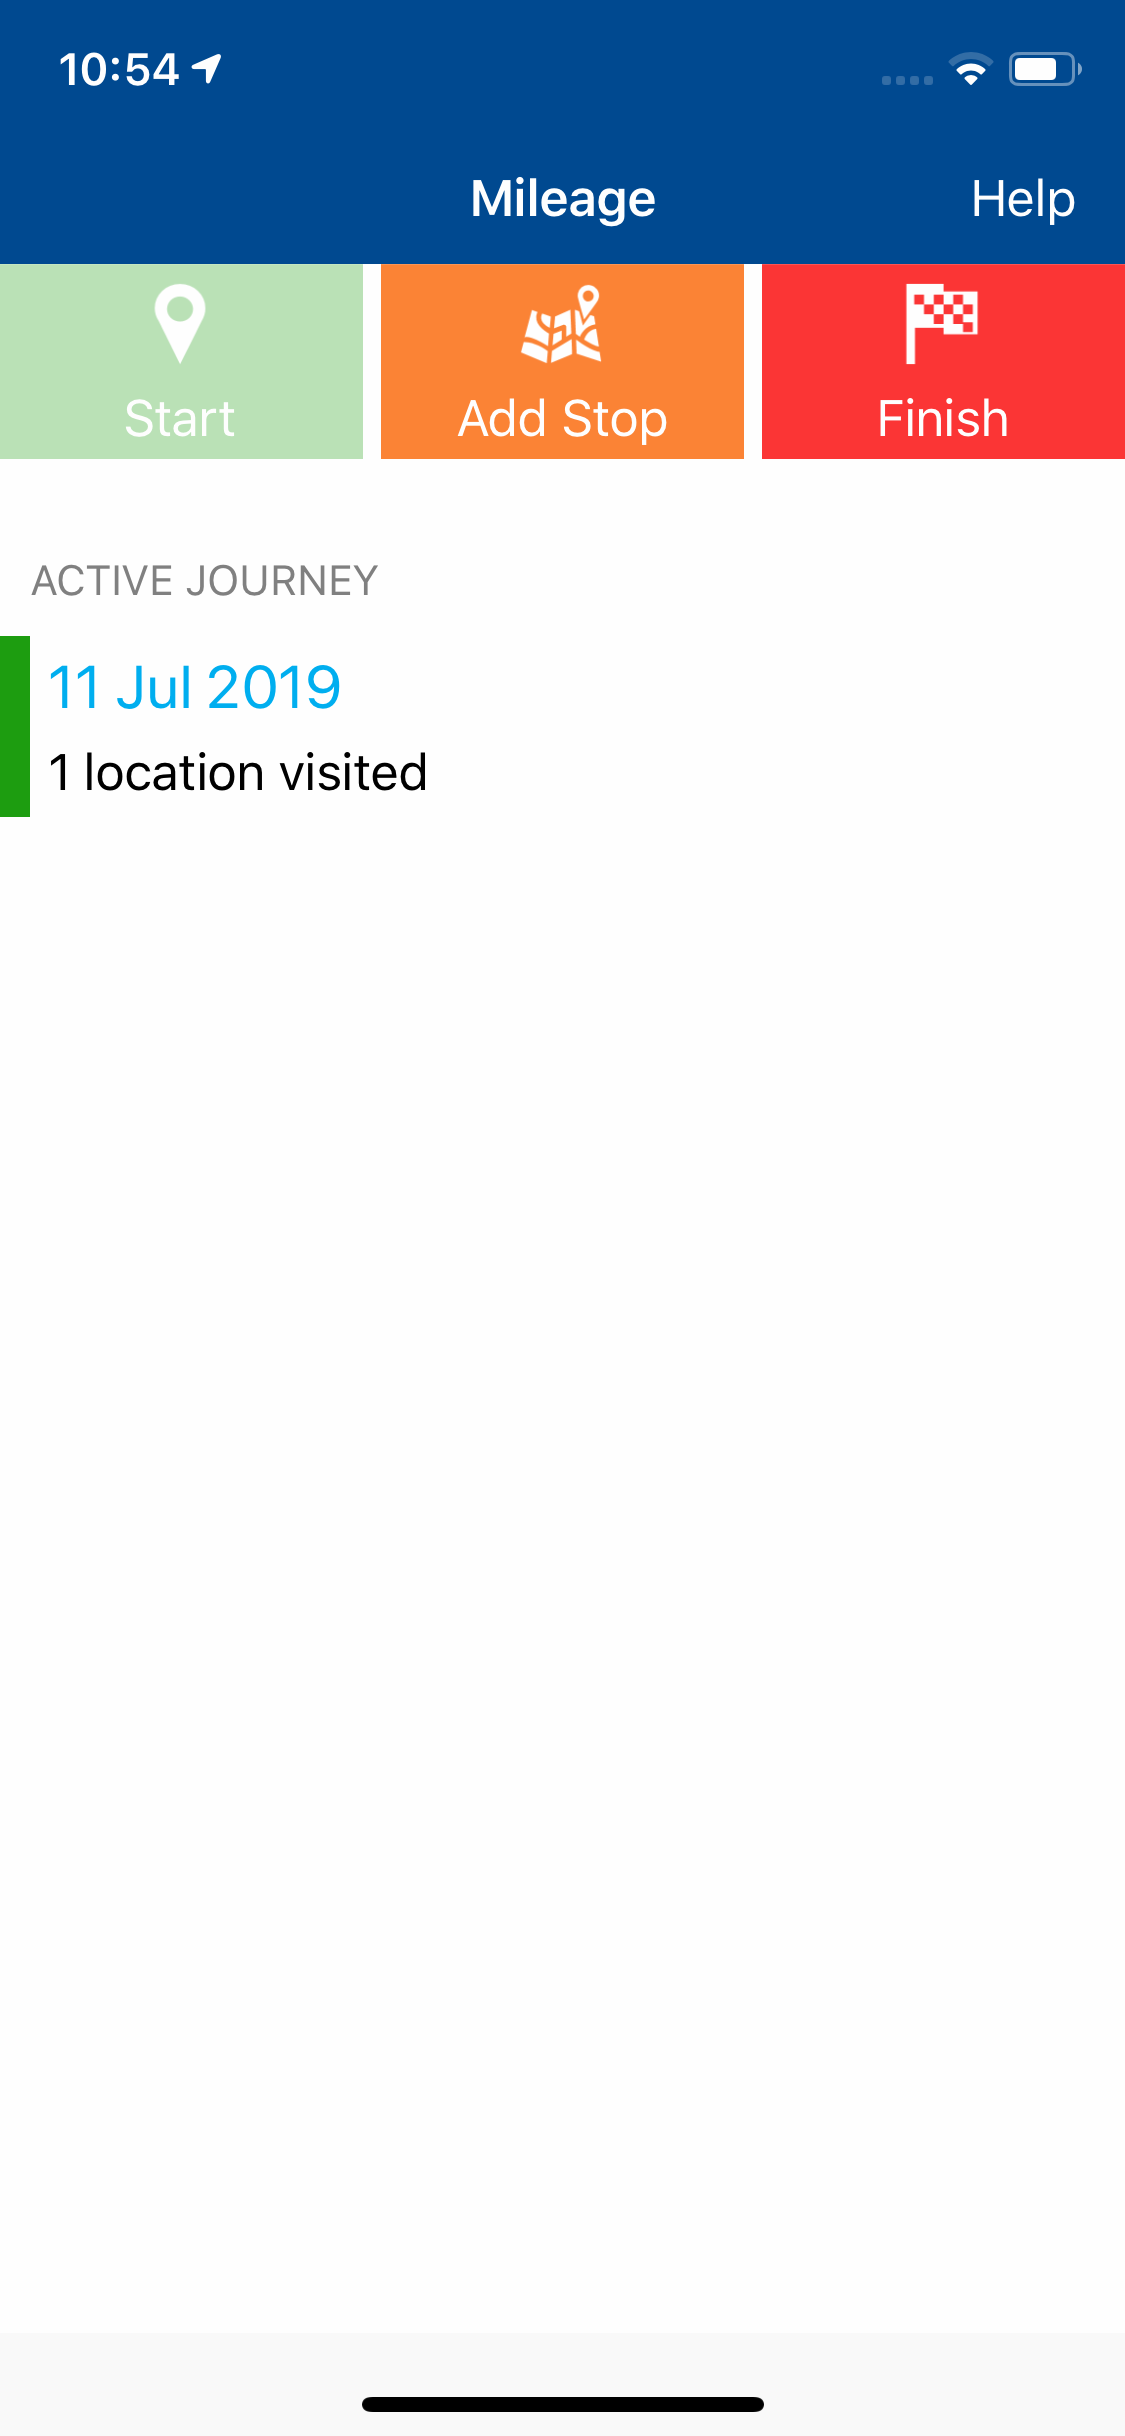
Once you have arrived at your next destination, tap Add Stop to record the location details. This will add the location to the list of locations visited.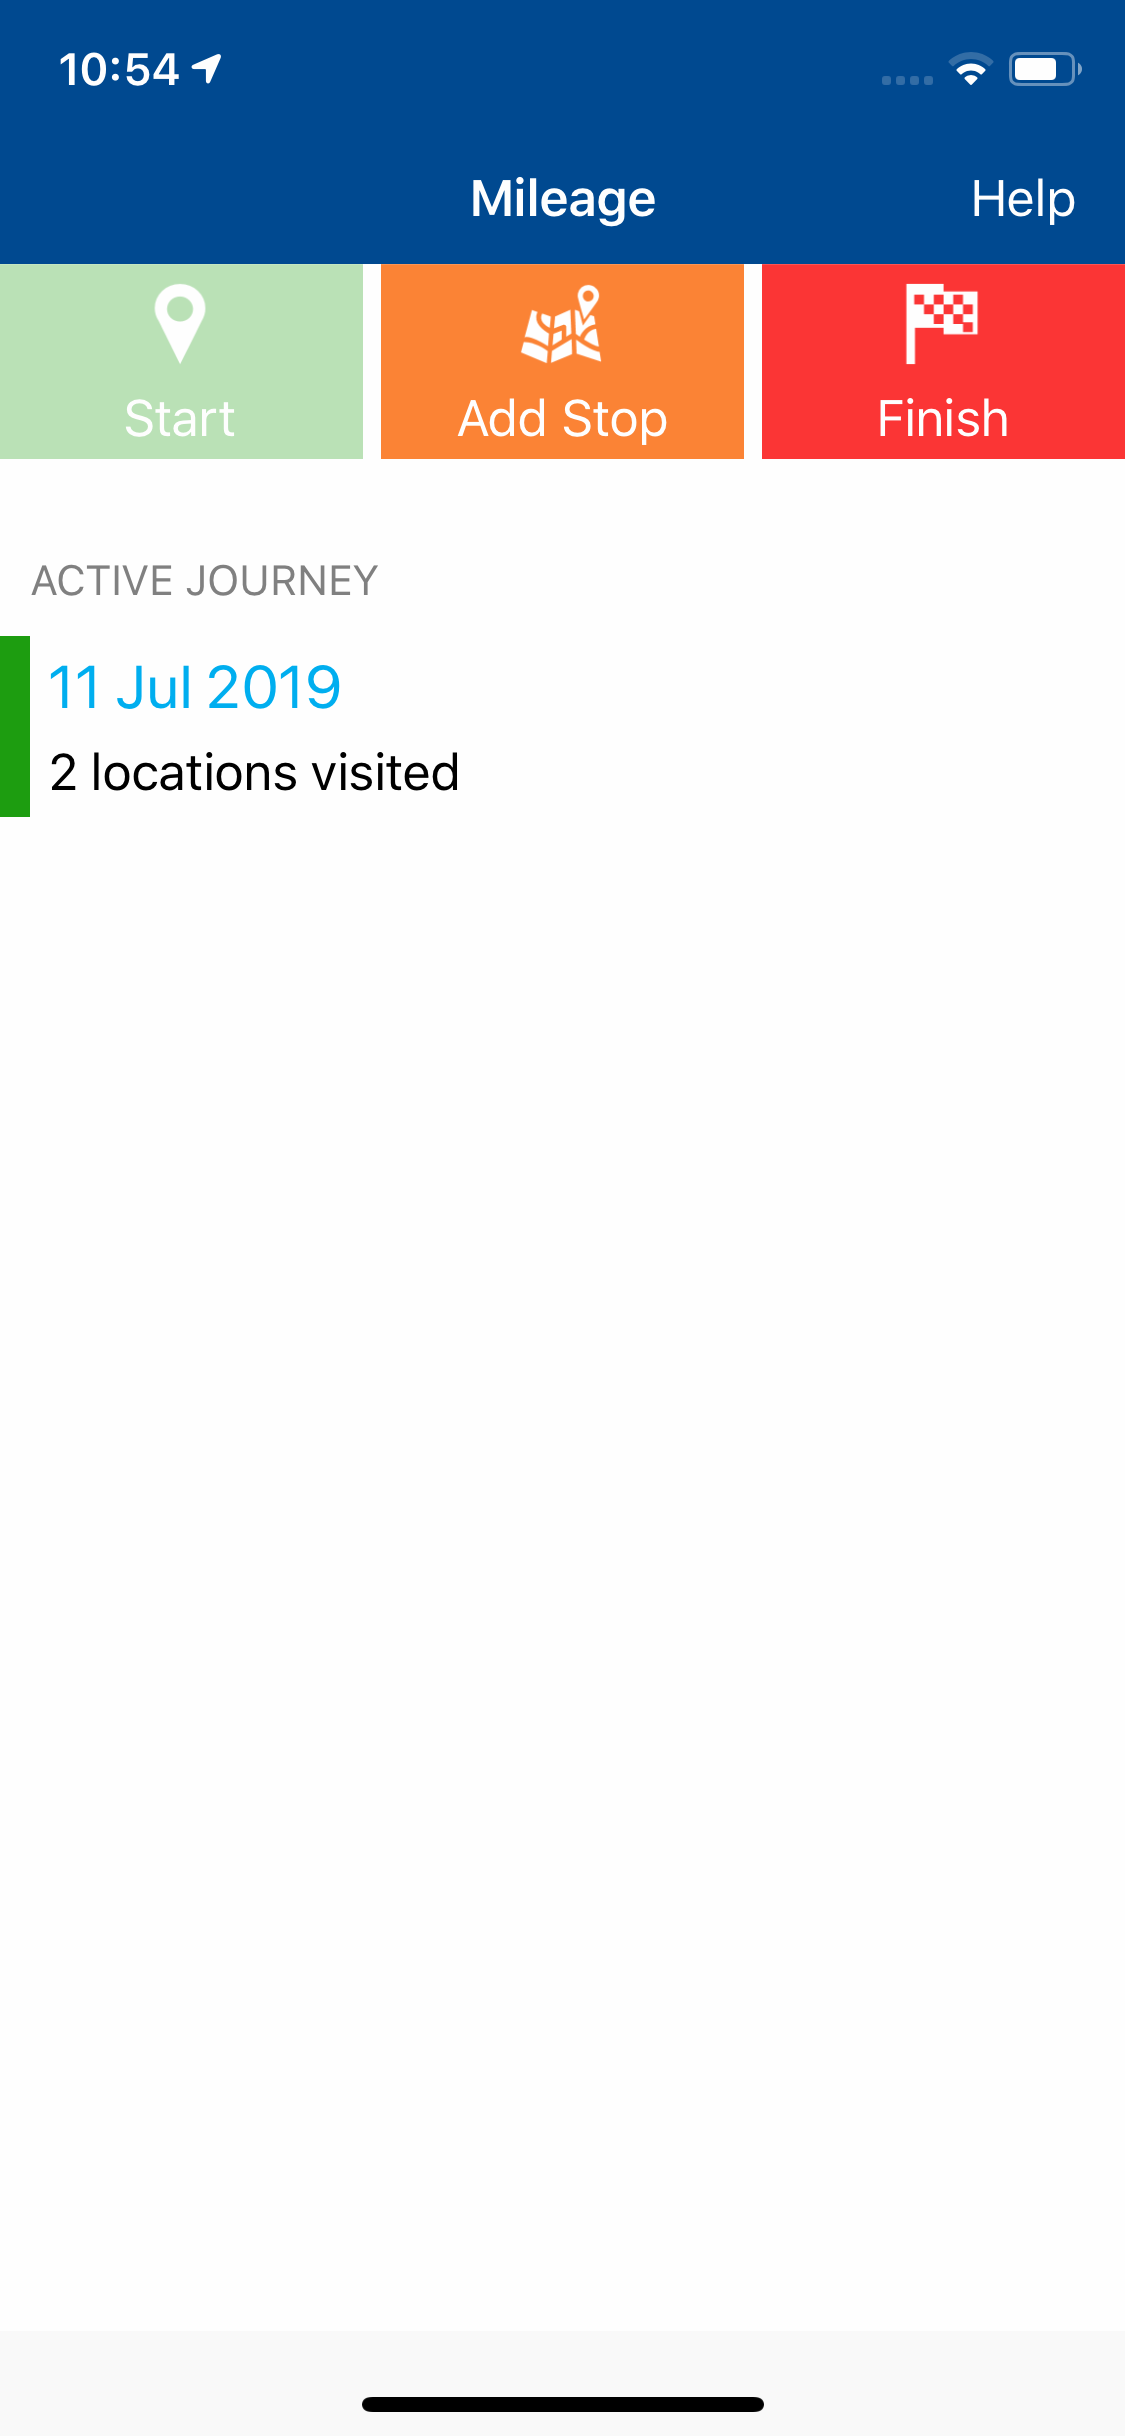
Note: If your address search returns no results from our automated lookup service, there is a possibility that you can add an address manually. If your organisation does not permit you to add a manual address you will need to contact your local administrator. For more informaiton, view Contact your Local Administrator
- Tap Add Stop at any further destinations you visit on your journey.
- Once you have arrived at your final destination for the journey, tap the Finish button. A message will display asking if you would like to add this journey to your current claim; tap Yes.
- Alternatively, if you do not wish to add this journey to your claim at this time, tap No. This will store the journey on the Mileage page, within the Unsaved Journeys section. You can return to this journey at a later date and edit, delete or add it to your most recent current claim.
Note: If you have recorded a journey via the 'Log Mileage' button without logging in, you will need to log in to add the journey to a claim.
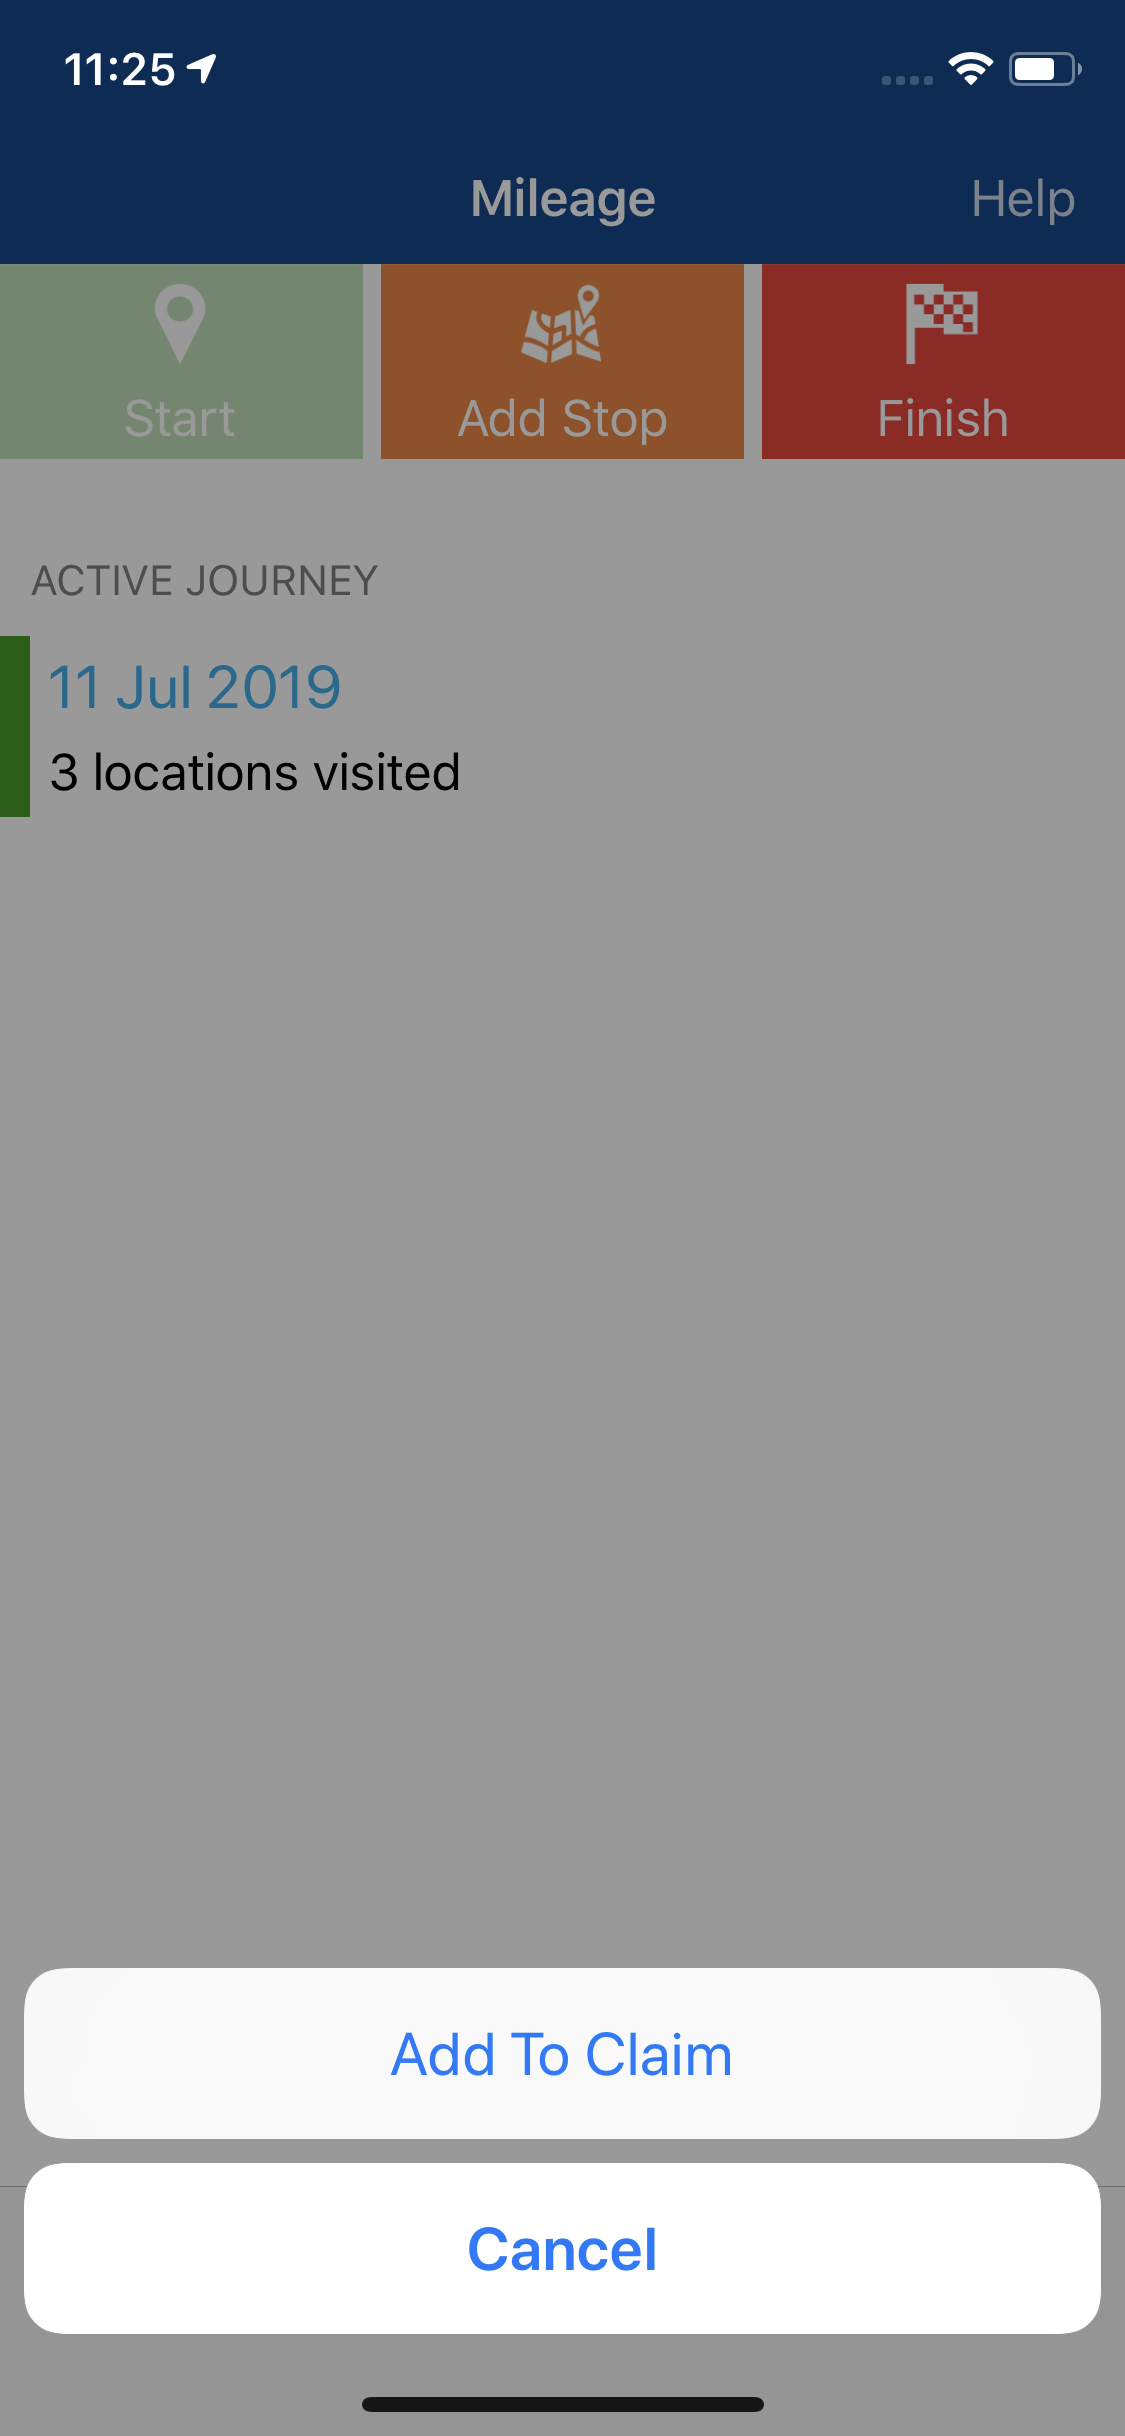
- If a current claim exists, you will be directed to the Add Expense page with the journey details pre-populated.
- If no current claim exists, you will be directed to Add Claim page. After creating your claim, you will be directed to the Add Expense page with the journey details pre-populated.
- Alternatively, if you do not wish to add this journey to your claim at this time, tap No. This will store the journey on the Mileage page, within the Unsaved Journeys section. You can return to this journey at a later date and edit, delete or add it to your most recent current claim.
- Complete any required details on the Add Expense page and then tap Save to add the mileage expense to your claim.
Note: This journey will only be available on the device that you recorded it on. The data is not available on the browser version of Selenity Expenses and must be added as an expense through the Expenses Mobile. If the mobile device/data is lost, it will not be recoverable.
 and then tap Mileage.


