Permissions
You will require the following permissions:
- No permissions required
Add a Receipt to an Expense
A receipt can be uploaded via the Receipt Wallet at the time of adding an expense to your claim or at a later date by modifying your claim. If you have the receipt available, it is considered best practice to add your receipt to your Receipt Wallet first. For more information, view Mobile - Add an Expense using Receipt Scan.
Add a Receipt to an Existing Expense
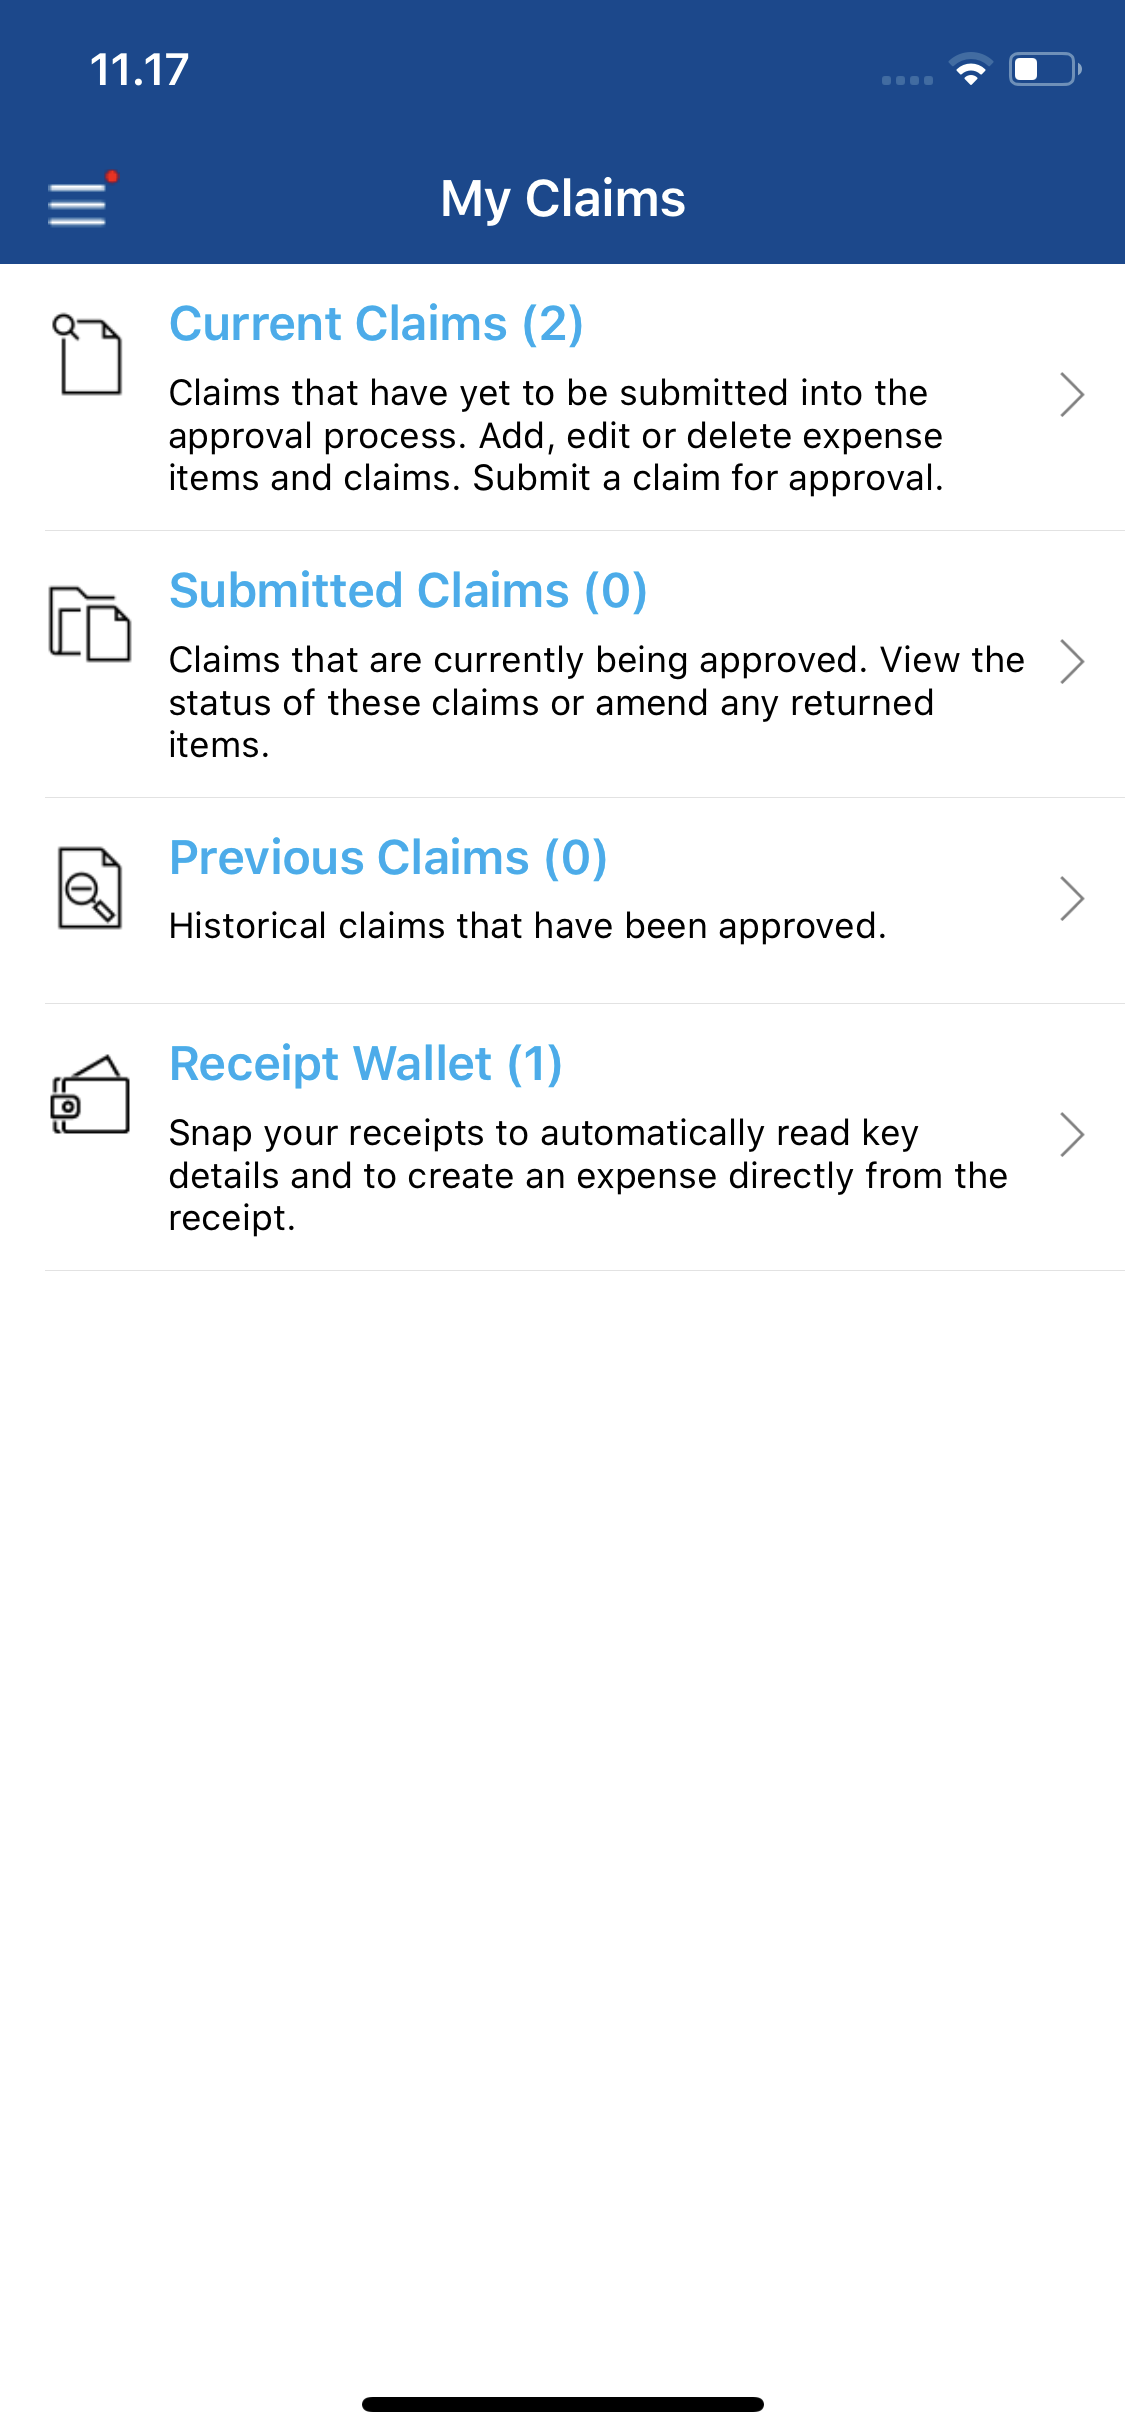
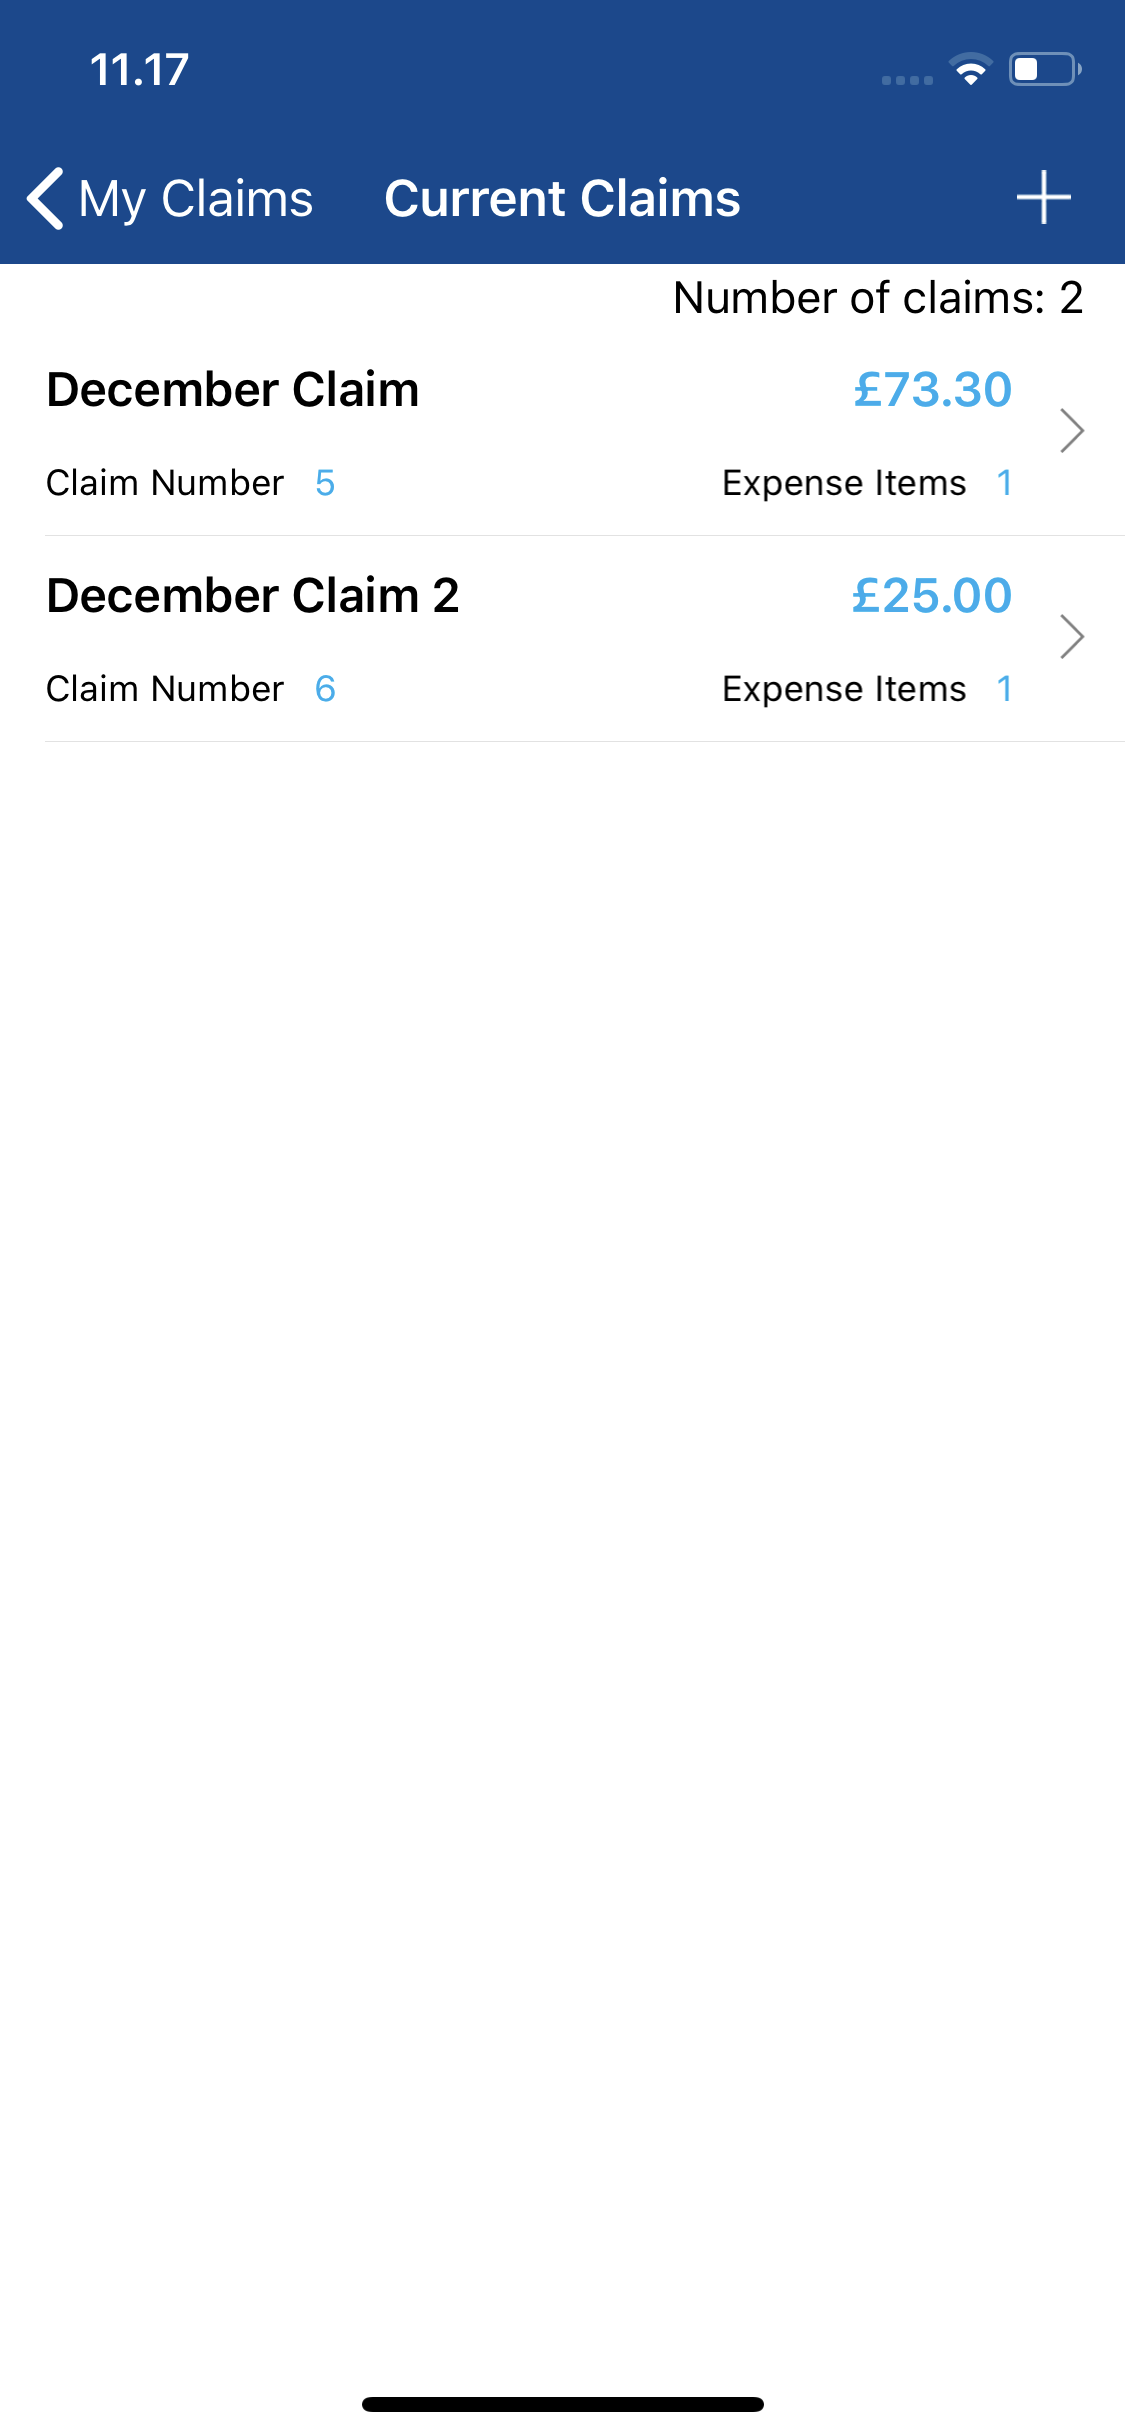
- Login to Expenses Mobile and navigate to My Claims | Current Claims. Within the 'Current Claims' page you will see a list of your claims which have not been submitted yet.
- Navigate to the 'Claim Details' page.
Platform Instruction iOS Tap the claim which contains the expense that you want to add a receipt to. This will direct you to the 'Claim Details' page for this claim. Android Tap the claim which contains the expense that you want to add a receipt to and then tap Expense Items. This will direct you to the 'Claim Details' page for this claim. - The 'Claim Details' page will display all of the expenses on this claim.
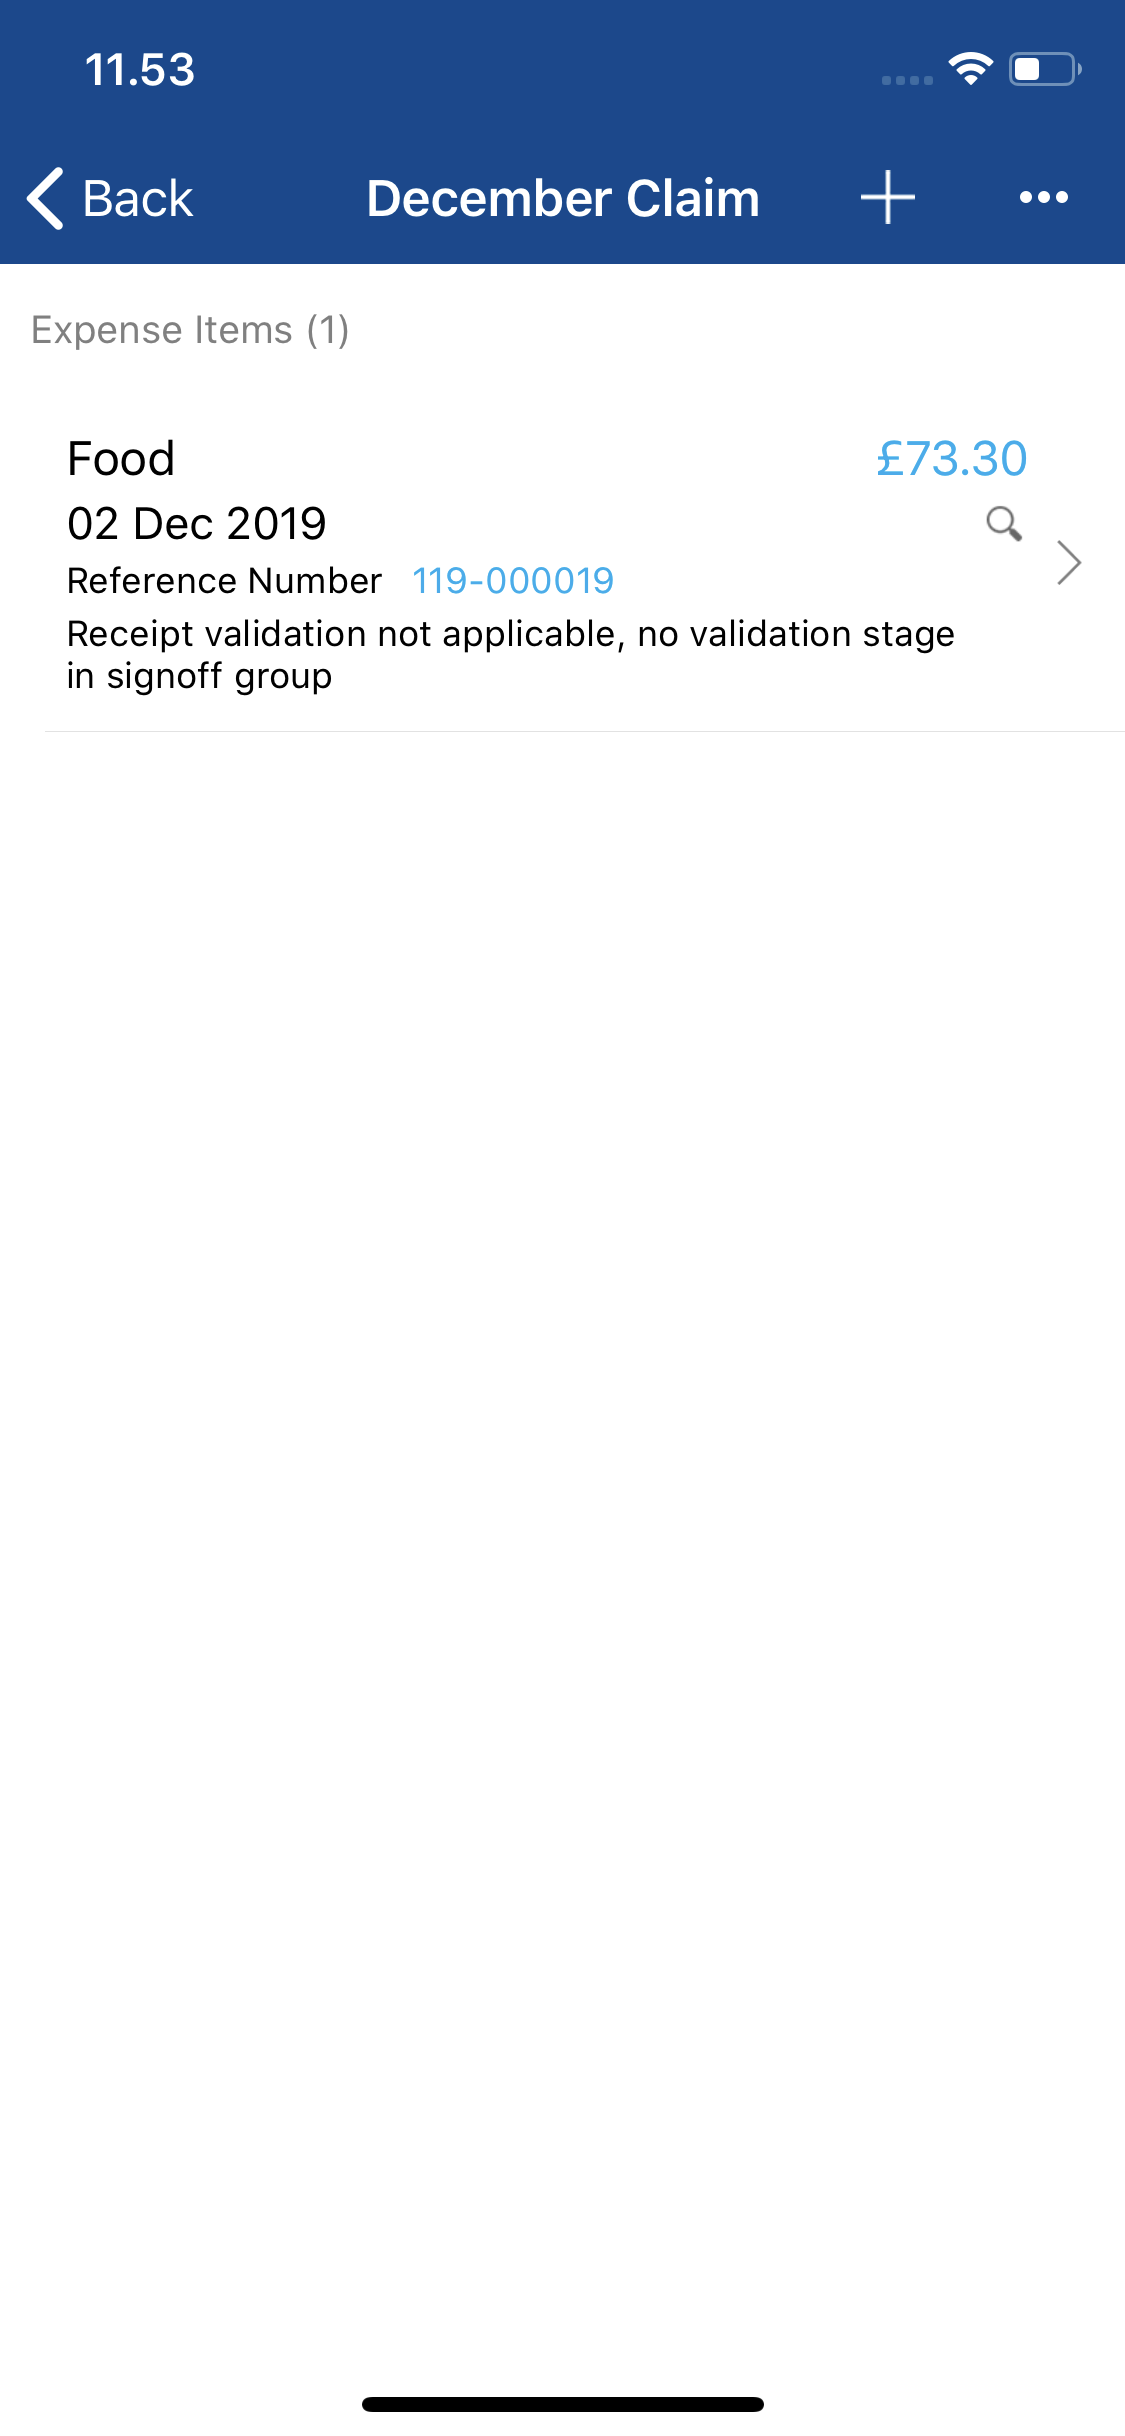
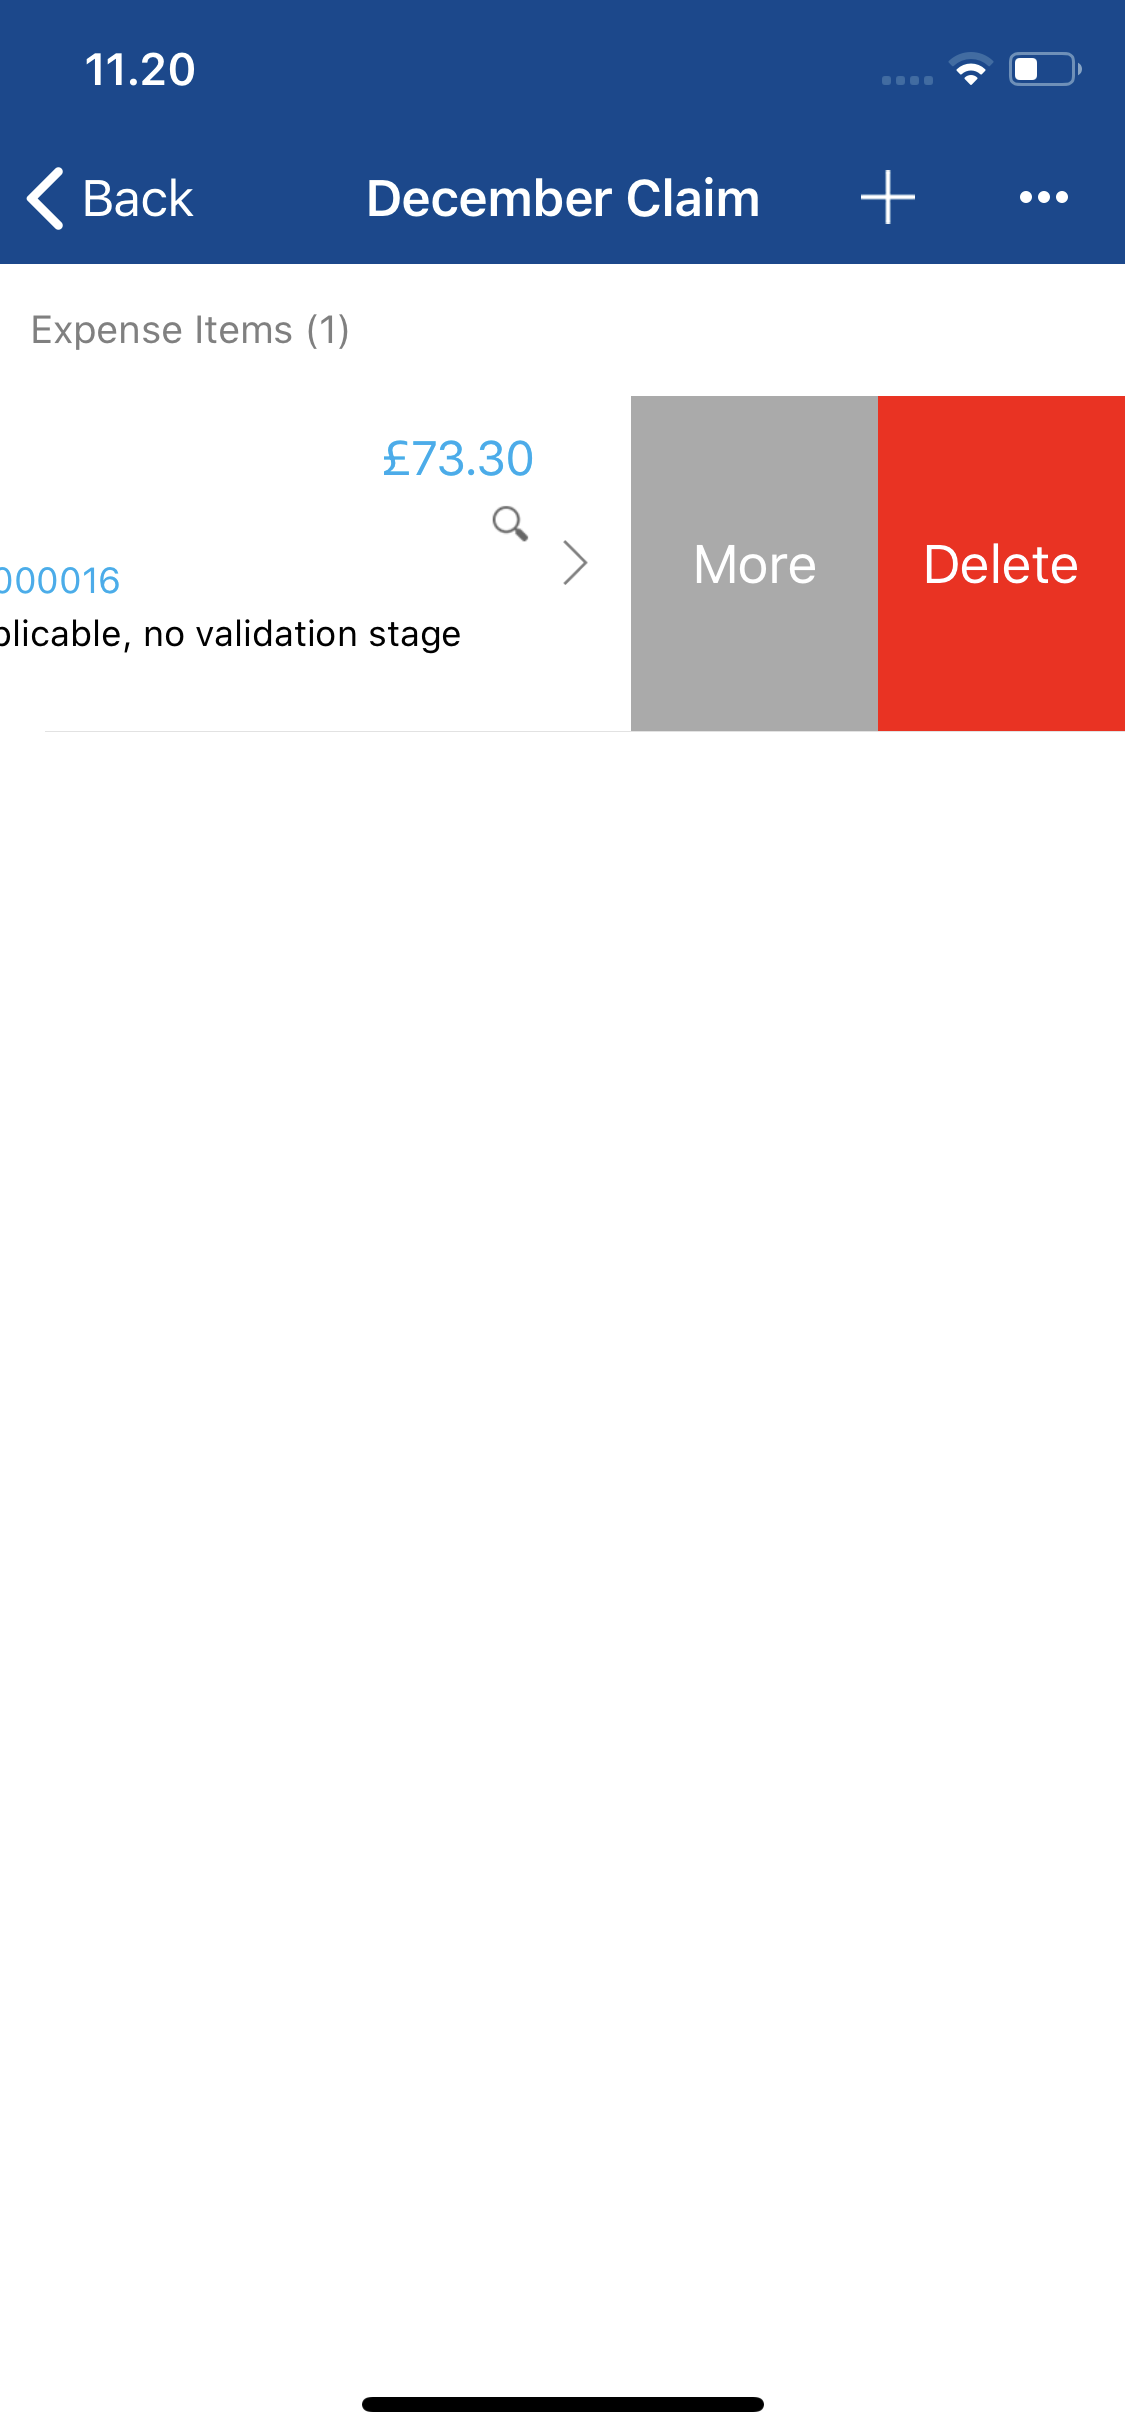
Platform Instruction iOS Swipe left on the expense and then tap More. Tap on one of the following options: - Upload Receipt from Gallery
- Upload Receipt using Camera.
Android Tap on the expense and then tap one of the following options: - Upload Receipt from Gallery
- Upload Receipt using Camera.
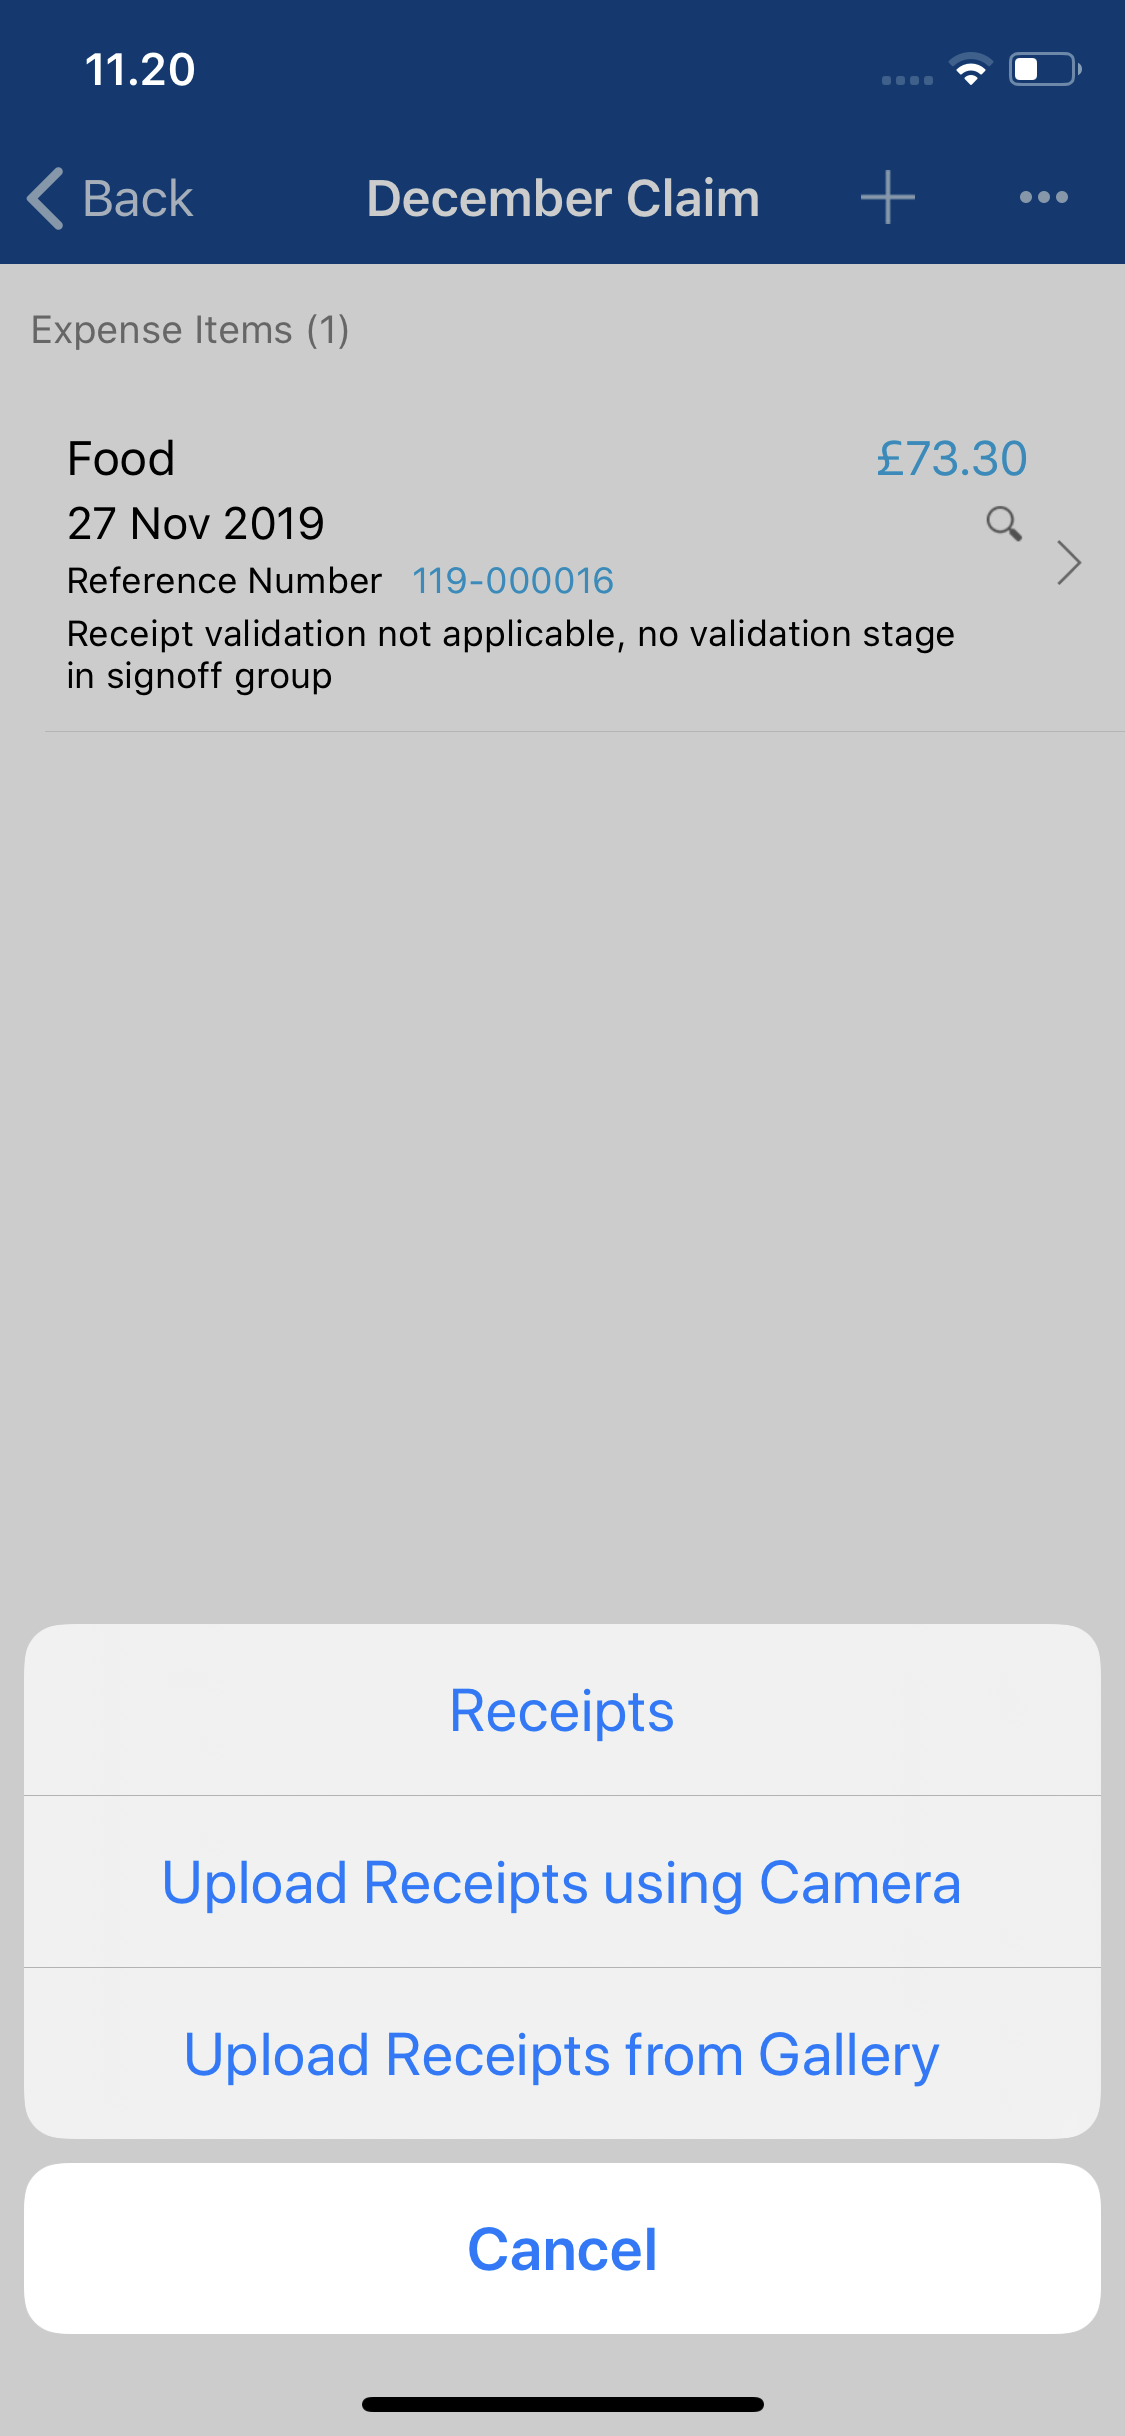
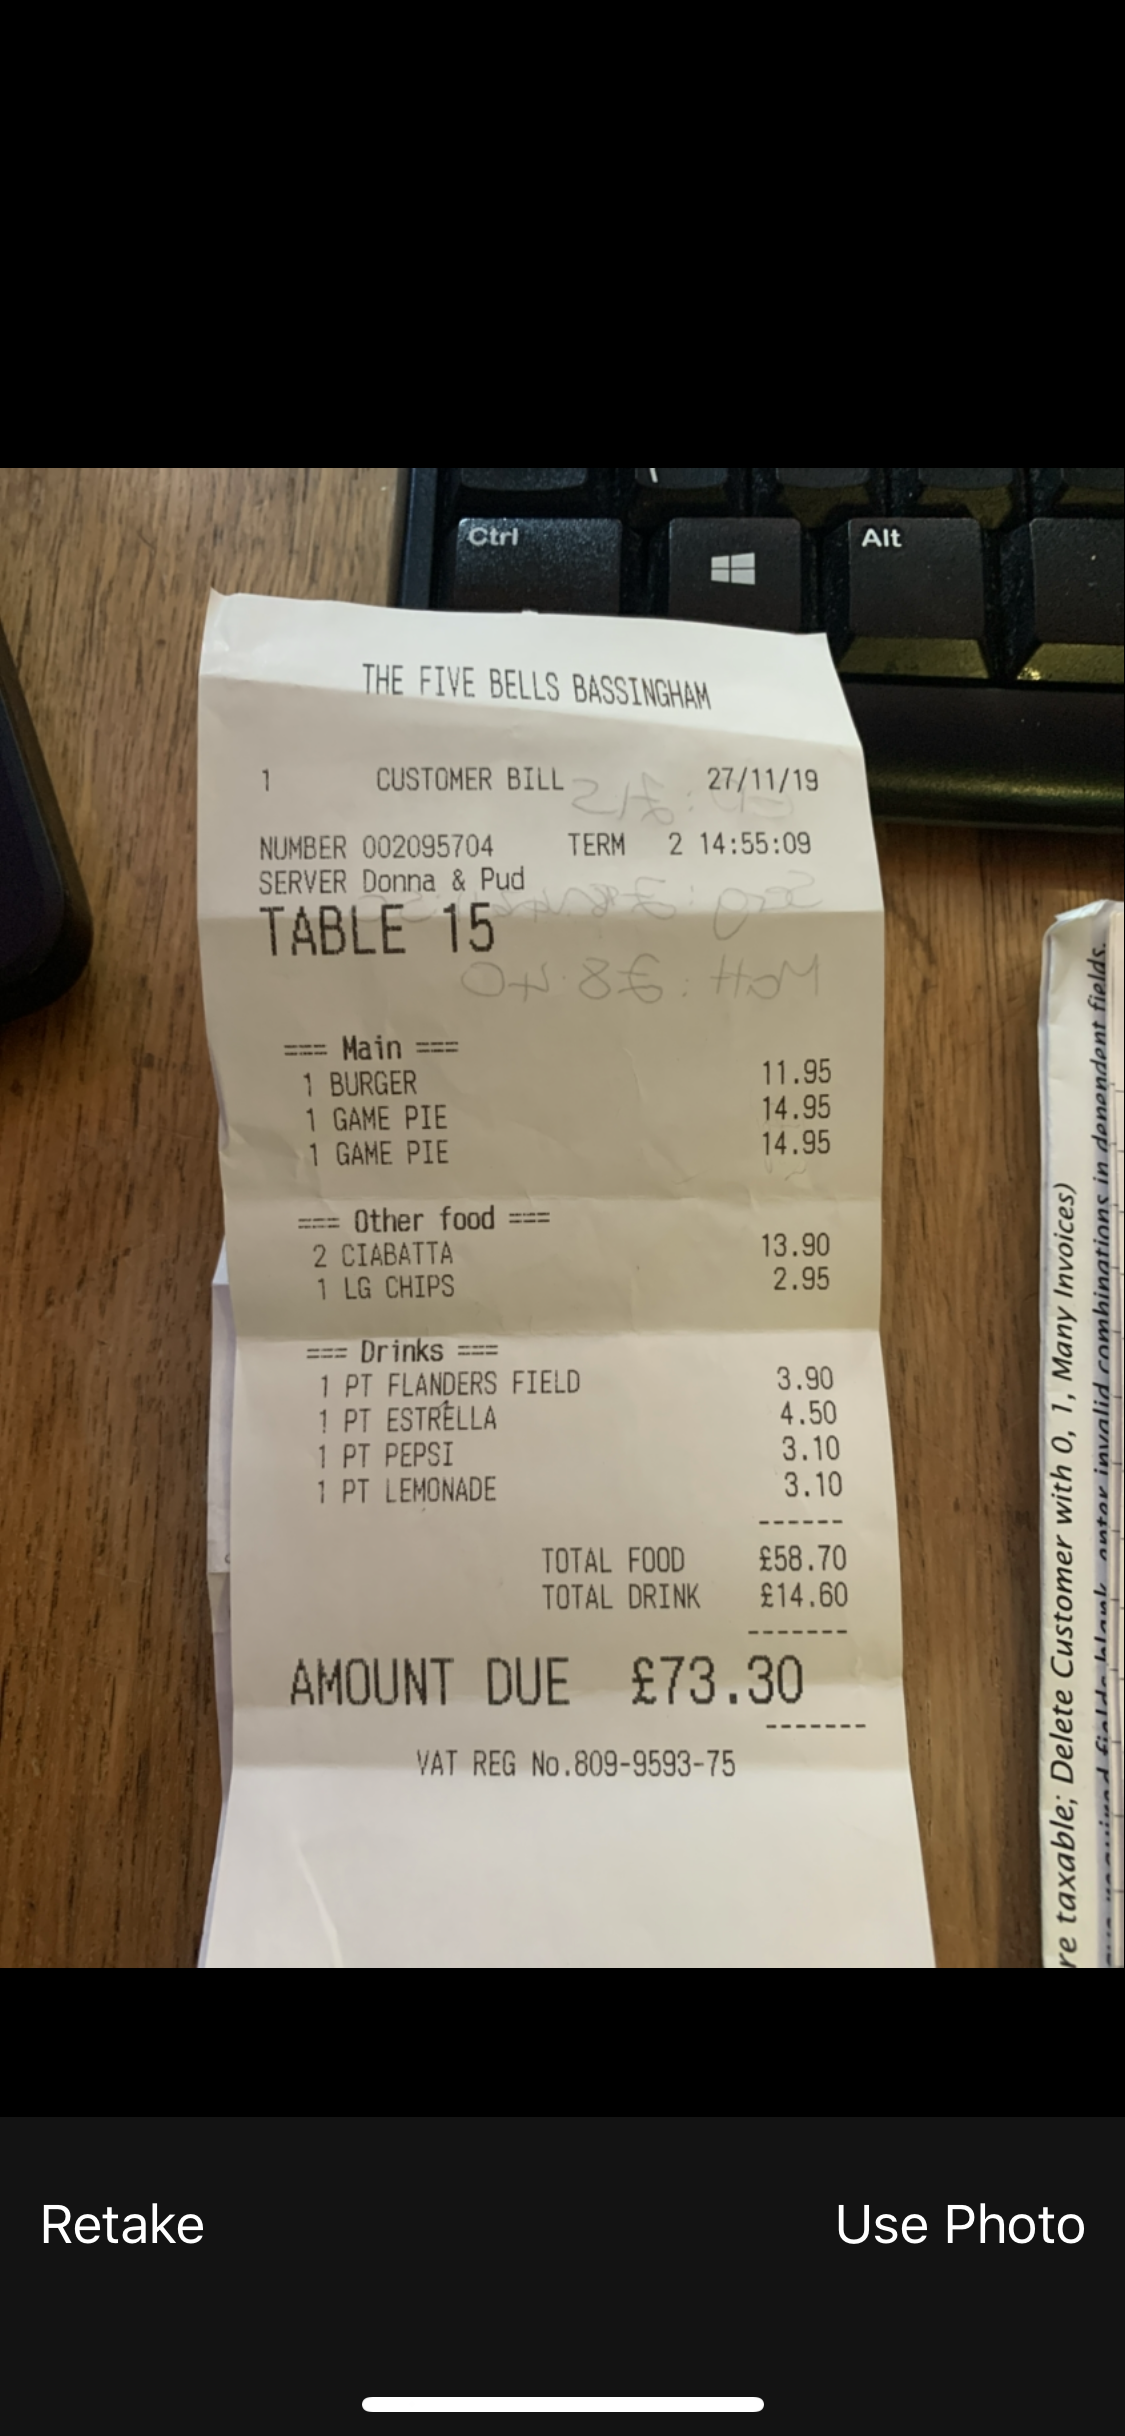
Upload Receipt using Camera
Once you have tapped Upload Receipt using Camera, your device's camera will open automatically. Take a photo of the receipt ensuring that it is clear, in-focus and includes the relevant information.
- If the image is acceptable tap USE PHOTO/OK/ACCEPT. This will attach the photo to the expense which can be viewed on the 'Receipts' page. For more information on viewing a receipt, see the 'View a Receipt on an Expense' tab at the top of this article.
- If the image is unacceptable, tap RETRY/RETAKE and then attempt to take the photo again.
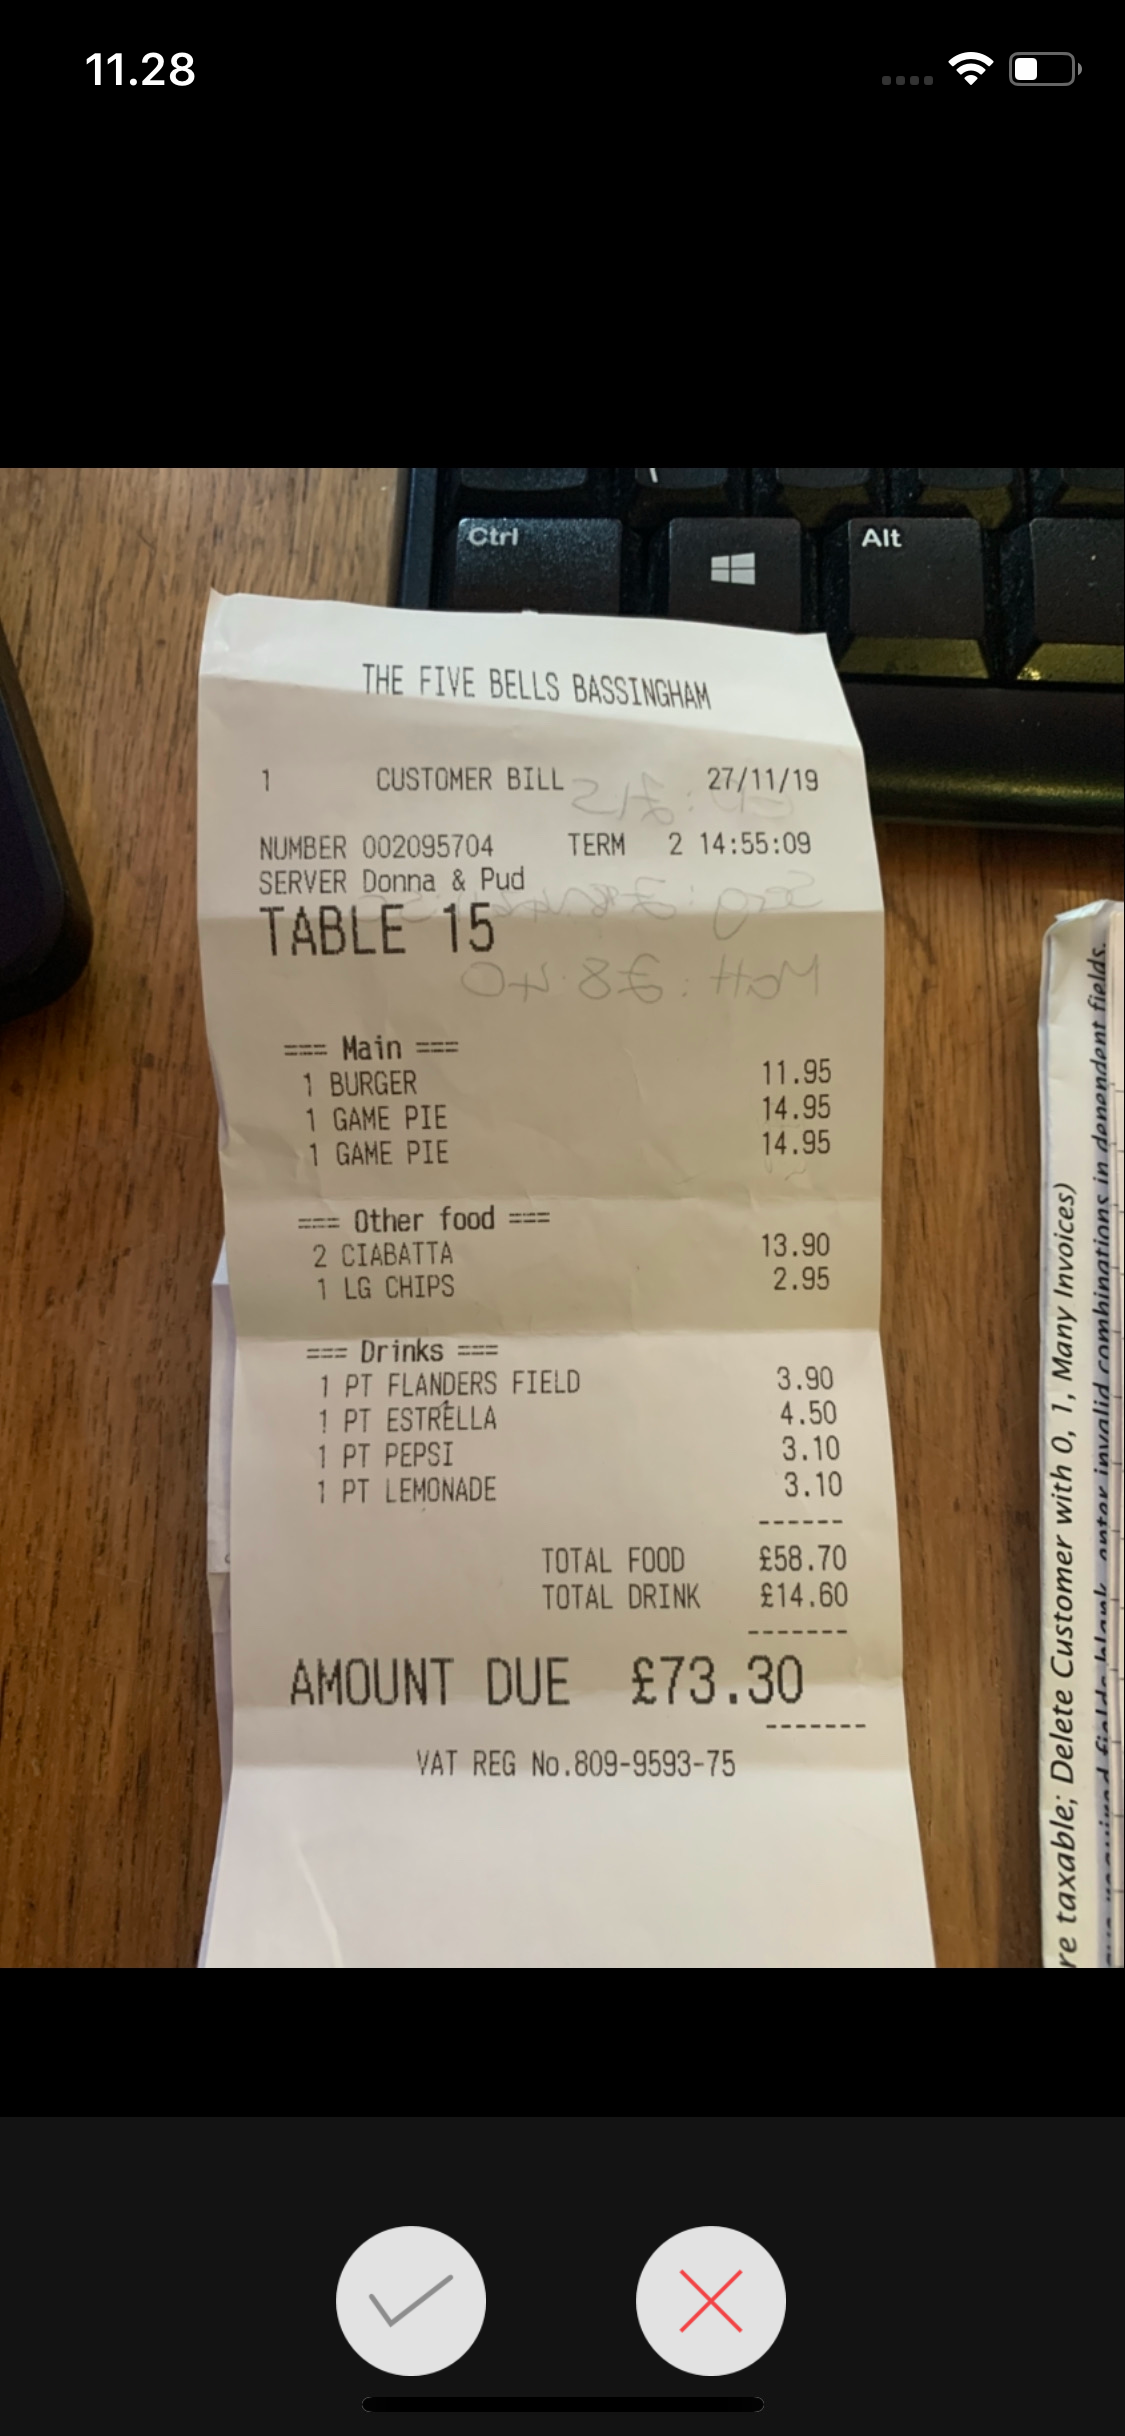
Upload Receipt from Gallery
Once you have tapped Upload Receipt from Gallery, your device's photo gallery will be displayed. Tap on an image to preview it.
- If this is the correct image, tap the tick icon to attach it to the expense.
- If this image is incorrect, tap the cross icon to return to your photo gallery.
View a Receipt on an Expense
- Login to Expenses Mobile and navigate to My Claims | Current Claims. Within the 'Current Claims' page you will see a list of your claims which have not been submitted yet.


- Navigate to the 'Claim Details' page.
Platform Instruction iOS Tap the claim which contains the expense that you want to view the receipts for. This will direct you to the 'Claim Details' page for the claim. Android Tap the claim which contains the expense that you want to view the receipts for and then tap Expense Items. This will direct you to the 'Claim Details' page for the claim. - The 'Claim Details' page will display all the expenses on this claim. Navigate to the 'Receipts' page to see each of the receipts attached to the expense.

Platform Instruction iOS Swipe left on the expense and then tap More. Tap Receipts from the list of options. Android Tap on the expense and then tap Receipts. 

- Tap on a receipt thumbnail to display the receipt image in its original size. You can then interact with the receipt image as you would with any other image on your device:
- Pinch and Stretch to change the zoom magnification.
- Pan (hold and move) to navigate around an image.
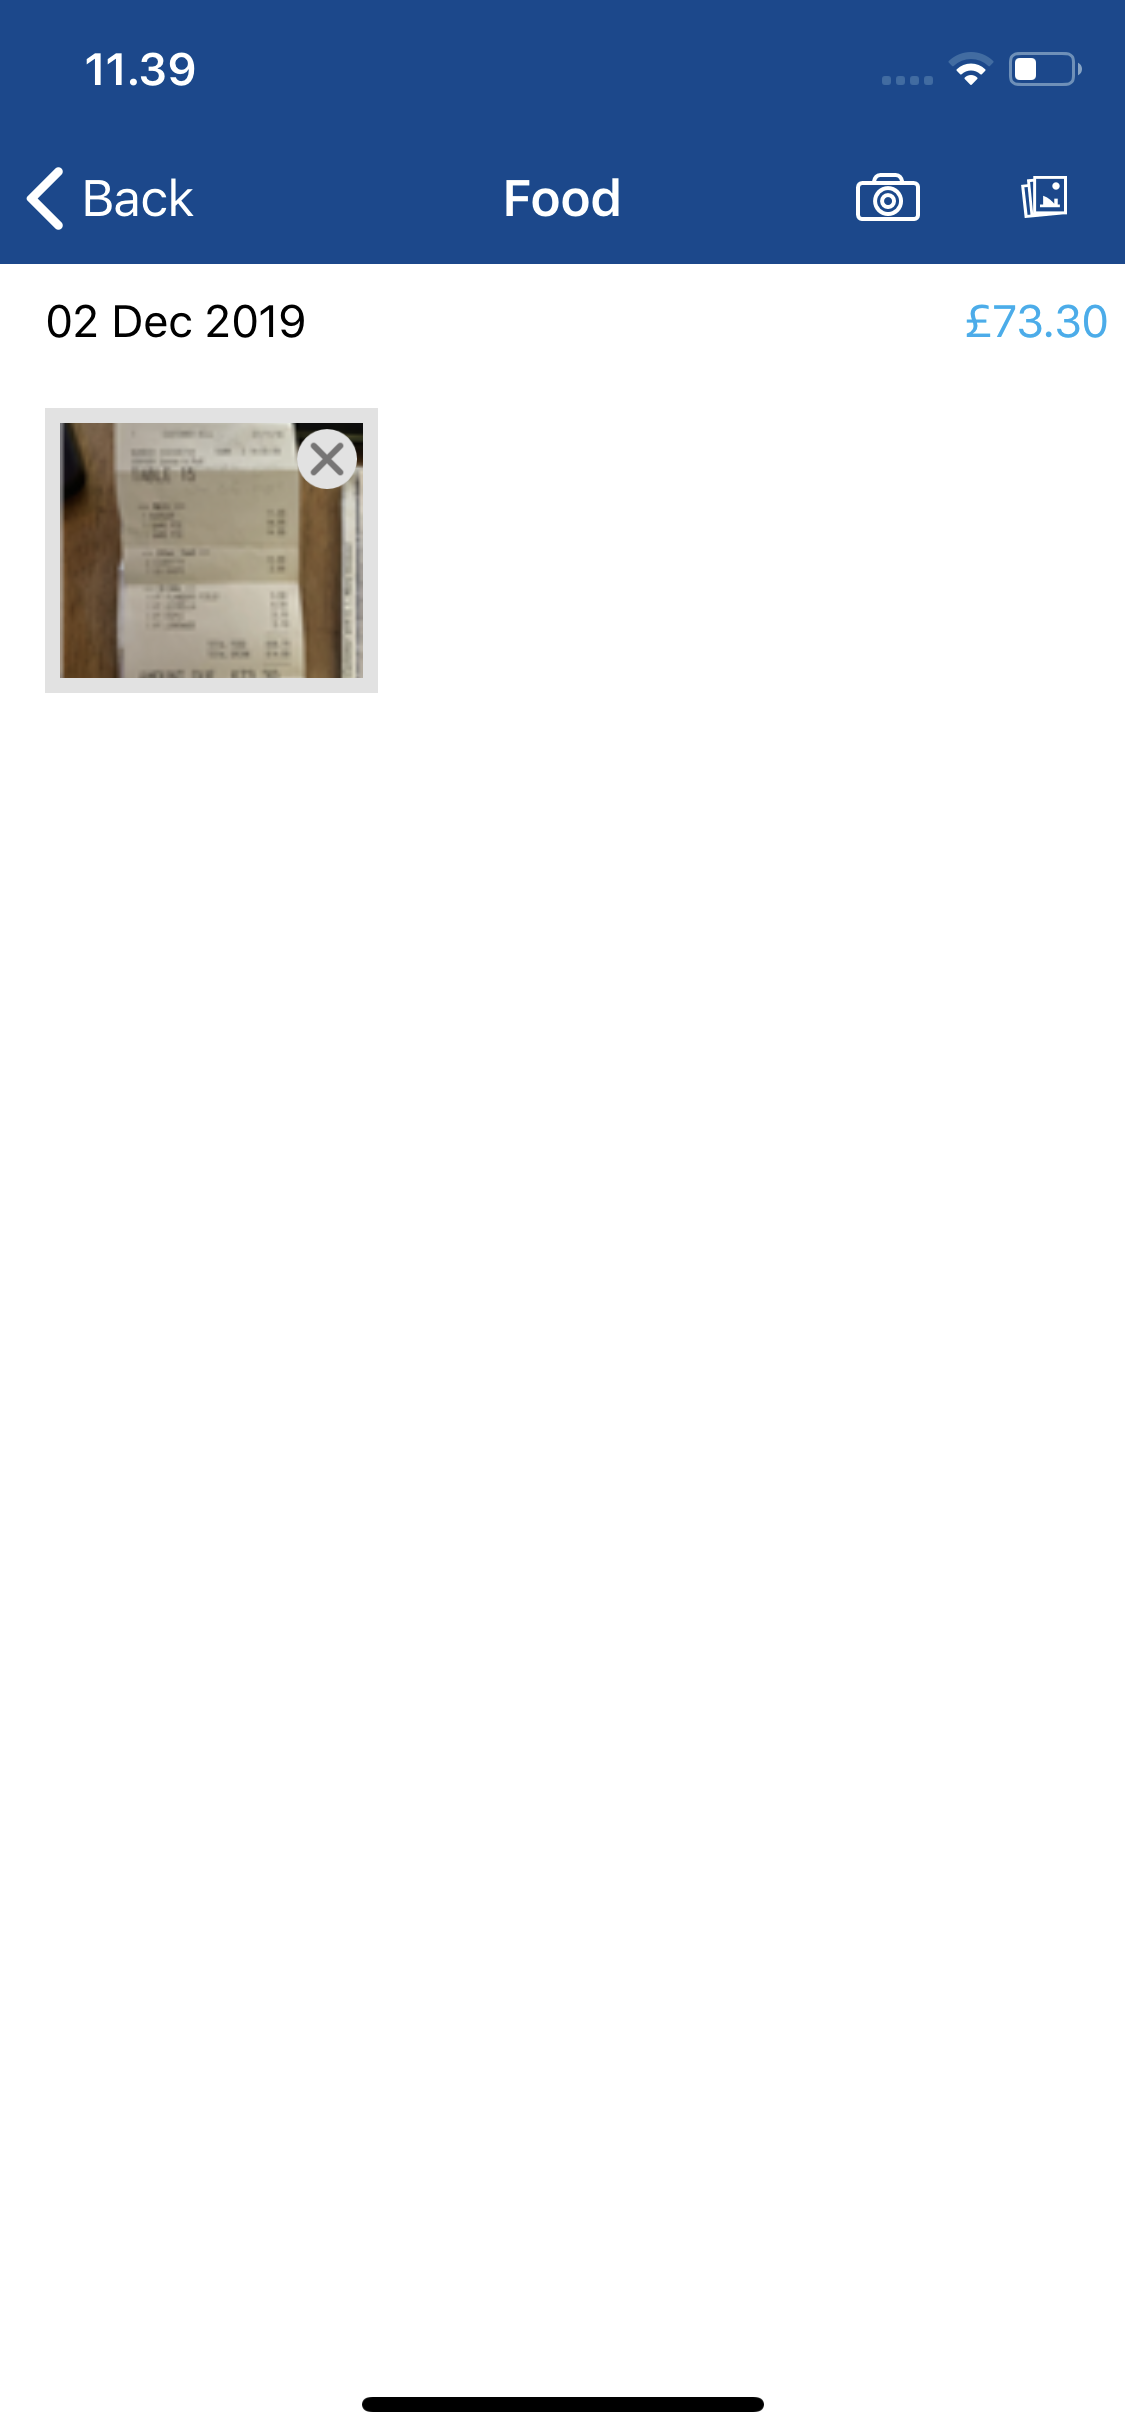
Tip: You also have the ability to upload receipts directly from the 'Receipts' page. Tap the  to open your device's camera or alternatively tap
  to open your device's photo gallery.
Delete a Receipt from an Expense
- Login to Expenses Mobile and navigate to My Claims | Current Claims. Within the 'Current Claims' page you will see a list of your claims which have not been submitted yet.


- Navigate to the 'Claim Details' page.
Platform Instruction iOS Tap the claim which contains the expense that you want to delete the receipt from. This will direct you to the 'Claim Details' page for this claim. Android Tap the claim which contains the expense that you want to delete the receipt from and then tap Expense Items. This will direct you to the Claim Details page for this claim. - The 'Claim Details' page will display all the expenses on this claim. Navigate to the 'Receipts' page to see each of the receipts attached to the expense.

Platform Instruction iOS Swipe left on the expense, tap More and then tap Receipts. Android Tap on the expense and then tap Receipts. 

- Tap the
 on a receipt to display a delete confirmation message. Tap Delete on the confirmation message to remove the receipt from the expense.
- Alternatively, if you are viewing a receipt, you can tap on the Delete which will display the same confirmation message. Tap Delete on the confirmation message to remove the receipt from the expense.
Note: Receipts will be permanently deleted and cannot be retrieved.
- Alternatively, if you are viewing a receipt, you can tap on the Delete which will display the same confirmation message. Tap Delete on the confirmation message to remove the receipt from the expense.


 on a receipt to display a delete confirmation message. Tap Delete on the confirmation message to remove the receipt from the expense.